What are Colour Groups?
Colour Groups are a way of displaying the same item, across a number of colours on a single product page. When you switch colours, we load any colour-specific data into the page, without reloading.
From a product set-up perspective, it's a great time-saver, too. If you have 1 product in 4 colours, you only have to enter the product information on one product (the master item - more on this later), then when you add the other colours (the child colours) to the colour group, all the information is copied across to them. All you have to do then is add images to the newly activated items and you're good to go.
Step 1.
Firstly, find some products you'd like to add to a colour group. I'm starting with some cycling jackets which aren't active yet.

Step 2.
Set your product up thoroughly. Add a unique description (great for SEO), buyers guide, size chart, video and product images (ideally of your own, high quality photos) to the product. Activate the item and, once you've done this, move to the Colour Group section of the product page and click Save Master Colour:

Step 2.1.
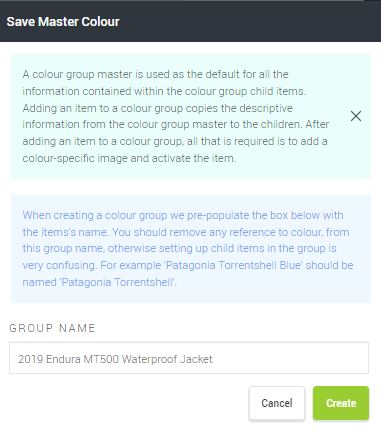
You'll be presented with a pop-up, with instructions to name your colour group. This must be without a reference to a colour.
You can call the group whatever you like, but for simplicity, we suggest using the name of your product, minus colour.
Once you've added a group name, click Create:
If successful, the page will reload and you'll see the below options:

Click "Add child items to Colour Group" to select the items you'd like to group together.
- Type an appropriate term into the "Name" field.
- Once you have an appropriate list of products, you can begin added them to the group.
- Click on the empty box in the "In this colour group?" column to add the item to the colour group.
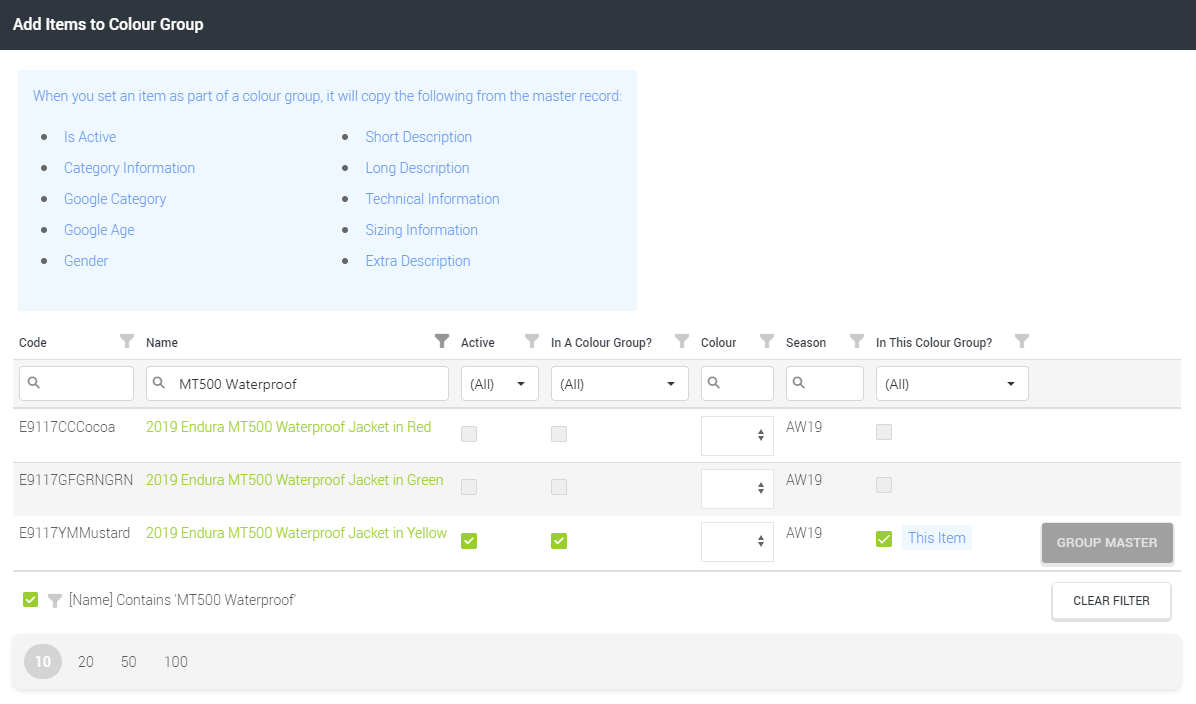
The next step is to add images to the items which you have added to this colour group. An easy way to do this is to right-click on the links and select the Open link in new tab option, which will open the product page in a new tab in your browser:

Step 3.
Good news, if you've followed the article correctly you should now have several freshly colour-grouped products which are ready to use. This is what the customer sees:

They can then click on one of those thumbnails to see the same item in a different colour.
Colour Groups in Google Search Results
Let's say that I sell the above jacket in yellow, red and green, but I'm not using colour groups. Let's also say that the yellow jacket is out of stock at the moment.
If a customer searches Google for “Endura Waterproof Jacket”, they may well be shown a link to the yellow jacket – however, when they click on that link, they see that it's out of stock and are disappointed. If you aren't using a colour group, the customer has no idea that you also sell the jacket in different colours, so will probably leave your site and look elsewhere.
However, if you are using a colour group, then when the customer searches for “Endura Waterproof Jacket”, the Google results that link to your site will automatically prioritise the colours that are in stock. This is because Cloud MT is changing the canonical URL of all items in the colour group to one that's in stock.
If the customer specifies in their Google search that they're looking for a “yellow Endura waterproof jacket”, then it'll show them the yellow jacket, but the customer can still see that the other colours are in stock.