This article describes the steps required to create a Purchase Order using a .csv file. If you place orders online with your suppliers, many supplier B2B websites will now allow you to export a .csv file of the items you have placed on the order with them.
The ability to then use this .csv file to create a Purchase Order in Cloud POS, is a useful feature which can help you to save time and reduce the chance of errors.
You can also manually create a .csv file to create a Purchase Order using the same functionality.
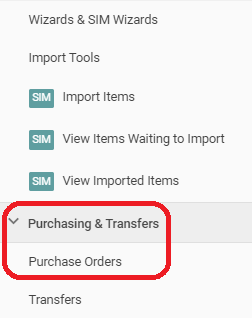
1) In Cloud POS backoffice, from the menu on the left, navigate to Purchasing & Transfers, then select Purchase Orders:
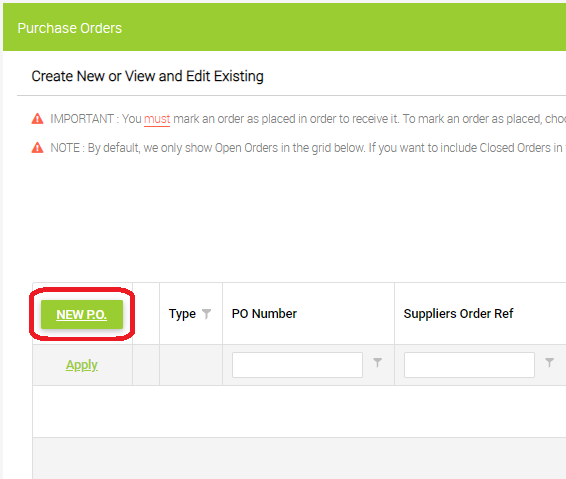
2) Select New P.O. in the top left of the grid:
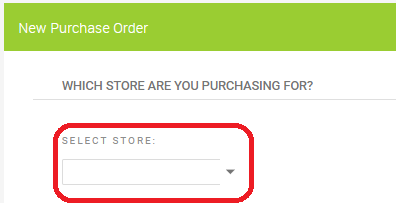
3) From the dropdown menu, Select Store:
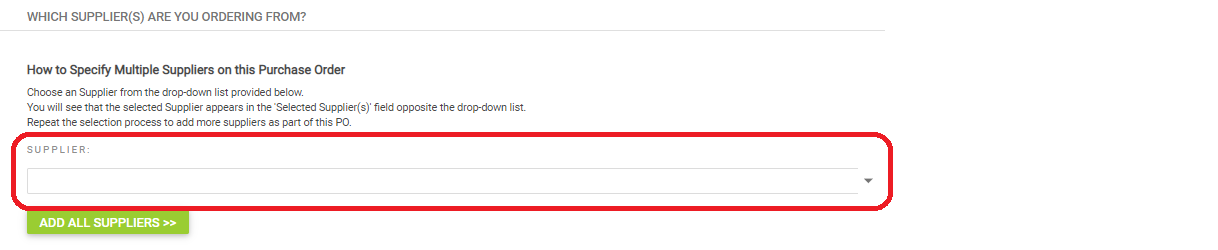
4) From the next dropdown menu, select the Supplier you are ordering from:
5) Select to Create a blank Purchase Order:

6) Select to apply to all items in the database:

7) Make a selection which fulfills your ordering requirements:

Note: if you have already placed your order with the supplier and you are creating the Purchase Order in Cloud POS retrospectively, untick both boxes at this section.
8) Select to apply to items from all brands:

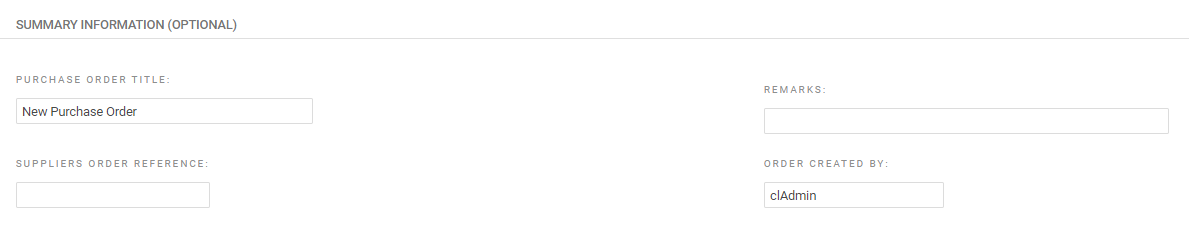
9) If you wish, you can add information to make it easier to locate in the Purchase Orders grid:
10) Select Create Purchase Order(s):

11) You will now see a hyperlink towards the foot of the page, allowing you to move directly into the Purchase Order you have just created:

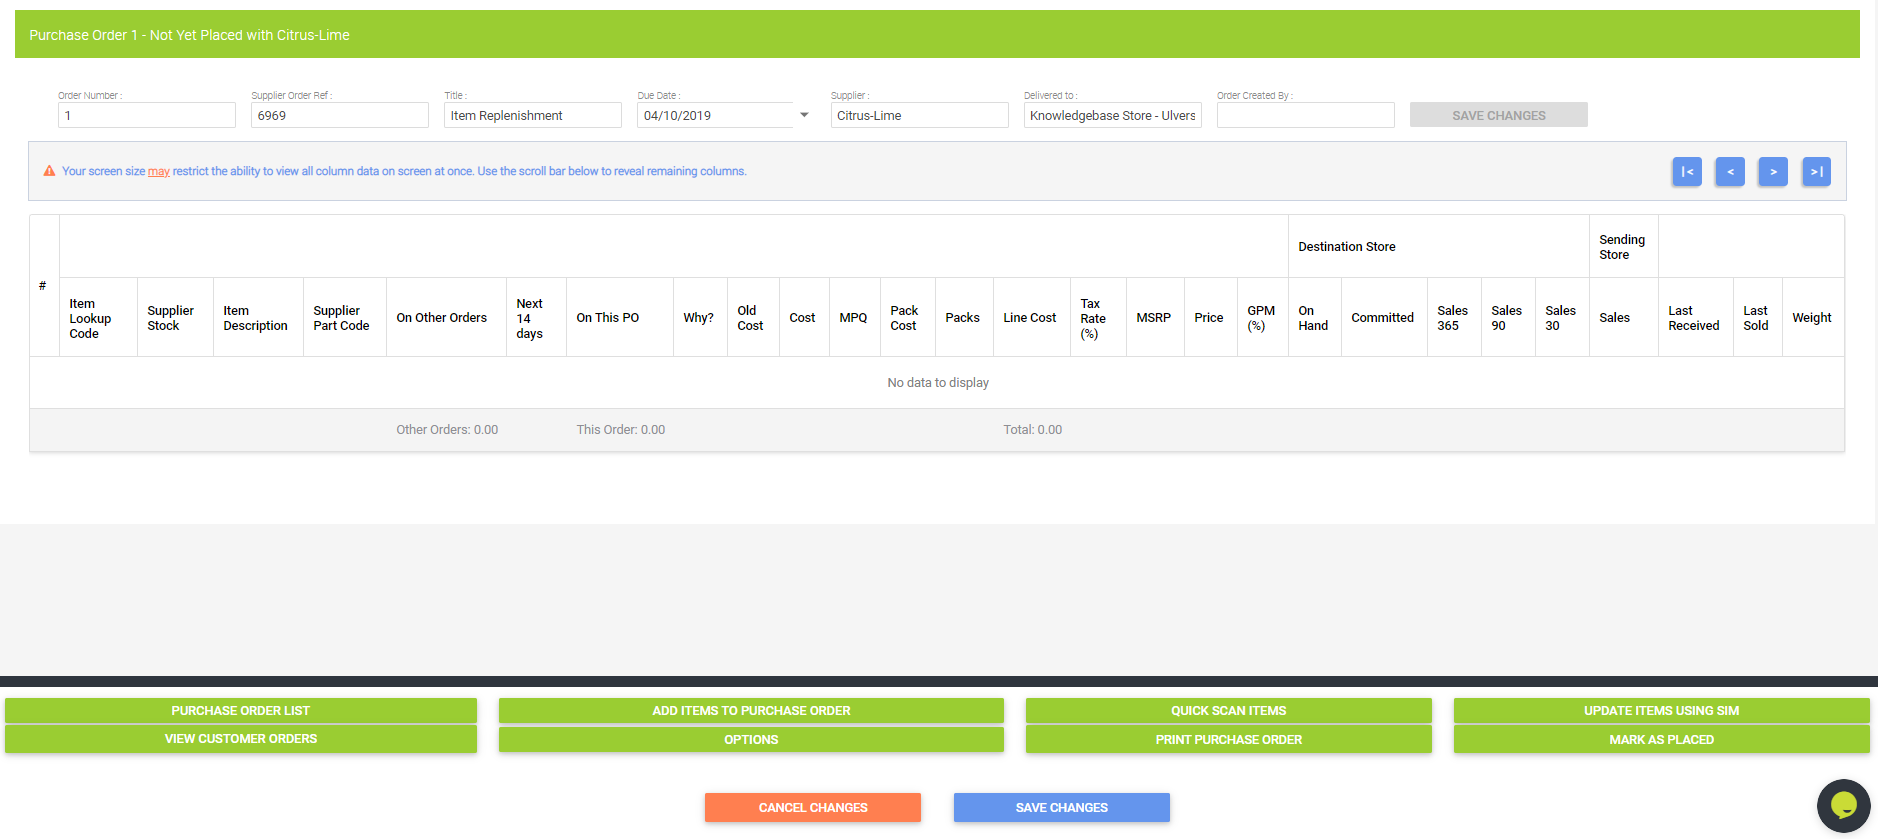
12) You are now able to start editing the Purchase Order:
13) Click the Options button and this will open a sub-menu from which you select Import Supplier PO From CSV: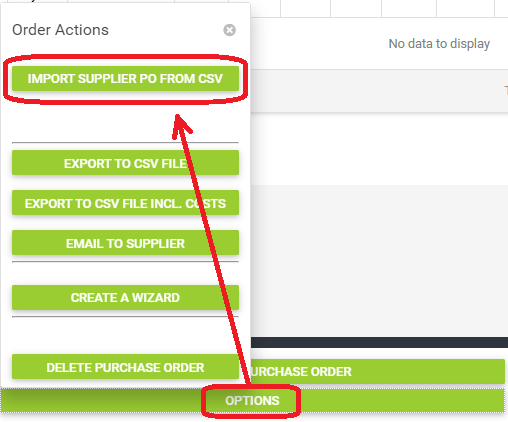
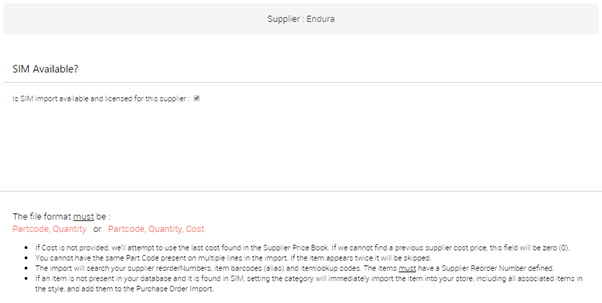
14) From the following page, you can then select the .csv file you wish to upload from your local computer. Note the information on the right of this page, which describes the format of the file you can import.
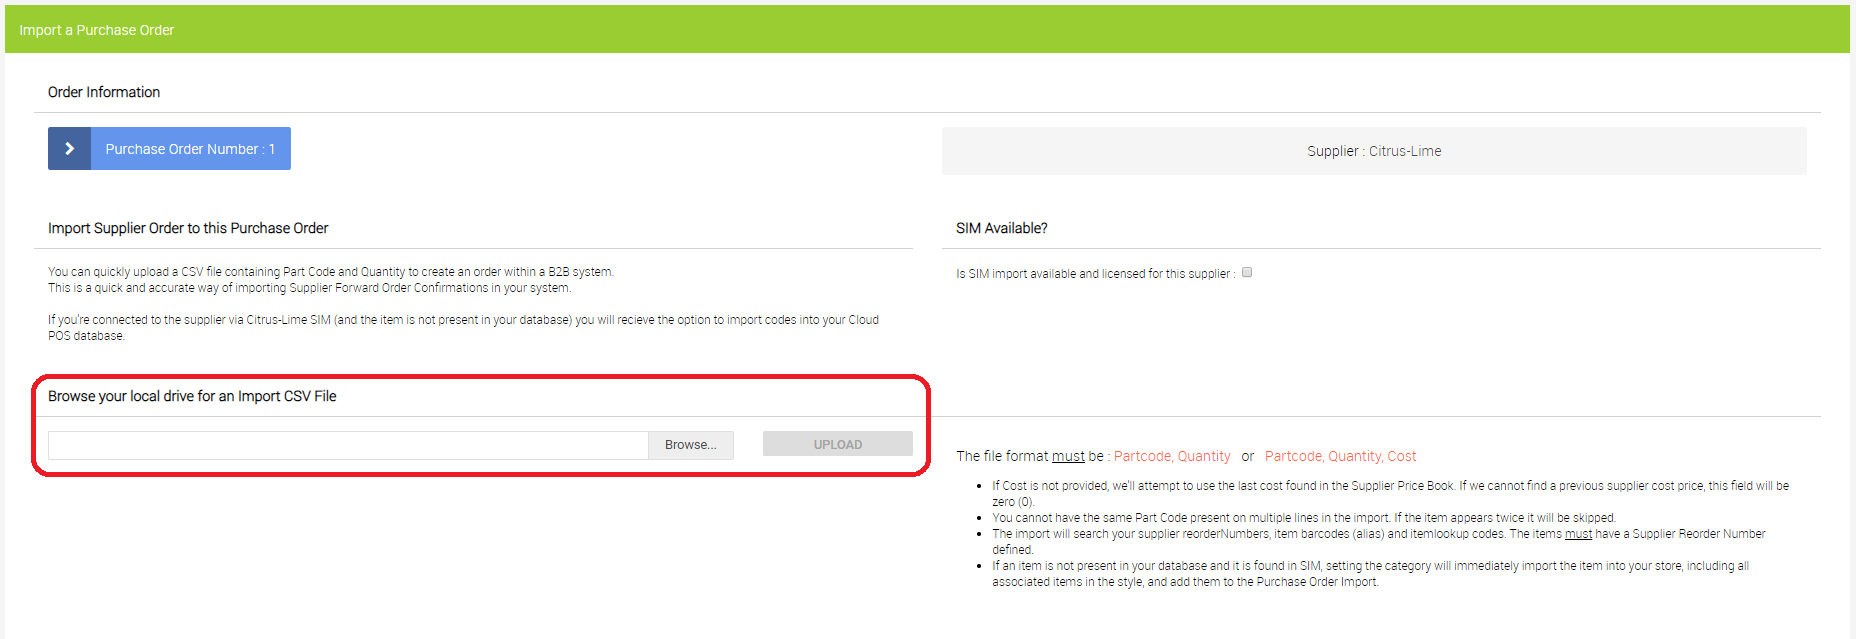
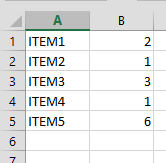
15) If the .csv file you have does not match the format of either Partcode, Quantity or Partcode, Quantity, Cost you will need to edit the file outside of Cloud POS to put it into this format. Here is an example of a .csv file containing Partcode, Quantity:
16) If the supplier is one for whom you have a SIM licence, this section of the screen will display this information:
17) Once you have located the relevant .csv file from your local machine, you can Upload this:

18) The items you have imported will now appear in the Import Preview: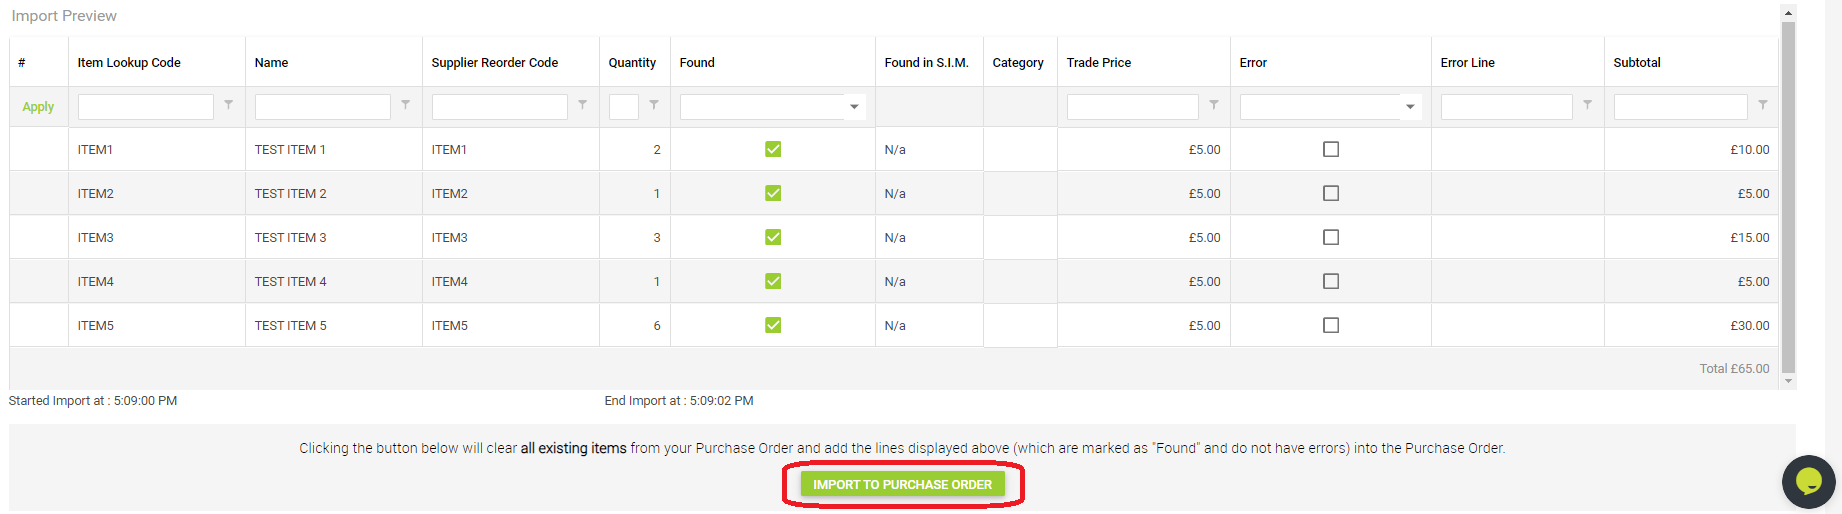
If you are happy with the information you see in the preview, you can click the Import to Purchase Order button.
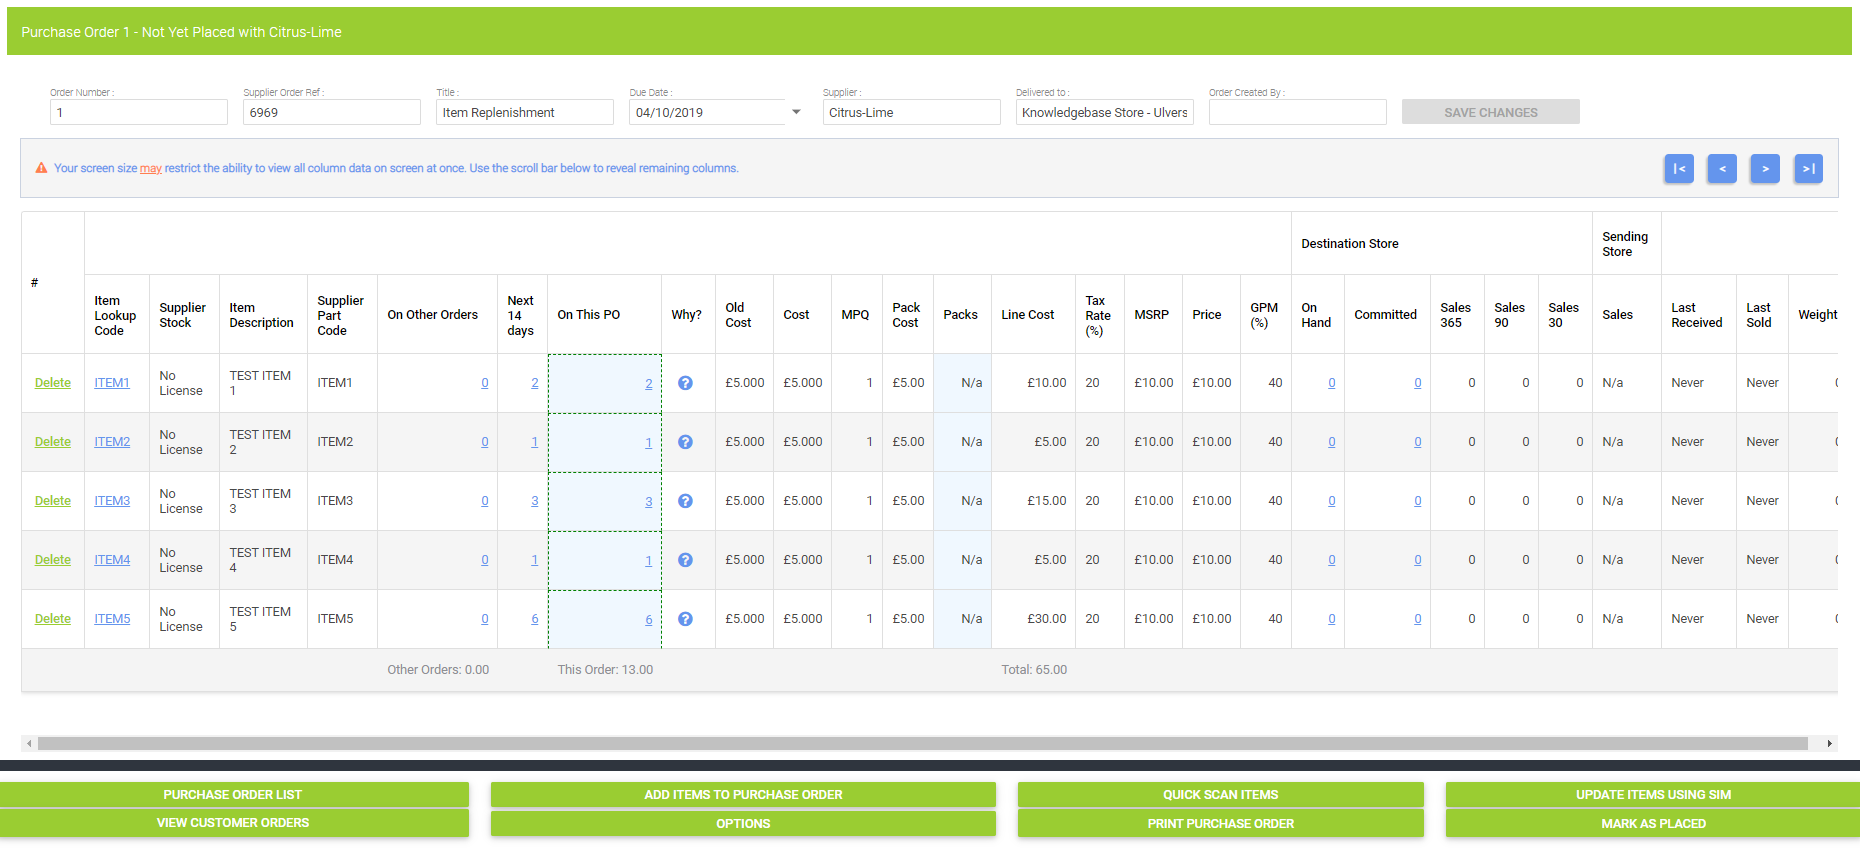
19) The items from your .csv file will now have been added to the Purchase Order. Click the Return to Purchase Order button to see this:

20) From here you can make any adjustments necessary and once complete, you can Mark As Placed to raise the purchase order in the system. See the related articles for further information.
SIM Functionality in the Purchase Order
If you are raising a Purchase Order for a supplier for whom you have a SIM licence, there is some additional functionality which can help you to add items to your Cloud POS database using SIM.
At Step 17, once you have uploaded your .csv file, Cloud POS will identify which partcodes already exist in your Cloud POS database.
If there are items which do not exist in your Cloud POS database but can be found in SIM, you will be given the option to import these items to your database using SIM:
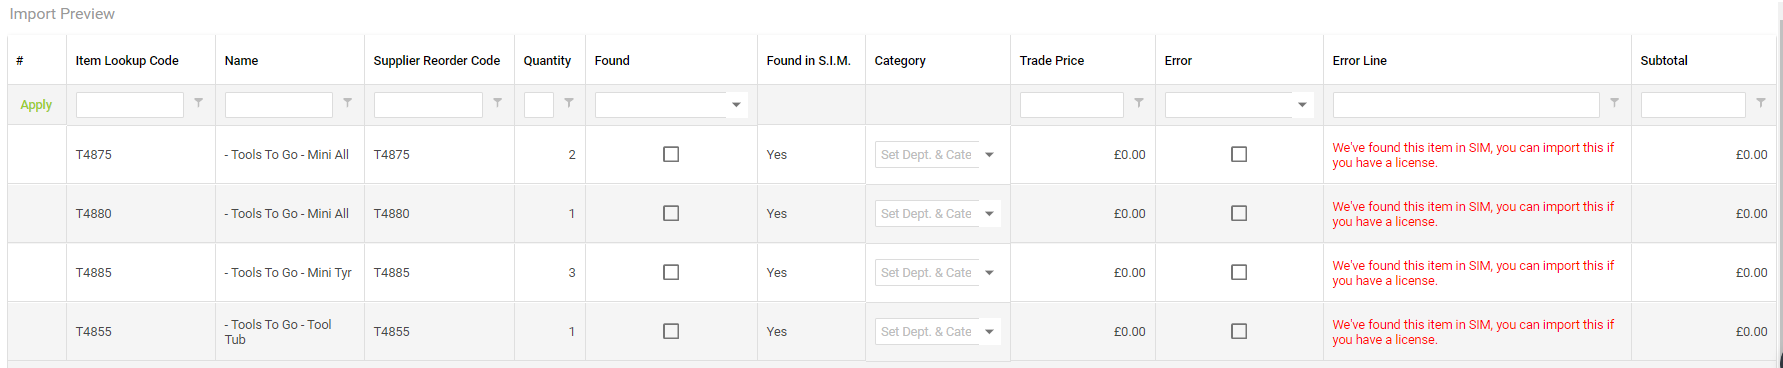
All you need do here is select the correct Department & Category from the dropdown in the menu and the item will be imported via SIM into your Cloud POS database.

You can then pick up the process from Step 19.