If one of your customers exercises their ‘Right to be Forgotten’ and asks to have their personally identifiable details removed from your Cloud POS, you will need to act upon this in order to meet your GDPR obligations.
When logged into your Cloud POS Back Office dashboard, navigate from the main menu to Customers, Receipts & Orders > Customers. This will load the page upon which all your customer's are displayed.
You can now use the filters to locate the customer account which you would like to amend. Once you've found the account, click Edit.
This will open up the specific customer's account page;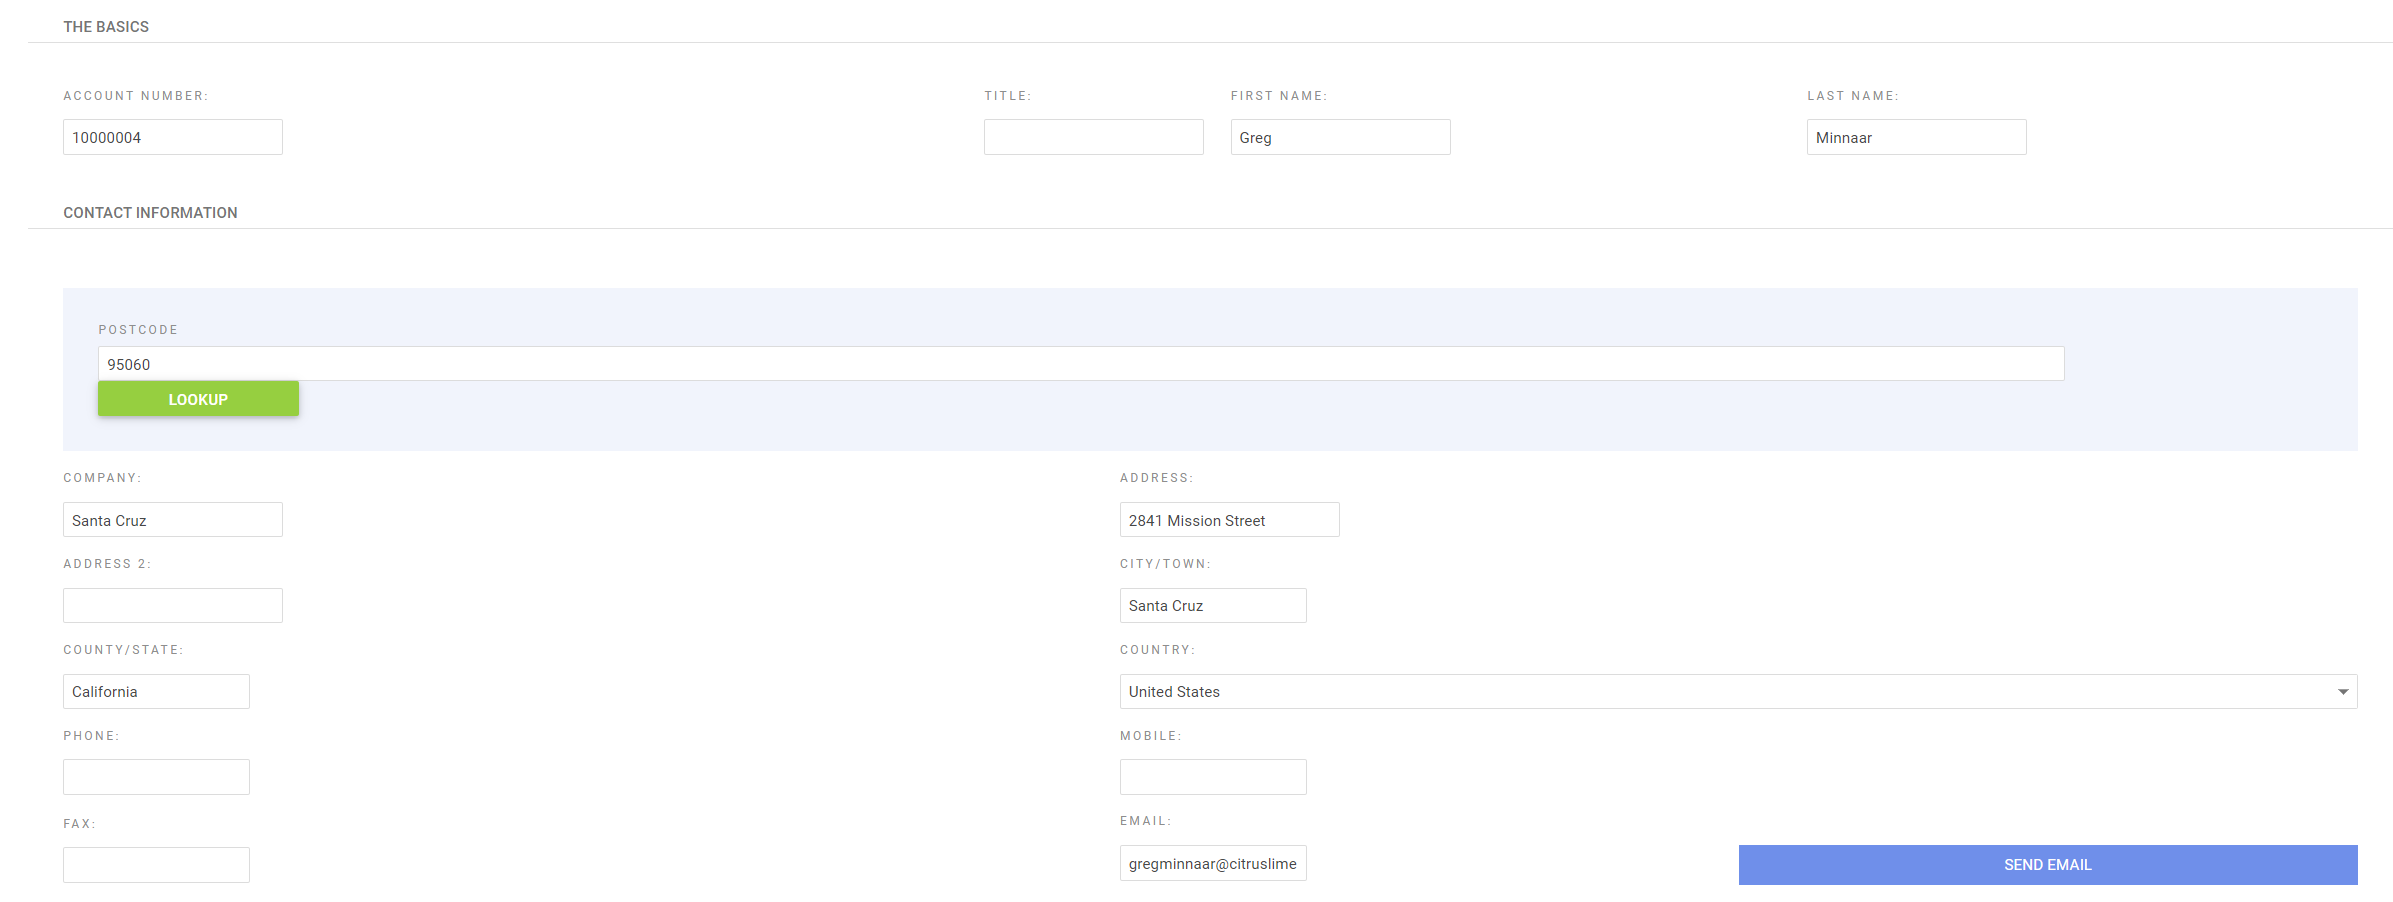
From here, there are two options for anonymisation;
- Manually change the First name to ‘Data’ and the Surname to ‘Removed’ and delete the remaining fields such as Mobile, Email and the address fields
- Alternatively, you can create one master customer called ‘Data Removed’, and then merge all customers requesting anonymisation into it (in our example, Greg Minaar).
Whilst both of these options will work technically speaking, if you anticipate that the customer is likely to request previous sales history information at any point in the future, but naturally, anonymisation of a customer record will make this more difficult to find retrospectively. With this in mind, you may wish to send over any receipts in advance of anonymisation.
The required steps for each of these are detailed below.
Manually changing the details
Merging to an anonymous customer
Create a new Customer and name it ‘Data Removed’.
From the Customer Card, select ‘Merge Customer’;
You will then see a window with the Customer you are merging to, select the customer you have created call ‘Data Removed’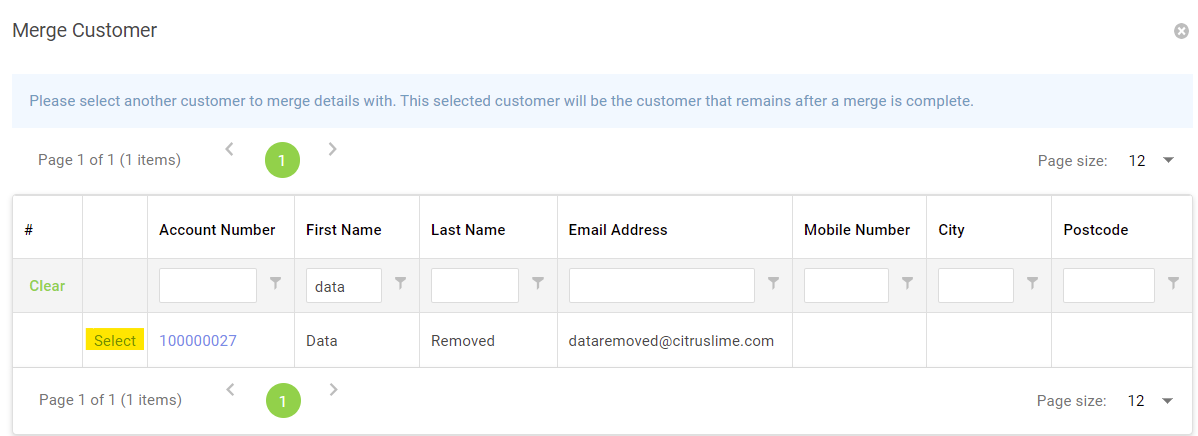
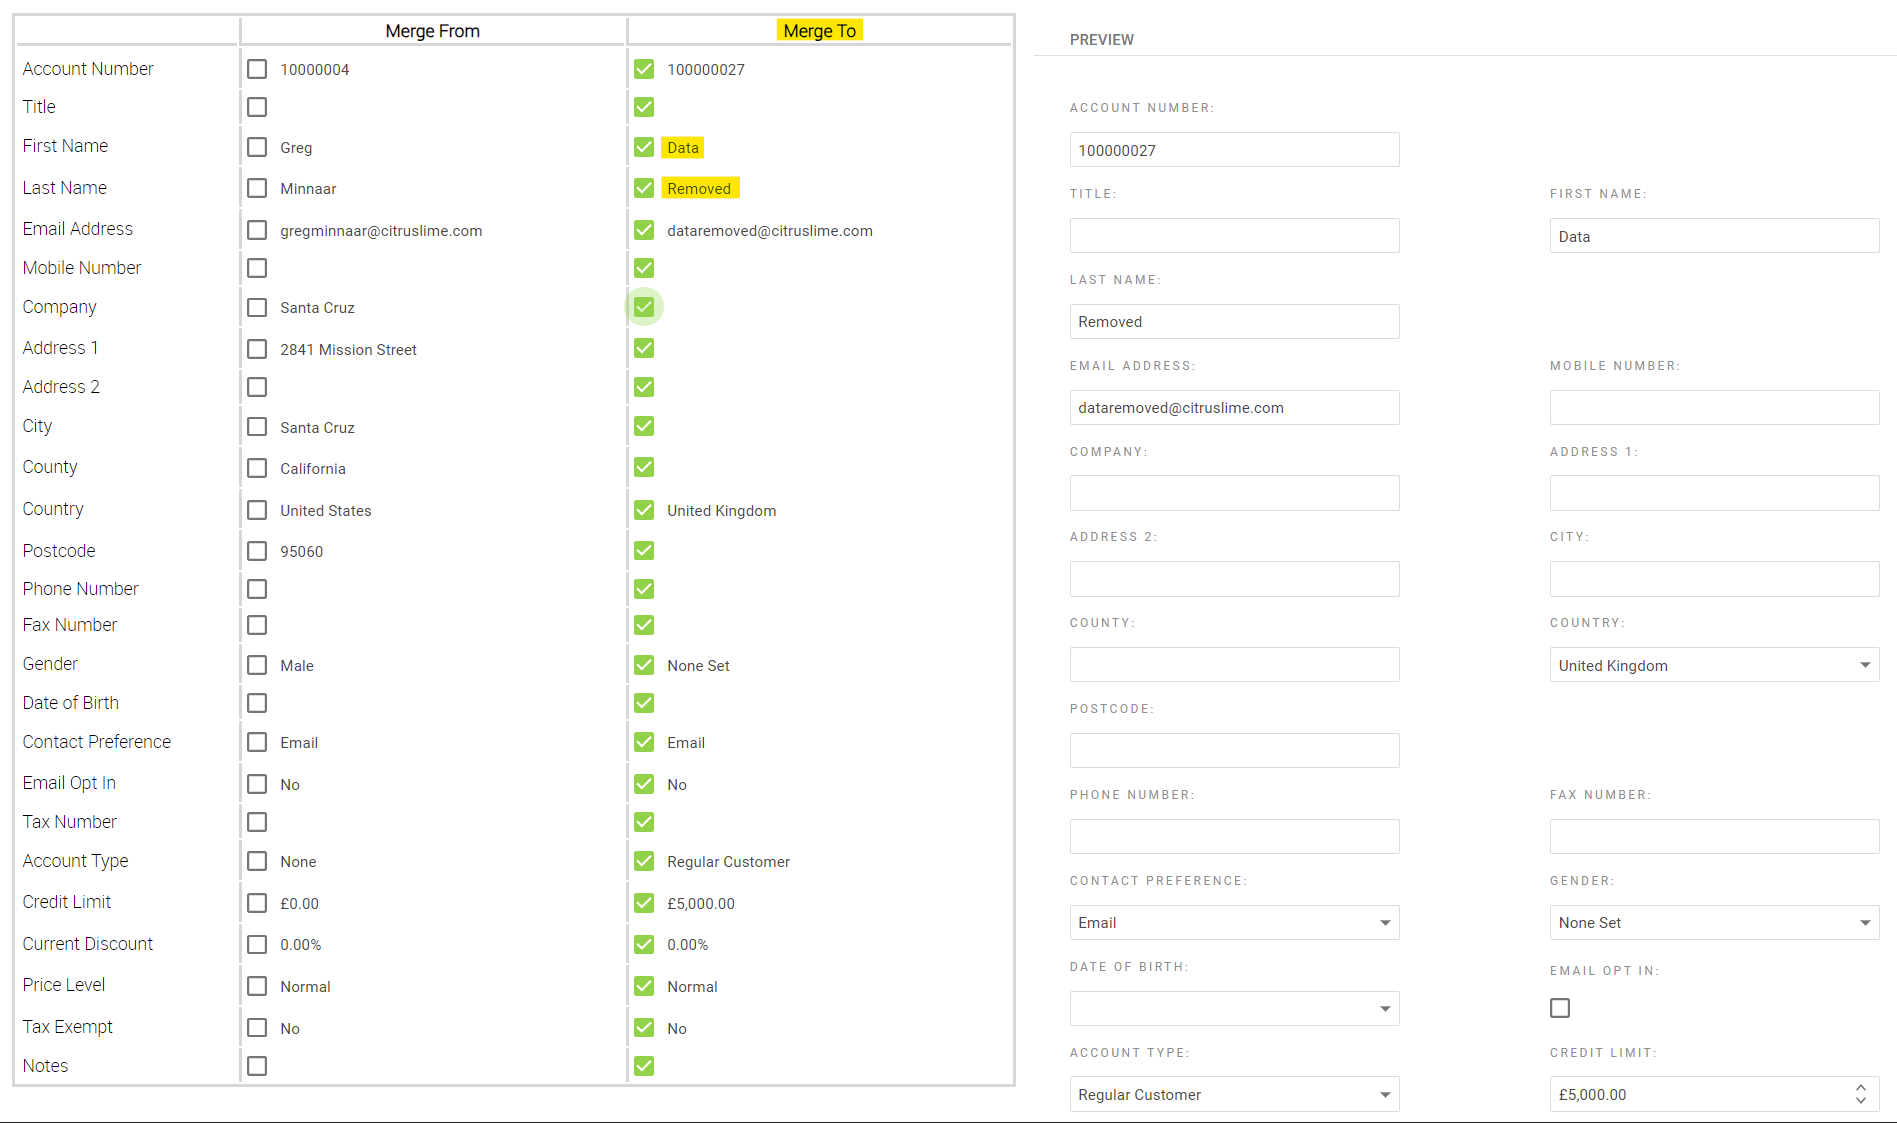
You will then be presented with a table.
The column on the left is your ‘Merge From’ column with the original customer details and the column on the right is the ‘Merge To’ column.
Anything ticked in the ‘Merge To’ column is what data will remain;
Under the preview, click ‘Merge’;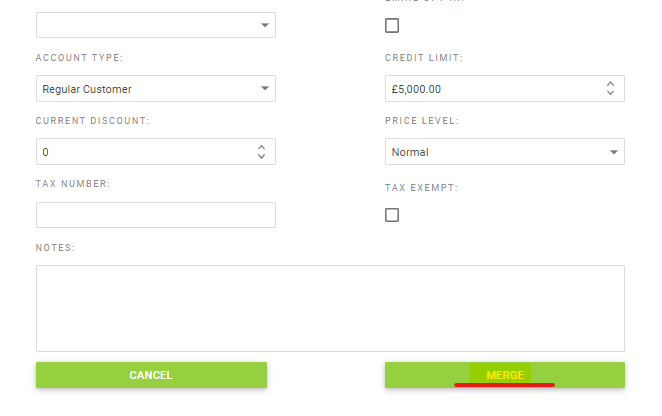
You will see a window asking you to confirm the merge, please click ‘Yes’ (as noted in the window, this is permenant and cannot be undone);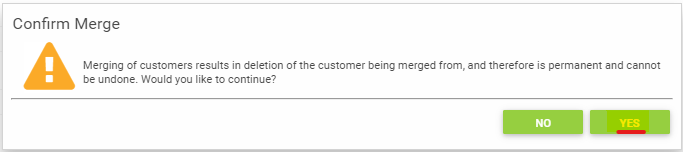
BE AWARE
This functionality only anonymises the customer's Cloud POS account details. It does not impact on any other personally-identifiable information which is stored elsewhere within the platform. Please see Relevant Articles for eCommerce and Customer Rewards.