The Department & Category Import tool allows quick, bulk creation of the Department & Category structure in the Cloud POS database.
This can be used in situations such as if you are moving to Cloud POS from another retail platform and wish to bring across your existing Department & Category structure.
The tool will import new departments, new categories within those departments or new categories into existing departments.
Prerequisites
We always recommend using the import template generated within Cloud POS, since it contains the correct fields which are required for the import.
Generating an import template
1) From the main menu in Cloud POS backoffice, navigate to Create & Manage Items, then Import Tools.
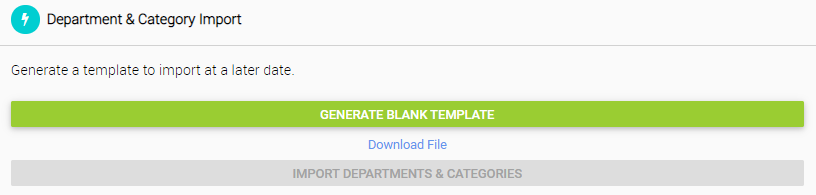
2) Under the Department & Category Import heading, click on the button to Generate Blank Template, then click on Download File to save the template file on to your computer. The template file format is a Microsoft Excel file (.xlsx).
Understanding the Department & Category import template
For Departments & Categories to be imported, they must meet the following criteria:
Departments
- Name cannot be blank;
- Name cannot already exist;
- Name cannot be more than 30 characters;
- Name cannot contain the special characters ‘&' or '+’
Categories
- Name cannot already exist within the department it is being imported into (new or existing);
- Must have a department;
- Name cannot be more than 30 characters;
- Name cannot contain the special characters ‘&' or '+’
When you open the template file in Excel, you'll notice there is a second sheet entitled 'Example'. This shows an example of the arrangement of data in the form:
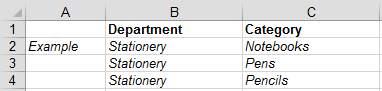
Using this as a guide, populate the template with the necessary department and category data. When you have entered all of the necessary data into the template, save the file onto your computer – the file format must be Excel for the import to work.
Importing the Department & Category import template
Once you have your department & category import template prepared and checked, you can now import the data into the Cloud POS system.
1) From the main menu in Cloud POS backoffice, navigate to Create & Manage Items, then Import Tools.
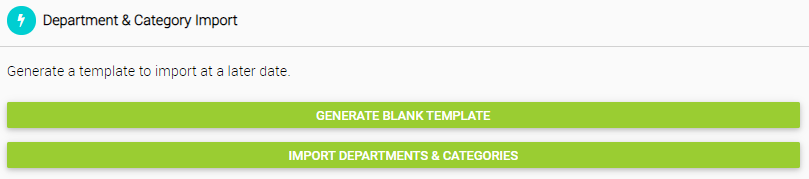
2) Under the Department & Category Import heading, click on the Import Department & Categories button:
3) Click Browse to locate select the file from your local machine:

4) Select the file and click Open:

5) Click Upload;
6) The grid will now populate with the department and category records as per your template:
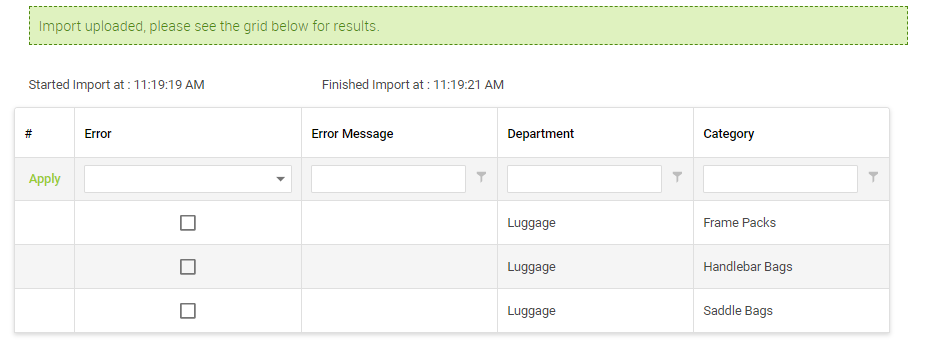
Records will be marked as Error if there are any problems with the data, and the Error Message column will give a description of the problem.
If there are records with errors, these will not be imported and these lines will be skipped by the import process.
7) If there are errors, you can make changes directly within the grid to rectify any issues. Click on the field you wish to edit and type in the new information.
Alternatively, you can edit the template in Excel and upload it again by following steps above. This will replace the data you have previously uploaded in Step 5.
8) After you’ve made changes to correct any errors, click the Save Grid Changes and Validate Data button. This will re-validate the information in the grid (i.e., do another check on that data to make sure that it’s okay for import). You can repeat this step as many times as you need to.
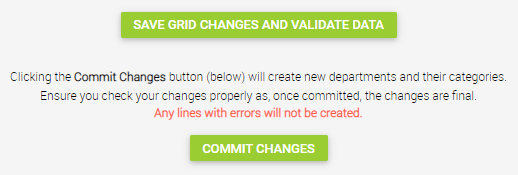
Ensure you check any changes thoroughly as, once committed, the changes are final.
9) When you’re completely happy with the new item records you’re going to create, click the Commit Changes button. This will create the supplier records in your Cloud POS database.