If you need to remove stock from the system, and the items are not being transferred to another store or returned to the supplier, you would use the Transfer Out of System option.
A scenario where you might use this would be if an item had a 'Use By' date which had expired.
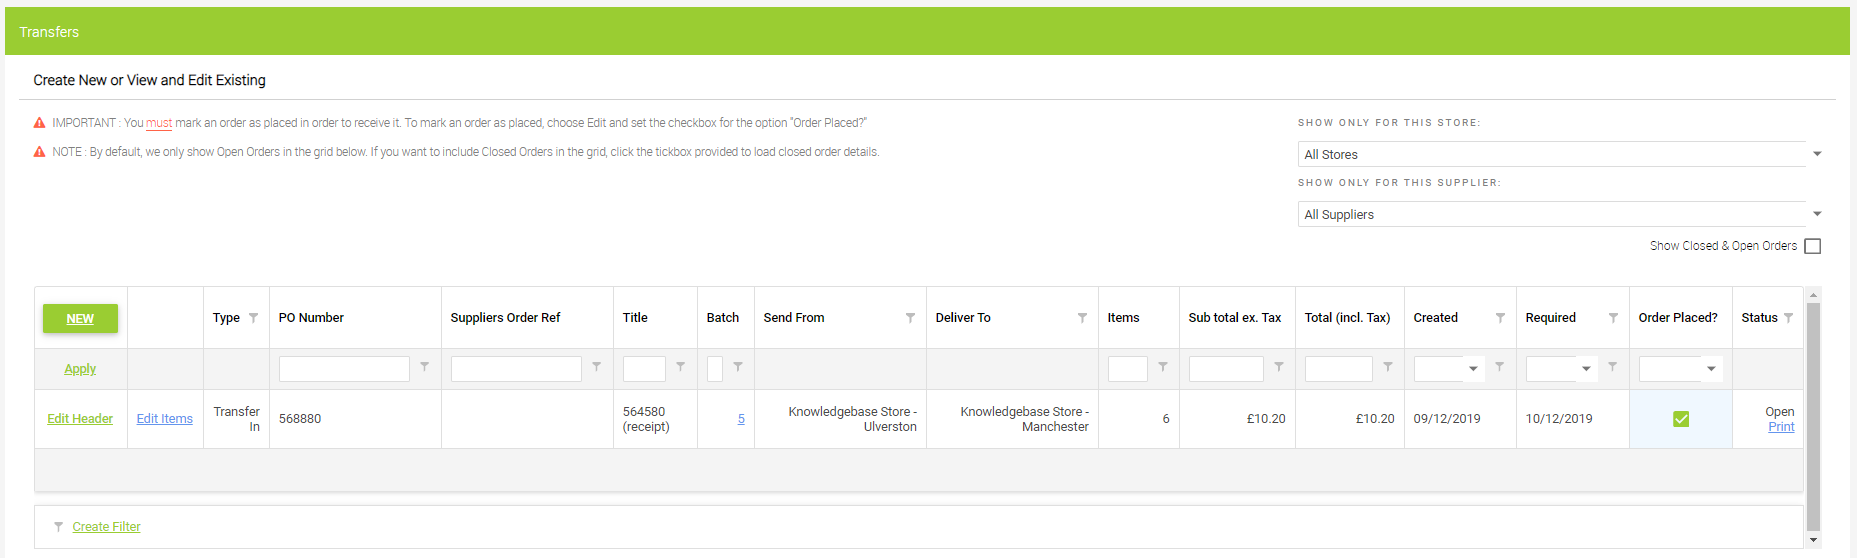
1) From the main menu in Cloud POS backoffice, select Purchasing & Transfers and then Transfers:

2) You will now see the main Transfers screen:
3) To create a new transfer, click New:
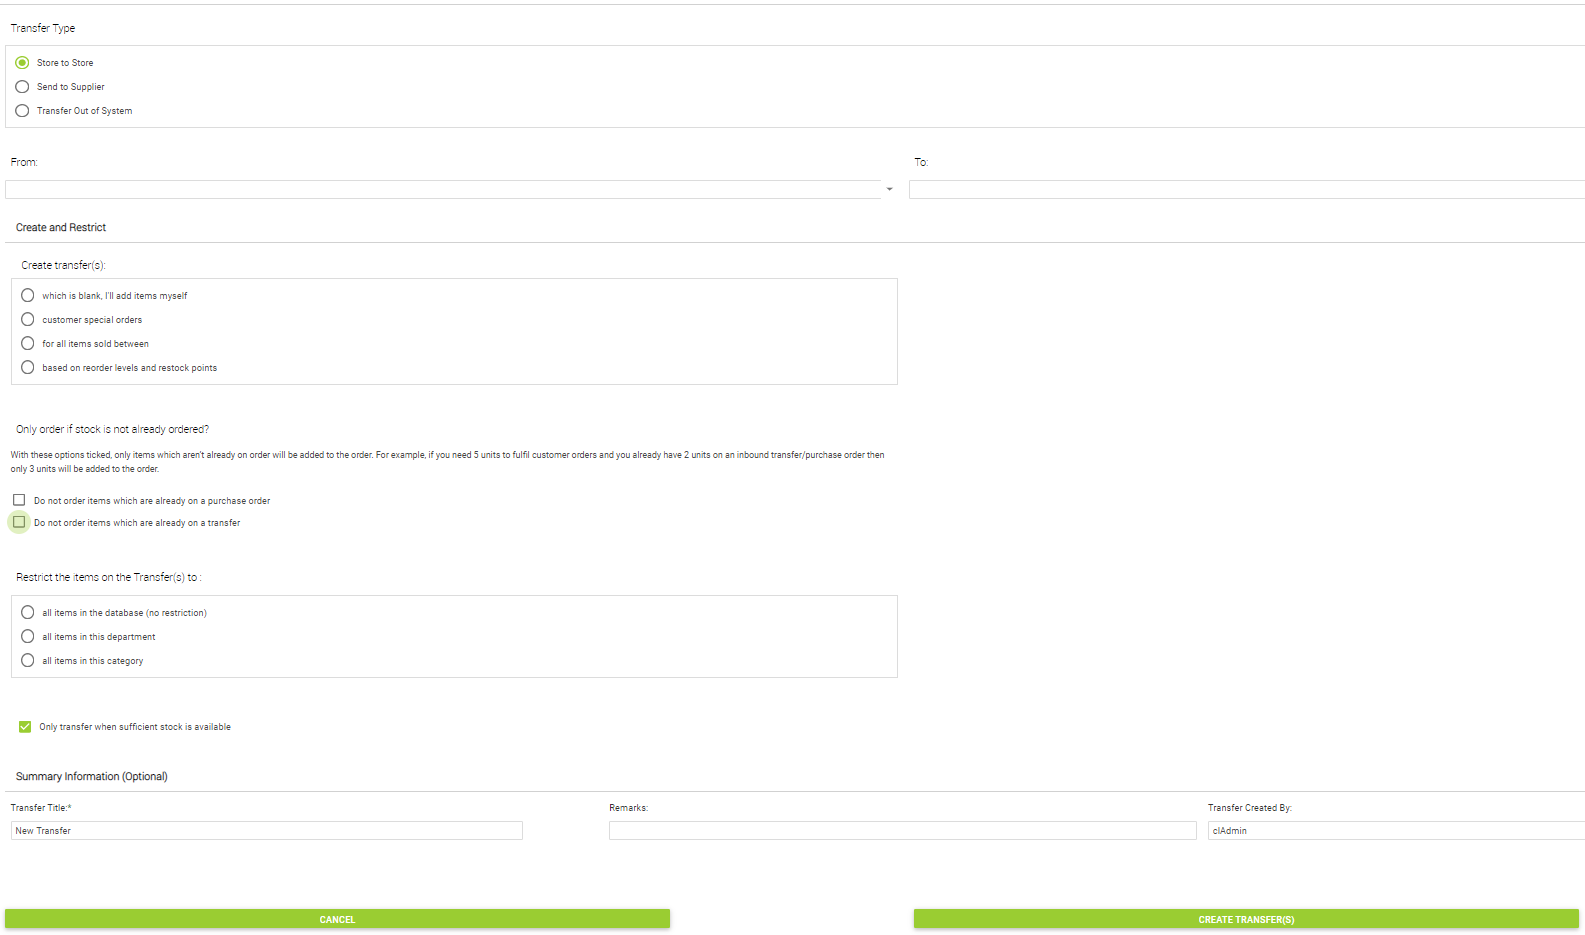
3) In this instance, we are transferring the stock out of the system, so select Transfer out of System. The format of the transfer will change to suit this function:
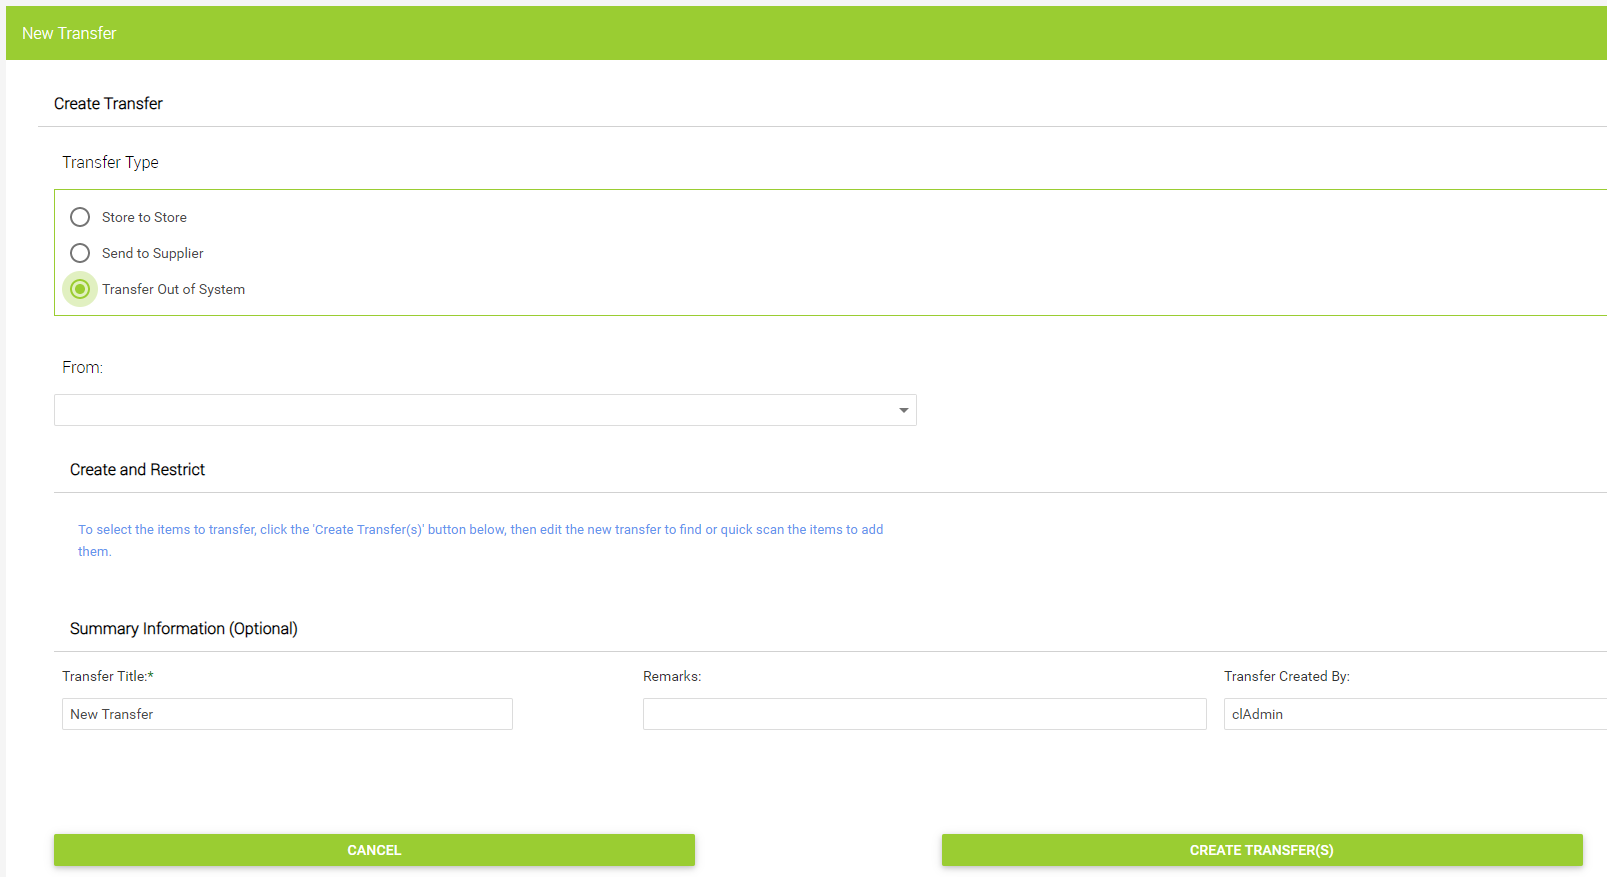
4) In the From field, select the sending store and, if required, enter a Transfer Title and Remarks. Click Create Transfer(s). You should see a direct link to the Transfer appear:
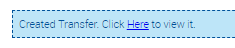
5) Clicking the link will take you to the Goods Out screen, where you can add items to the transfer. You now have three options in terms of how to add items to the transfer:
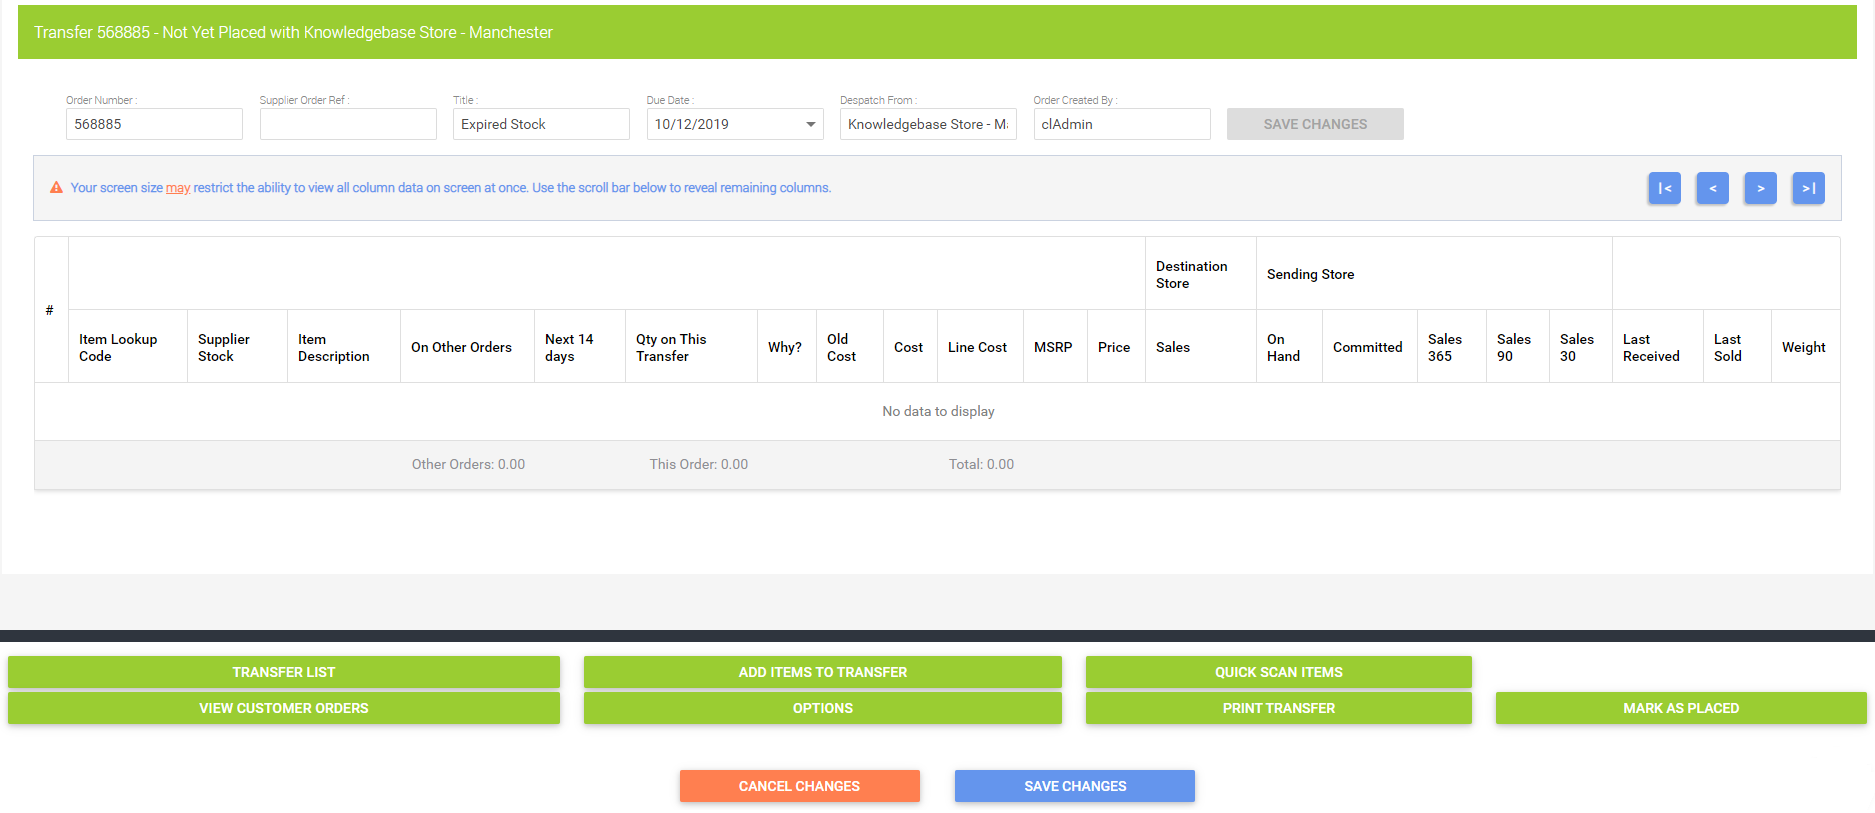
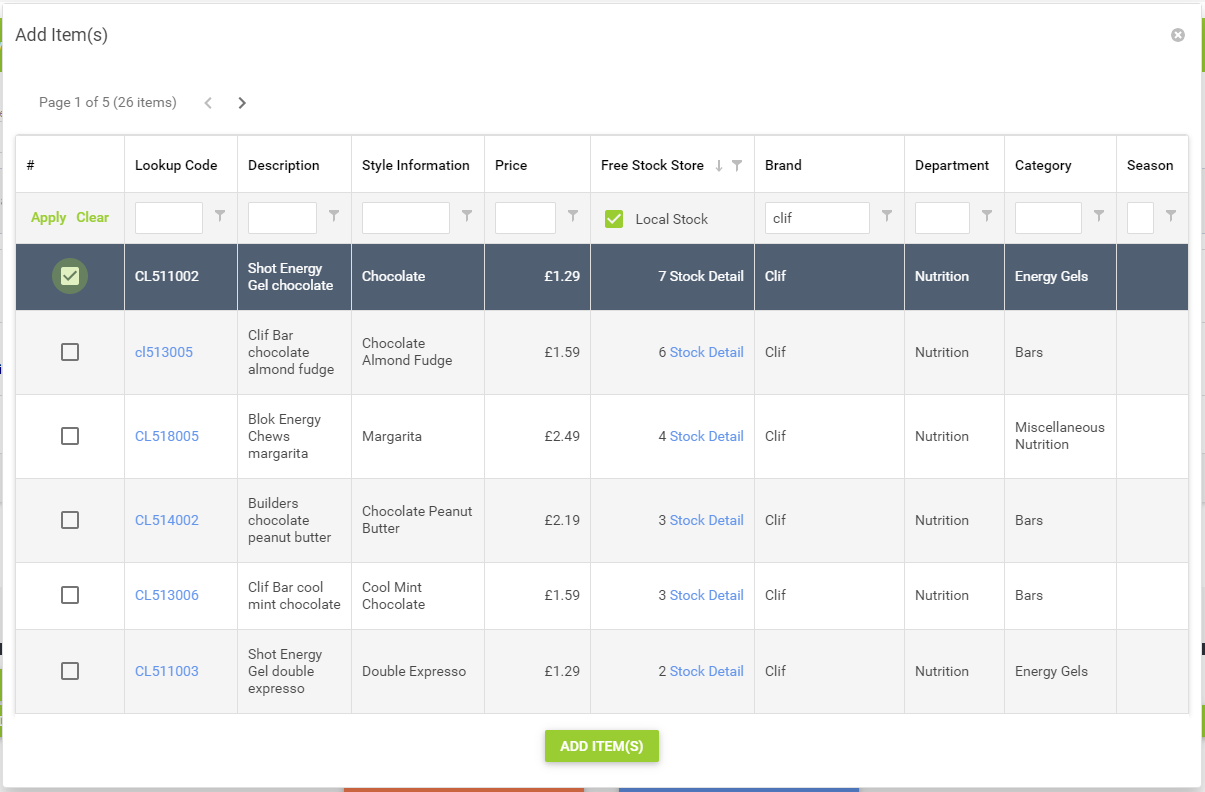
a) Click Add Items To Transfer and use the filtering options to search for and select the items you wish to add to the transfer, using the checkbox next to the relevant items to mark which items to add:
OR
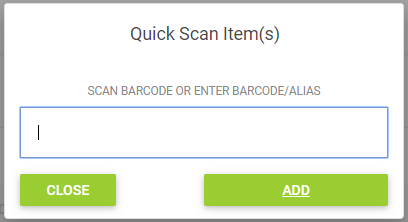
b) You can use the Quick Scan Items button to bring up a window into which you directly scan or type an item's barcode:
OR
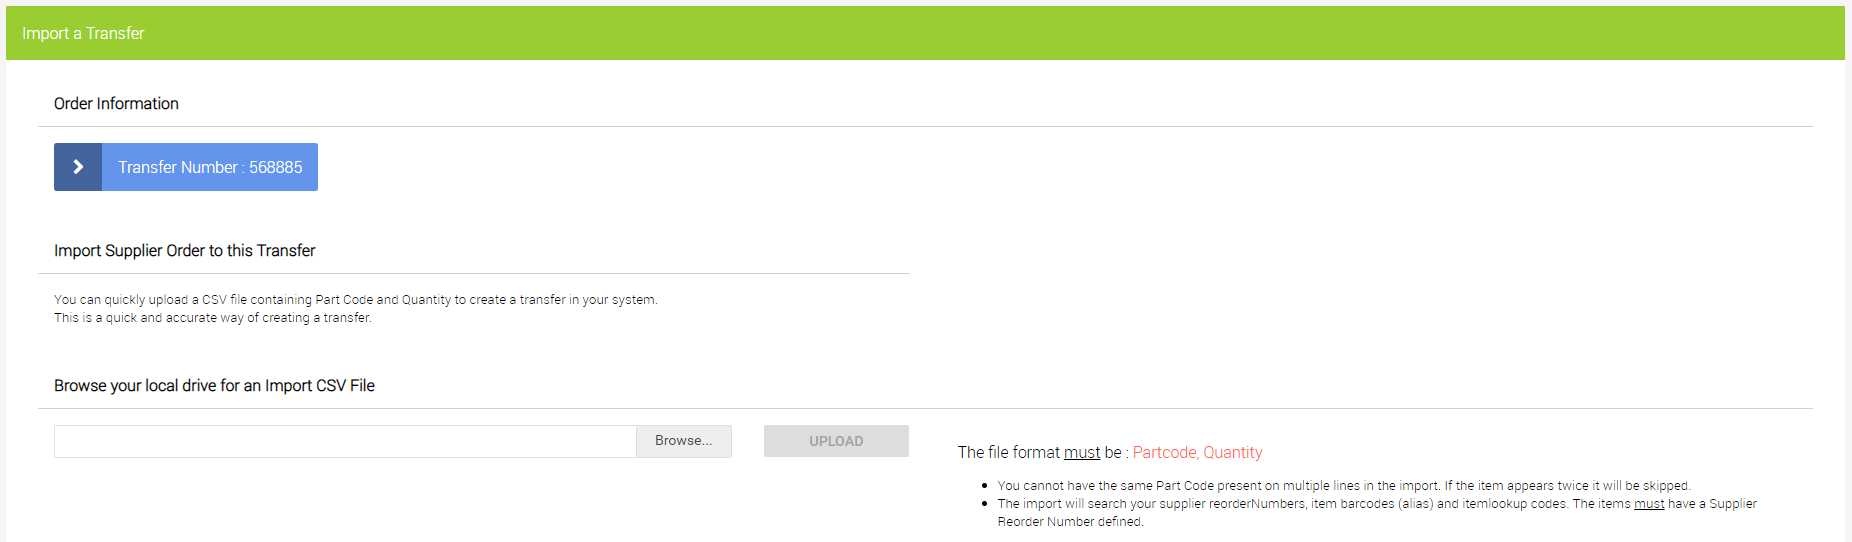
c) You can import a CSV file of items to add to the transfer. Click the Options button and then Import Transfer From CSV. You can then upload a pre-prepared CSV file containing the items you wish to add. Note that the format of the file MUST be partcode, quantity.
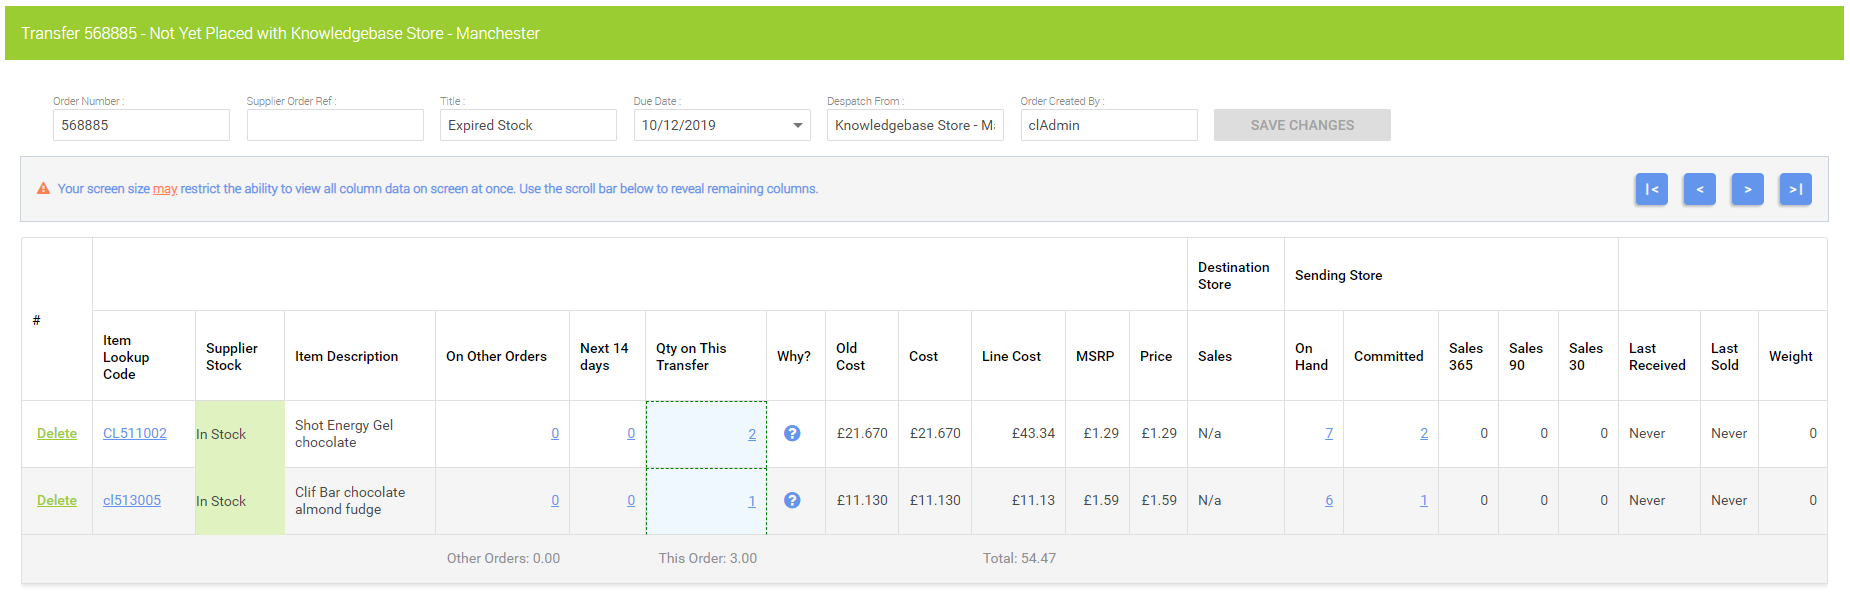
6) Once you have added the items to the transfer, set the relevant quantities in the Qty on This Transfer field. If you used the Quick Scan Items or Import Transfer from CSV options to add items to the transfer, this field will have already been set, based on the number of items you scanned:
7) Once you have all the items you require selected in the Transfer, click Save Changes
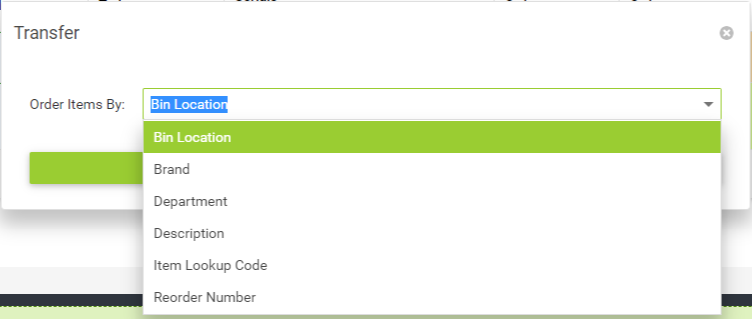
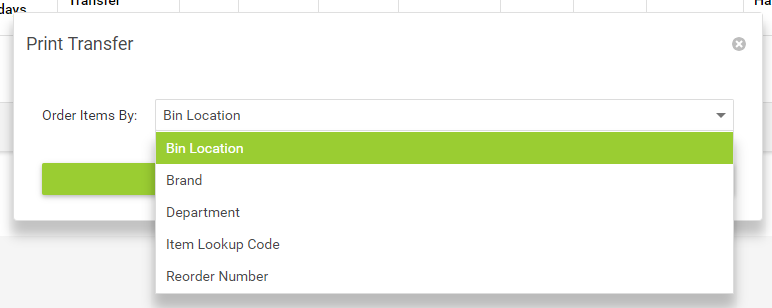
8) If you need to physically collect the items in order to put together the transfer, you can print the Transfer to aid with this, which includes filters for Bin Location, Brand, Department, Item Lookup Code and Re-Order number:
9) Once all the items are collected, click Mark As Placed:

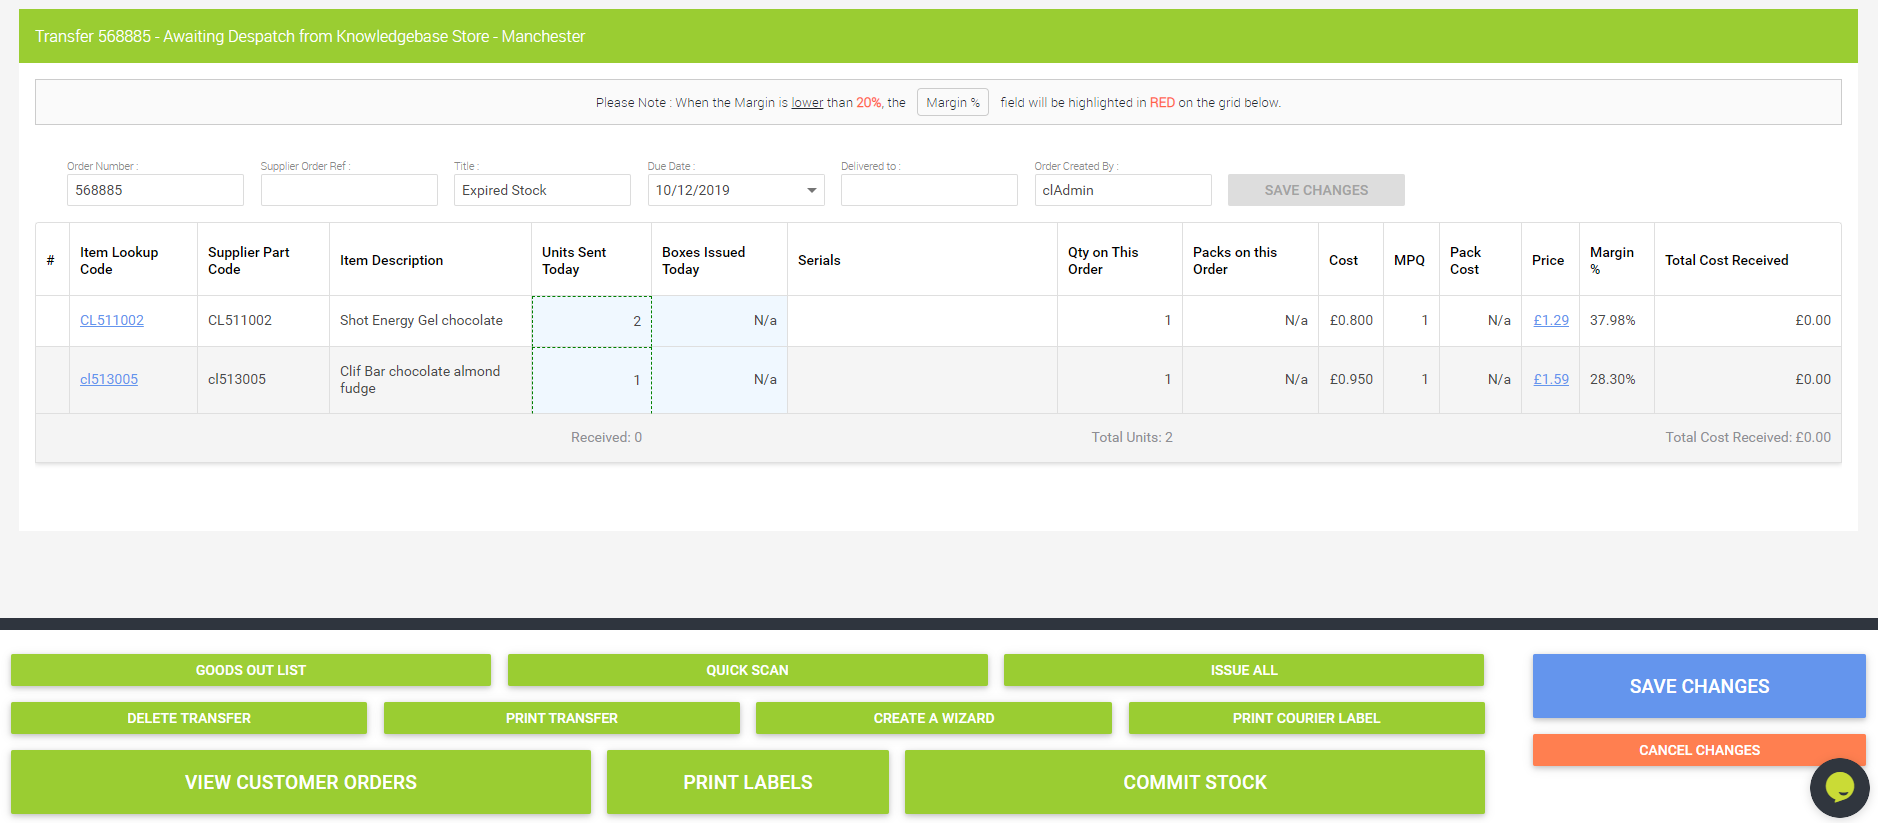
10) This will generate a link to the Goods Out page, where you can book the Transfer out of your system:

11) From this screen, you can either Quick Scan all the items to update the quantities, select Issue All, or manually update the item quantities. Click Save Changes.
12) Once you are confident you have all figures updated, click Commit Stock:
13) A dialogue window will appear at this point, asking you to confirm the process:
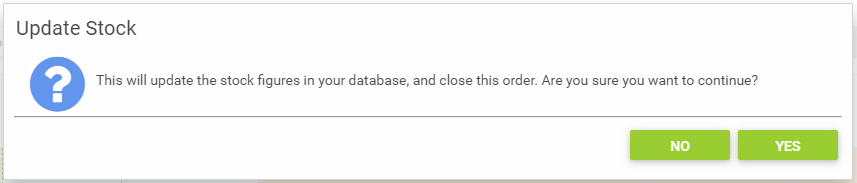
14) Click Yes to commit the Transfer out of your system.
15) The system will ask if you wish to print labels or create a corresponding Transfer In. In this scenario, we do not need either.
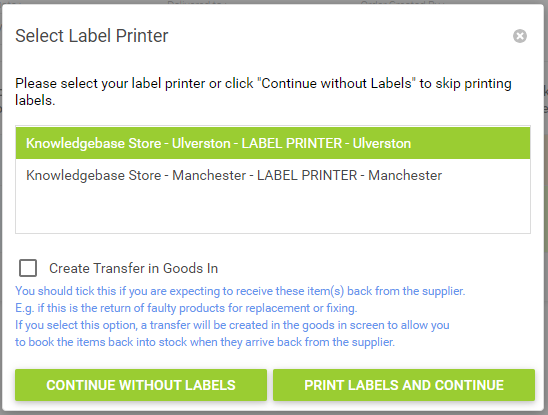
16) Click Continue without Labels and the Transfer will successfully remove the items from your system:

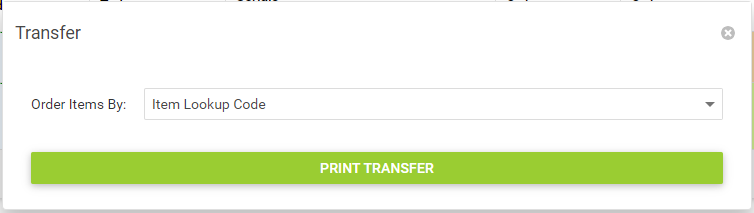
17) If you wish to print the transfer at any stage, select the Print Transfer button. You will then be presented with the option to select how you would like the items on the transfer to be ordered, i.e., by Bin Location, by Brand, etc. Select the preferred option and click Print Transfer again.