This article will cover the following topics:
- Introducing Aurora and DejaVoo
- Connecting your card terminal to the internet
- Linking your card terminal with Cloud POS
- Tendering a Transaction
- Processing a Refund
- Closing a batch
- Frequently Asked Questions
Introducing Aurora and DejaVoo
Aurora Payments is a payment services provider based in the United States. Aurora has a partnership with DejaVoo, who provide card terminals (and other payment software). The payment application that DejaVoo uses on these card terminals is called SPin.
If you have a contract with Aurora for your in-store card processing, you can integrate your DejaVoo card terminal with Cloud POS to process transactions seamlessly. On the terminal itself, you will be processing payments from within the SPin app.
Connecting your card terminal to the internet
Your card terminal requires a connection to the internet. It does not have to be connected to the same network as your computer.
There are three options available for network connections:
- WiFi
- Ethernet*
- SIM card
*Please Note: If you choose to use an ethernet connection for your card terminal, you cannot plug the power cable into a USB port on your PC/Mac. The ethernet connection option is only compatible with an AC/DC power source, e.g. a power socket on the wall.
WiFi and/or Ethernet will be the most likely options in store. The SIM card option could prove a useful alternative if you take a card terminal out of the store, e.g. when attending an event or trade show.
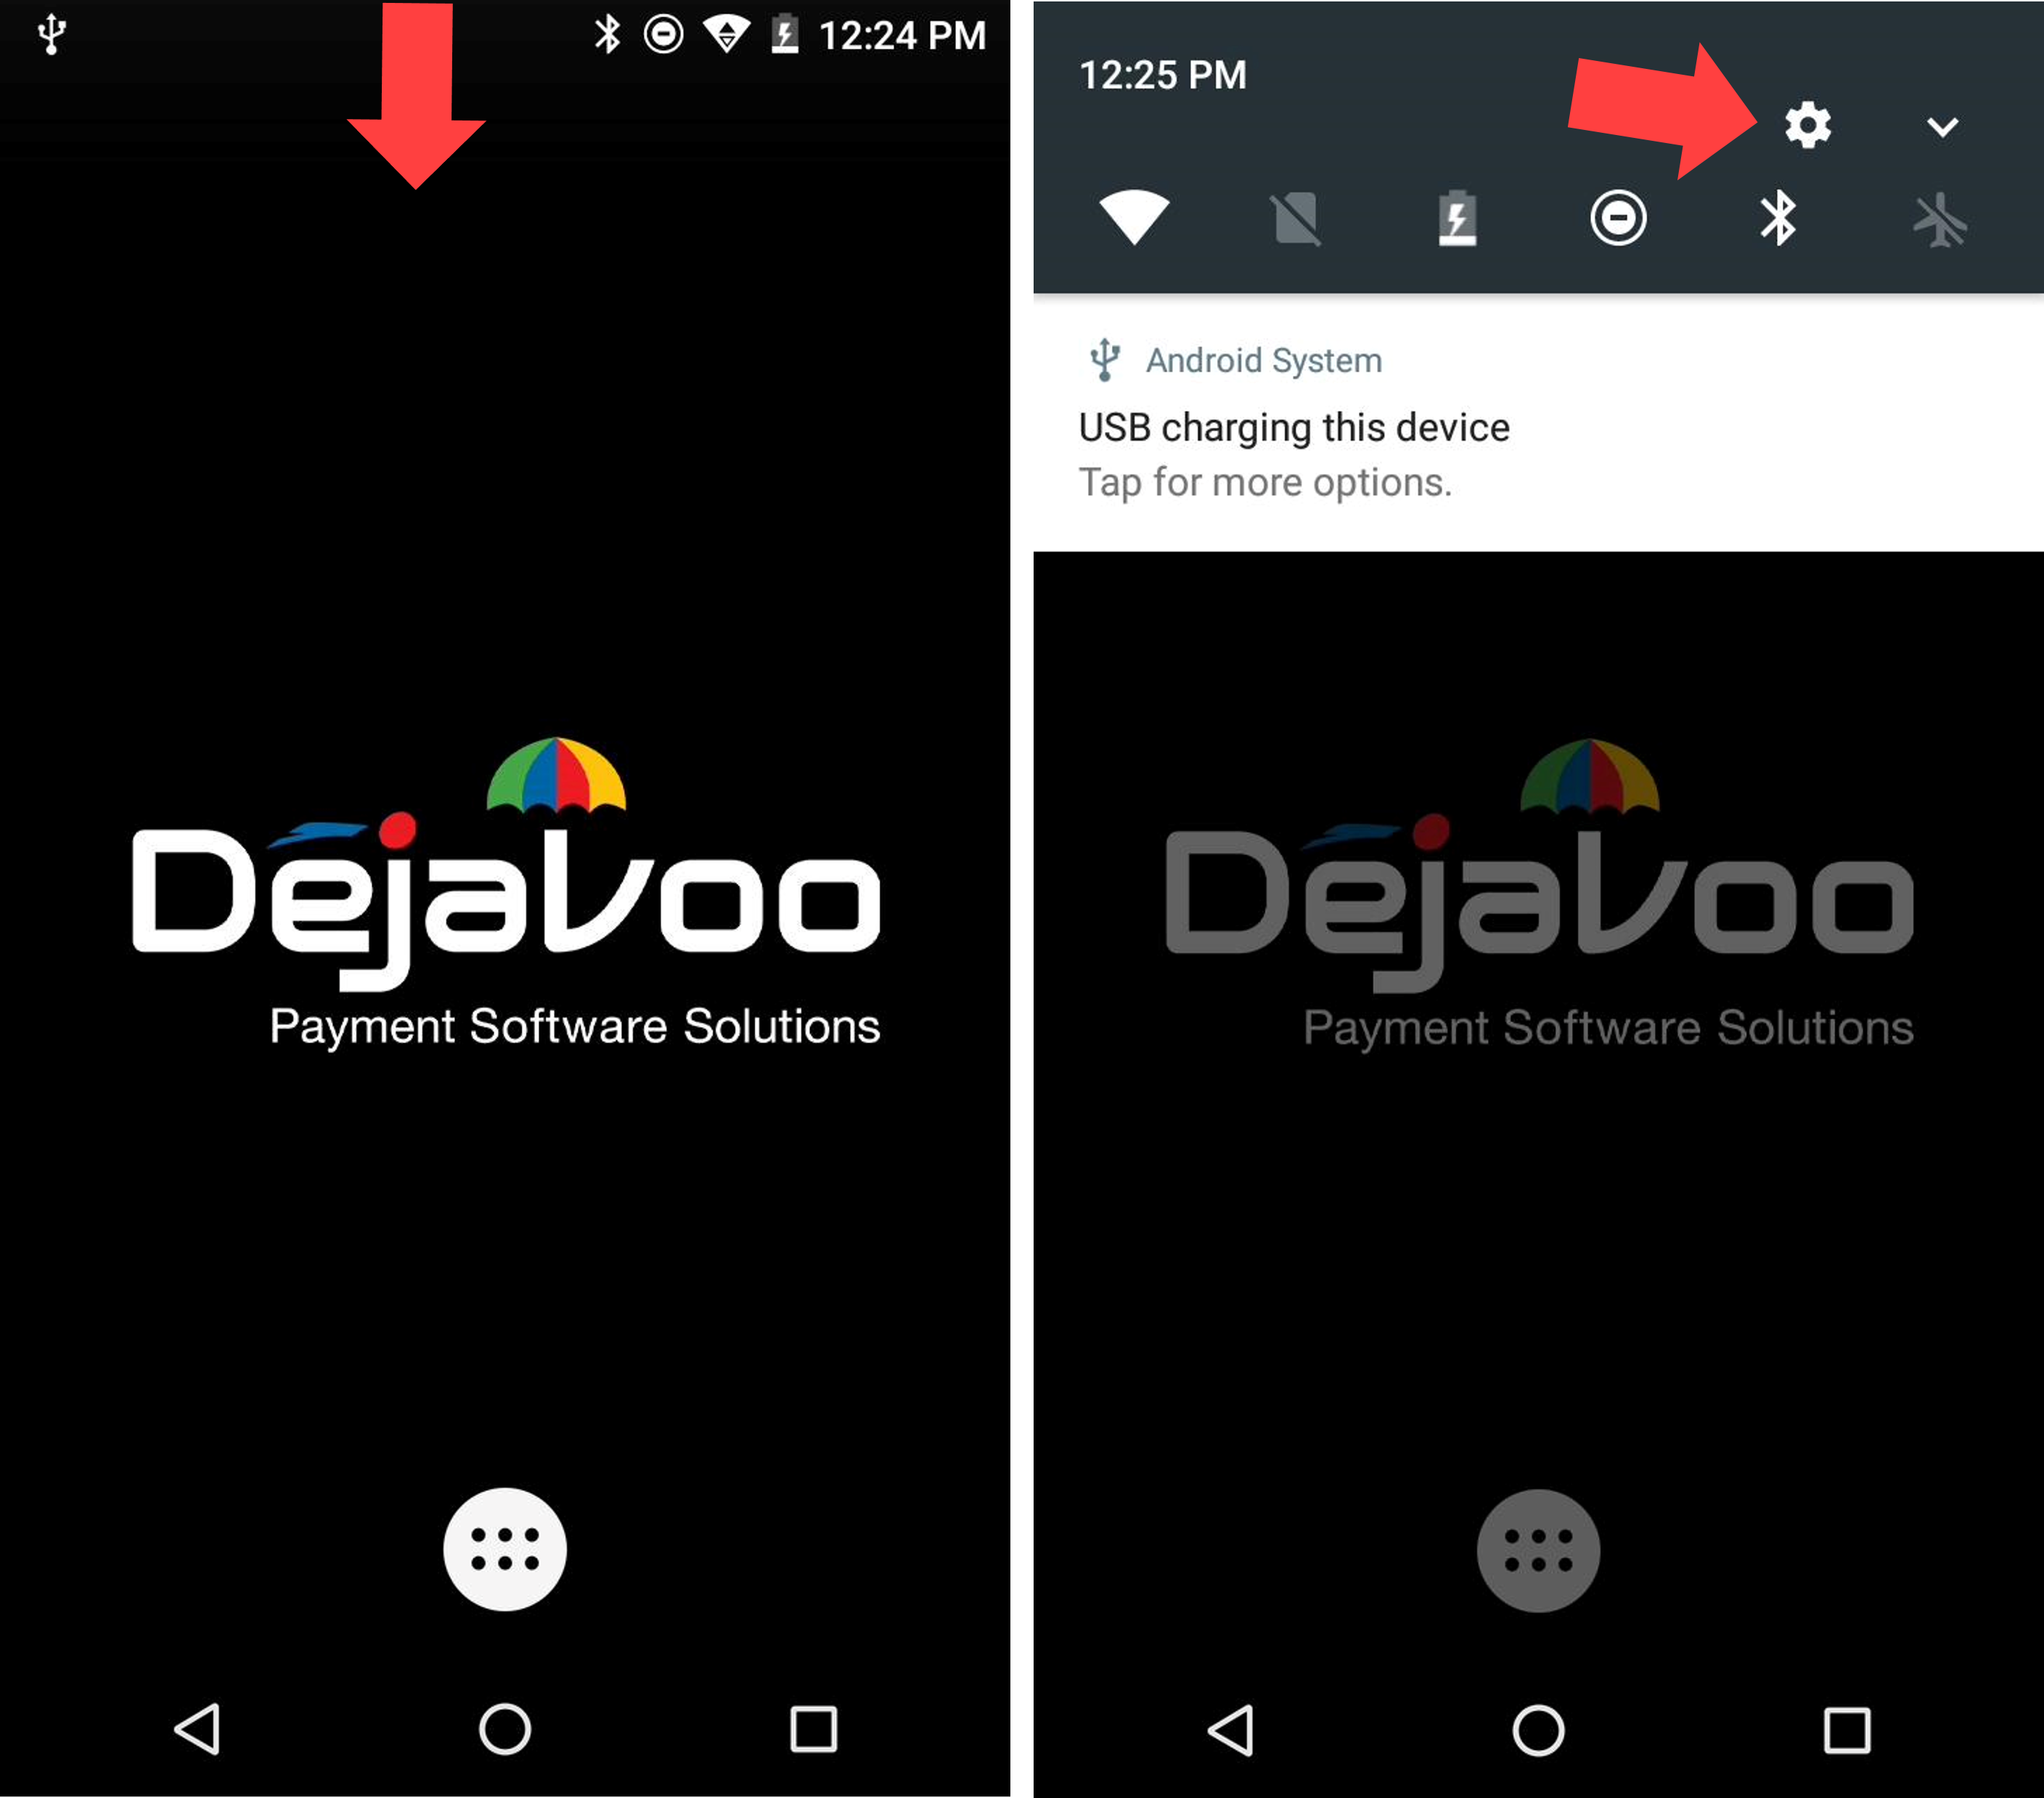
You can configure the network settings for your terminal from the main DejaVoo home screen or from within the SPin app.
From either screen, swipe/drag your finger down from the top of the card terminal screen (where you will see icons representing the terminal's battery, current connectivity and the current time).
This will reveal a Settings icon. Press this icon to enter the terminal settings:
Press ‘WiFi’. You can now select and connect to an available WiFi network, entering the password if required.
You can also find the settings here for enabling an ethernet connection (which would require you to connect an ethernet cable into the back of the terminal).
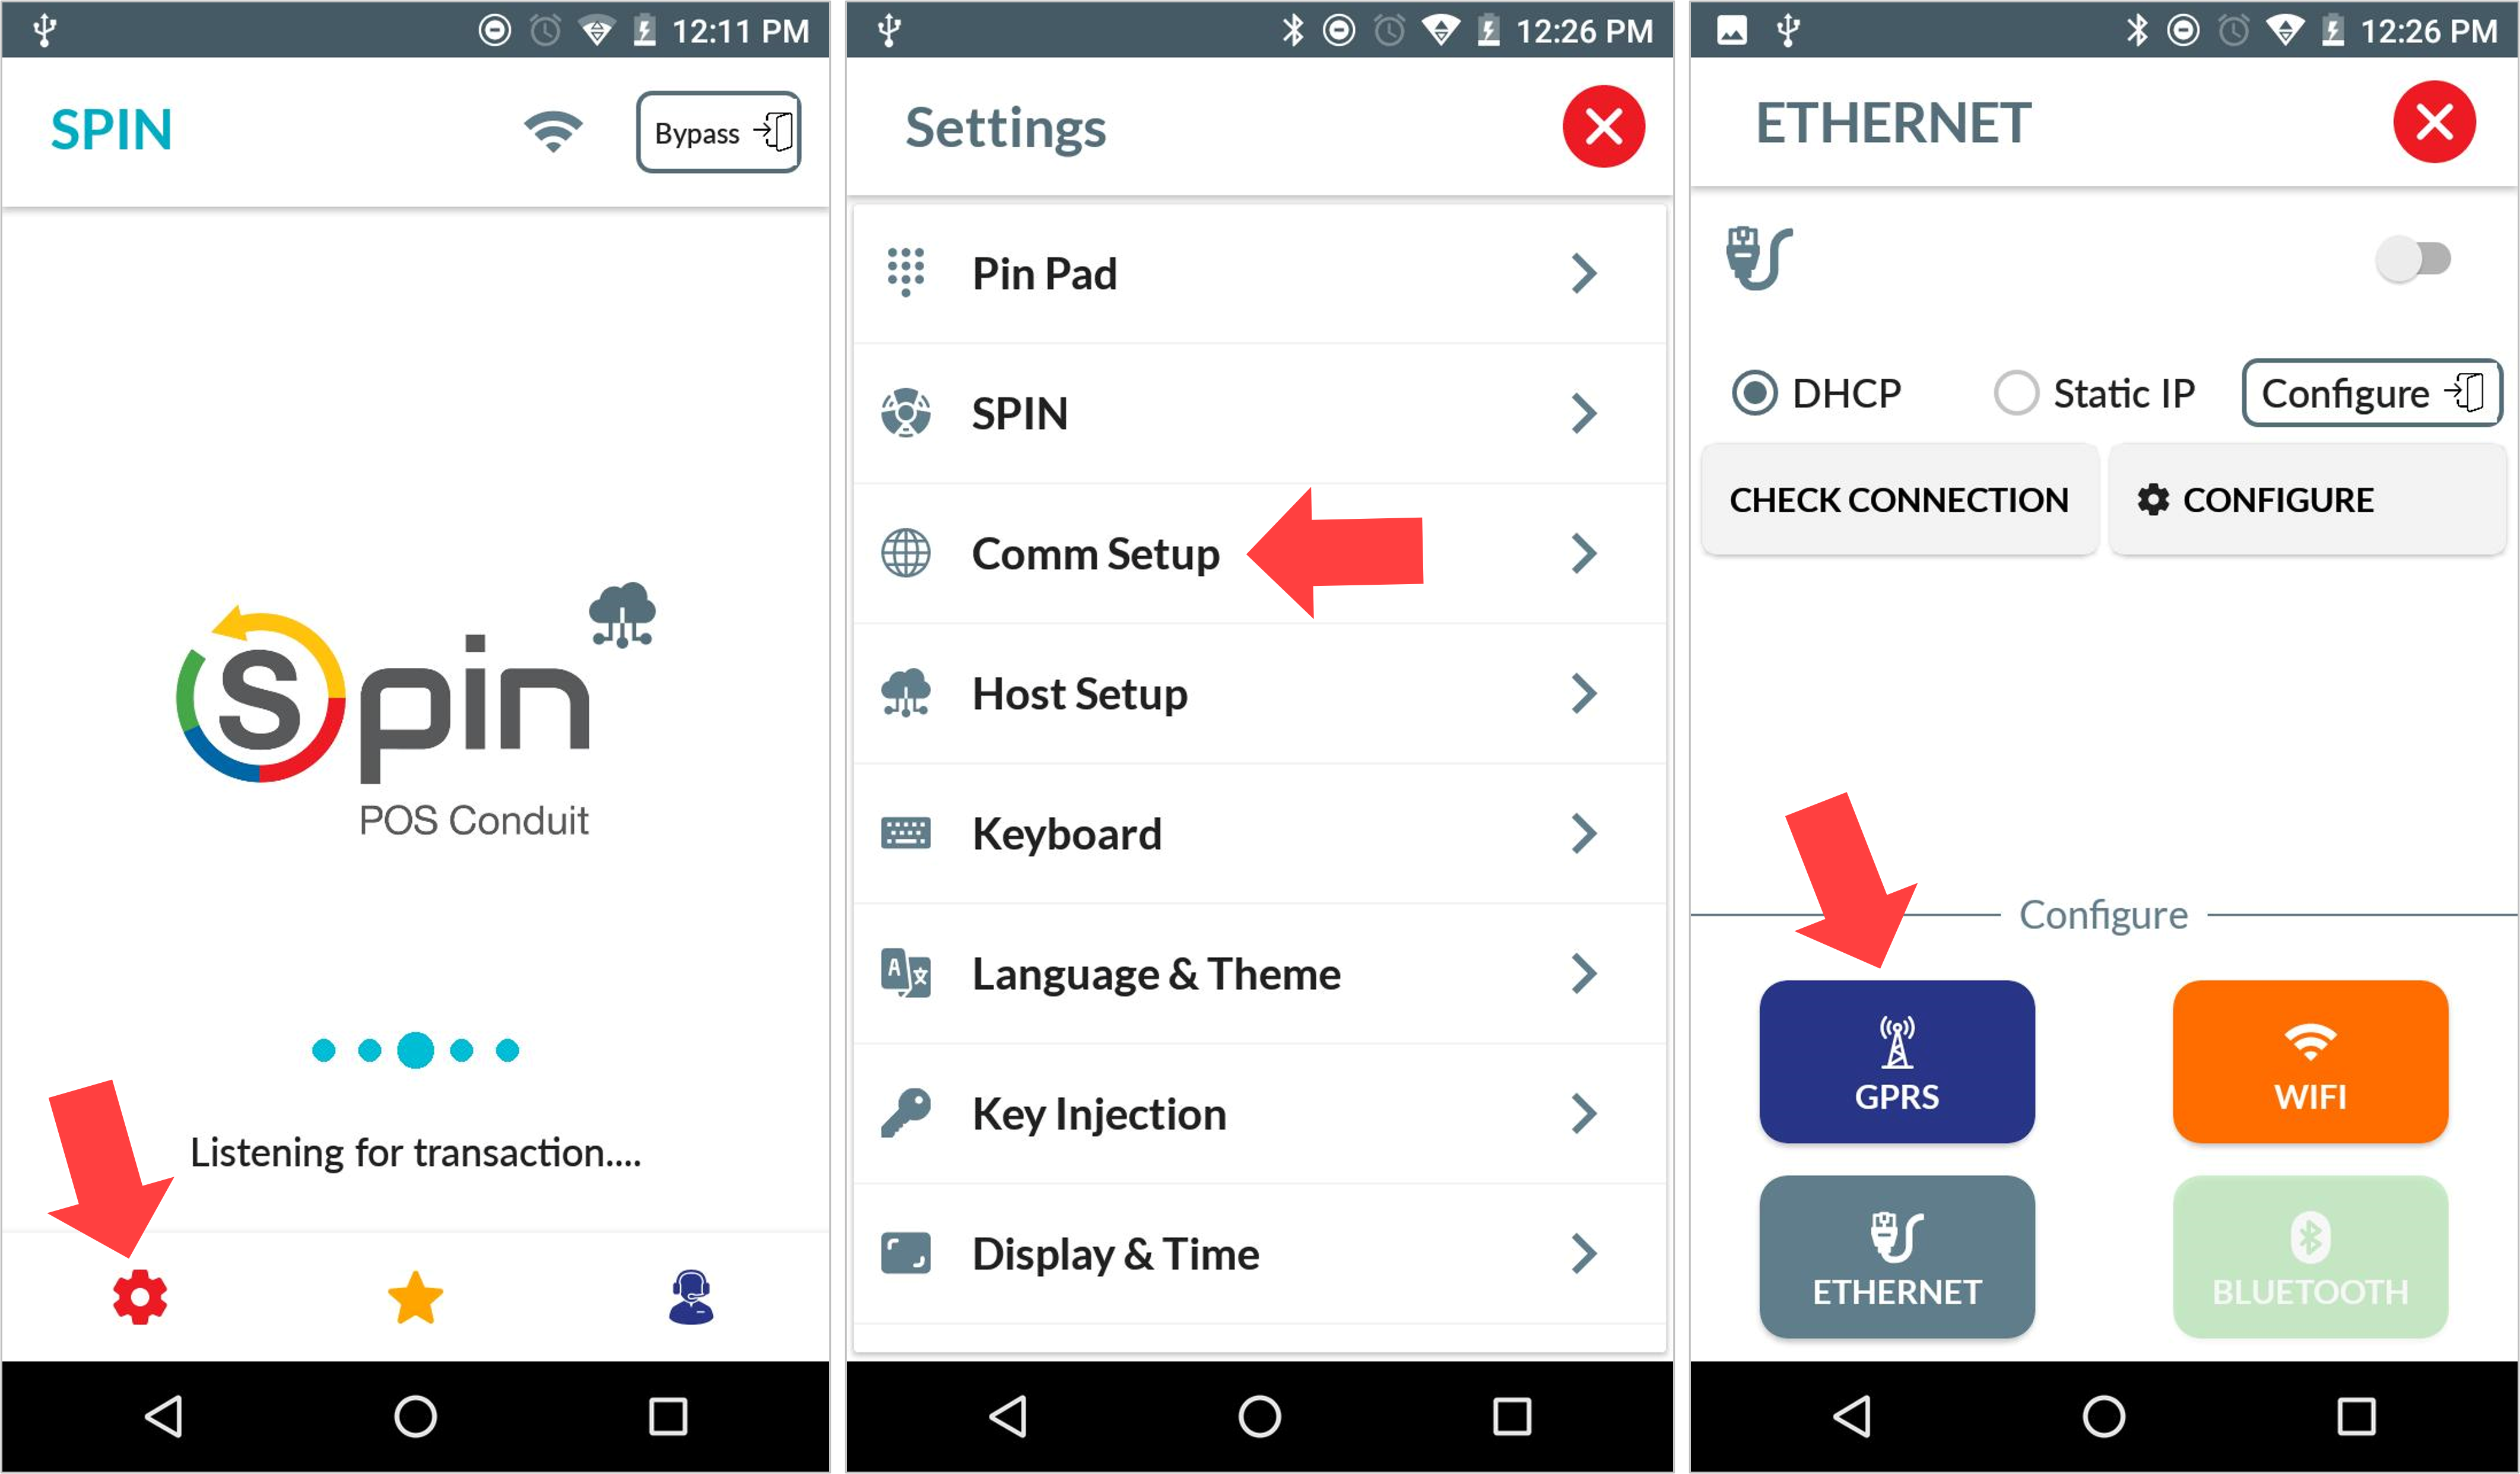
The settings for a SIM card connection are best found from within the SPin app (see here if you're unsure how to launch the app). Tap the red Settings icon, then Comm Setup, then GPRS:
Linking your card terminal with Cloud POS
You can link one DejaVoo card terminal with each register in Cloud POS.
Integrating an existing card terminal
If you have already been using your Aurora card terminal in standalone mode, and you are now ready to integrate it with Cloud POS, the Citrus-Lime Support Team will reach out to assist you with that transition. The Support Team must first change the terminal settings to enable the integrated mode. This also involves fetching a file update onto the terminal itself.
Once that update has taken place, you will be ready to follow the steps below. The Support Team can guide you through this as well if you prefer.
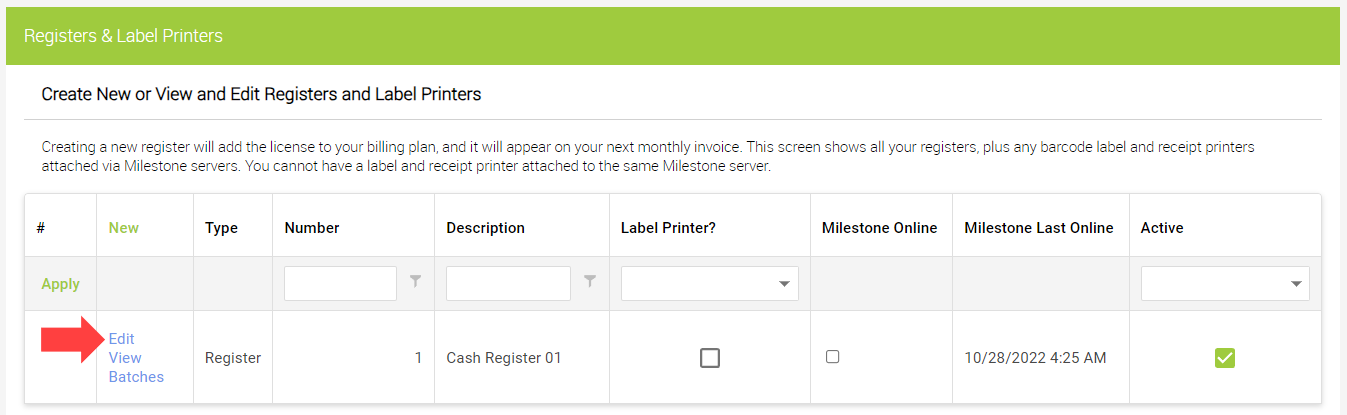
In the Cloud POS Back Office, navigate to Setup > Registers & Barcode Label Printers.
Here you will see a list of your current cash registers. Click Edit beside the register that you would like to link with a DejaVoo terminal.
This will take you to the settings page for that register. Scroll down the page to the section titled ‘Integrated Credit Card Settings’:
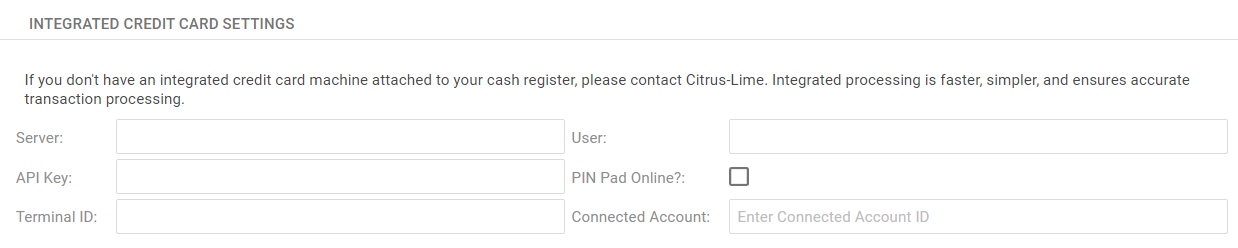
This is where you will enter the details for your card terminal, as follows:
| Field | Value | Example |
|---|---|---|
| Server | https://api.spinpos.net | |
| API Key | This is a combination of upper- and lower-case letters. This will be provided to you by Citrus-Lime. |
UH7bnrdCJz |
| Terminal ID | This is the unique ID for that specific card terminal. This will be provided to you by Citrus-Lime. You can also find it by pressing the red ‘Settings’ icon on your card terminal — this will show the Terminal ID as the ‘TPN’. |
978223441399 |
| User | Leave this blank. | |
| PIN Pad Online? | This box will be ticked automatically once your terminal is connected (see below). | |
| Connected Account | Leave this blank. | |
Once you have entered your Server, API Key and Terminal ID, scroll down to the bottom of the page, and click Save.
This will take you back to the list of registers. Click Edit beside the register to reload the settings page. If your terminal is now successfully linked with Cloud POS, you will see a green tick in the 'PIN Pad Online'?' box, like so:

If this box is not ticked, it means Cloud POS has not been able to connect with the card terminal. Try these troubleshooting steps:
1) Make sure the Server, API Key and Terminal ID are correct. The Terminal ID is unique for that terminal, so if it has been entered incorrectly (even by one digit), the integration will not work.
2) Check that your terminal is powered on. If the terminal is switched off, Cloud POS cannot ‘find’ it.
3) Check that your terminal has an active internet connection (via WiFi / ethernet / SIM card). Please refer to the first section of the article for more help with this.
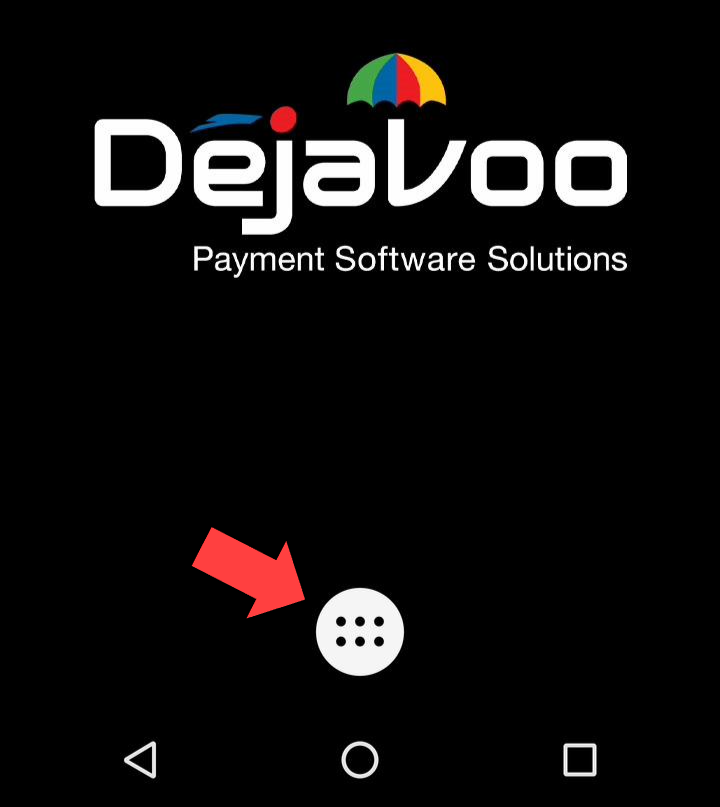
4) Make sure the terminal is running the SPin application. Sometimes this does not launch automatically on the terminal. If your terminal screen looks like this…
…that means it is not yet running the application. You need to press the 6-dot menu icon:
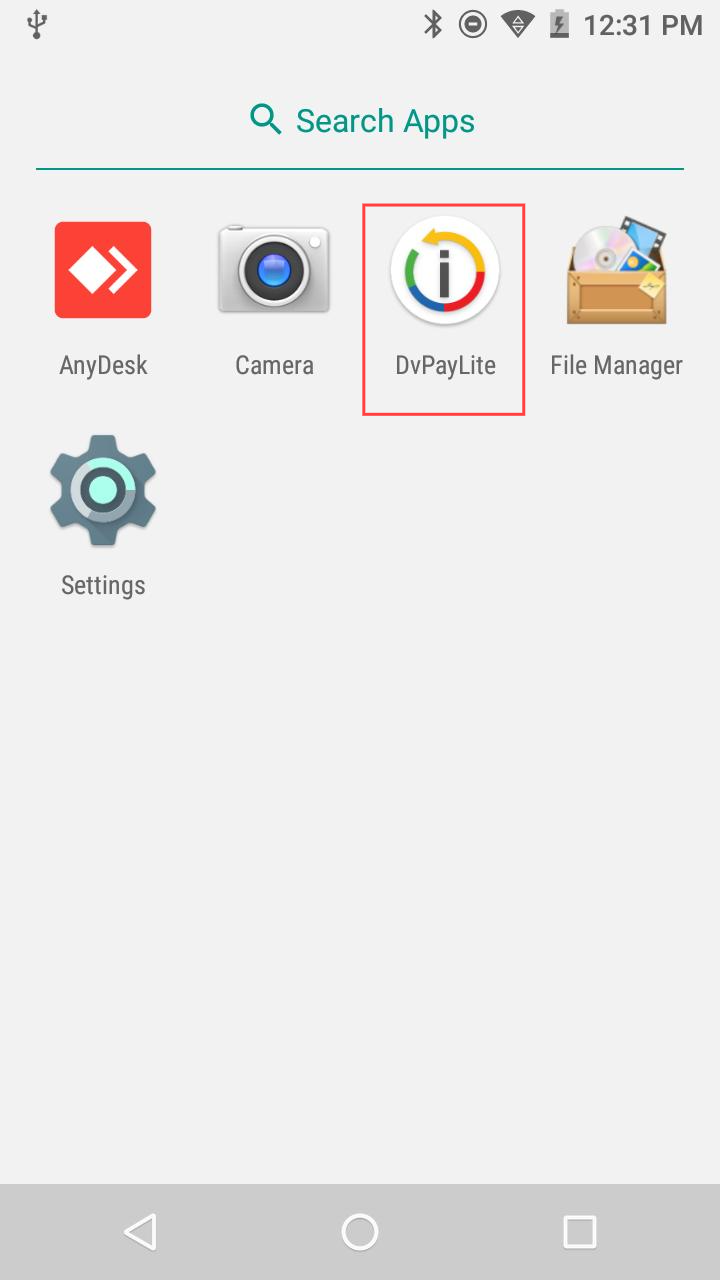
Then press DvPayLite:
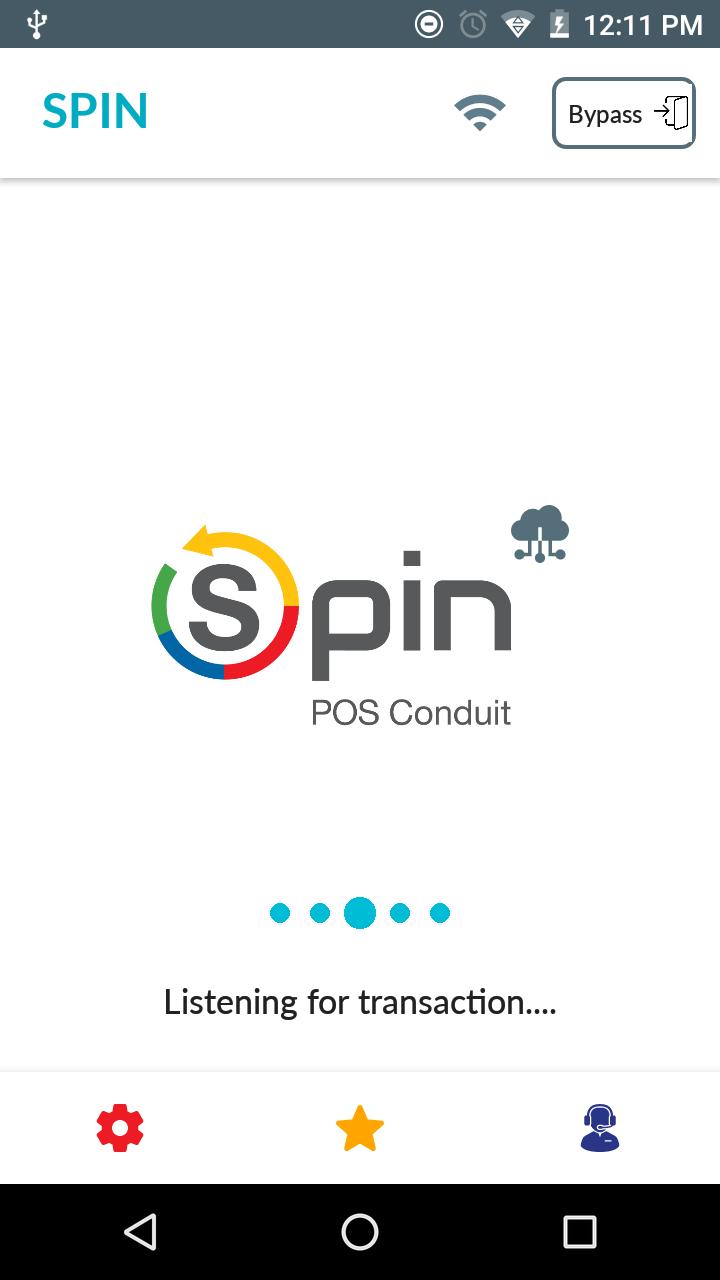
After a few seconds, this should take you to the SPin home screen, with a message to say that the terminal is “Listening for transaction…”. Click Save on the register settings page in the Back Office again, and then reload it. You should now see ‘PIN Pad Online?’ is ticked.
Once ‘PIN Pad Online?’ is ticked, and your card terminal screen looks like the image below, you are ready to start processing integrated card transactions through Cloud POS.
Tendering a Transaction
When you are ready to take a payment from a customer, click Tender to proceed to the Tender Transaction screen. (You can find further help with preparing transactions in this article.)
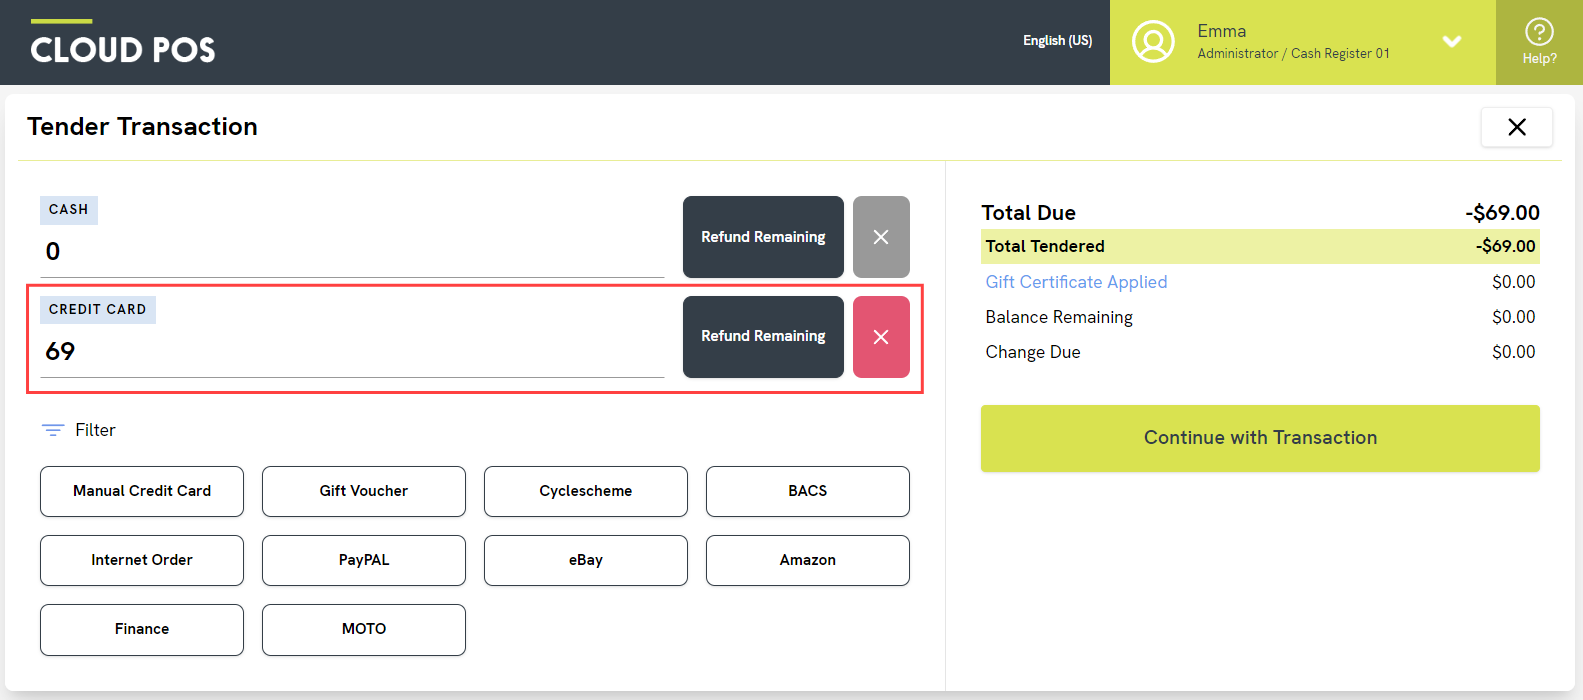
On the Tender Transaction screen, assign the total that the customer will be paying by card to the Credit Card tender type:
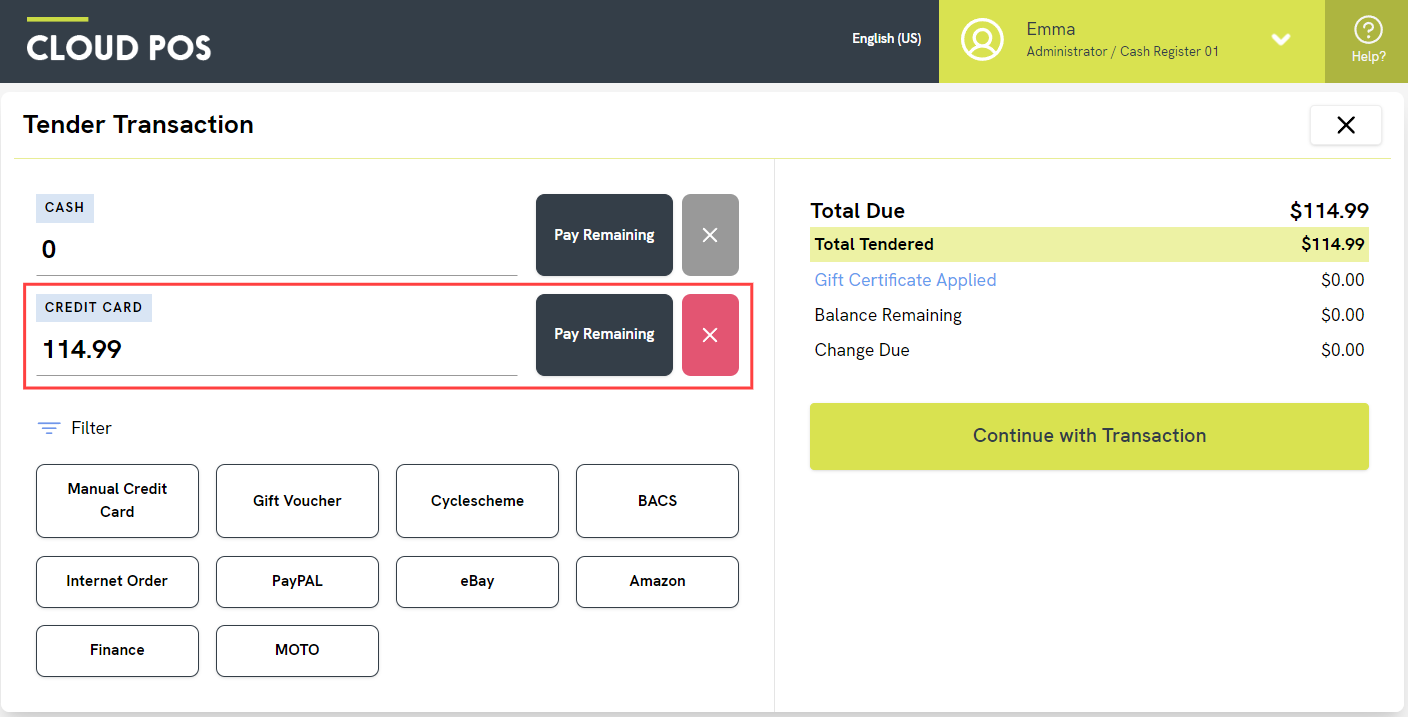
Top Tip
If the customer is making their whole payment by card, click the ‘Pay Remaining’ button next to the Credit Card tender type. That will assign the whole ‘Total Due’ to Credit Card straight away.
You can still split the payment between multiple tender types if you need to. Simply type in the amount to be paid using the first tender type, e.g. Cash, and then use ‘Pay Remaining’ to assign the rest to Credit Card.
When you are ready to proceed, click Continue with Transaction.
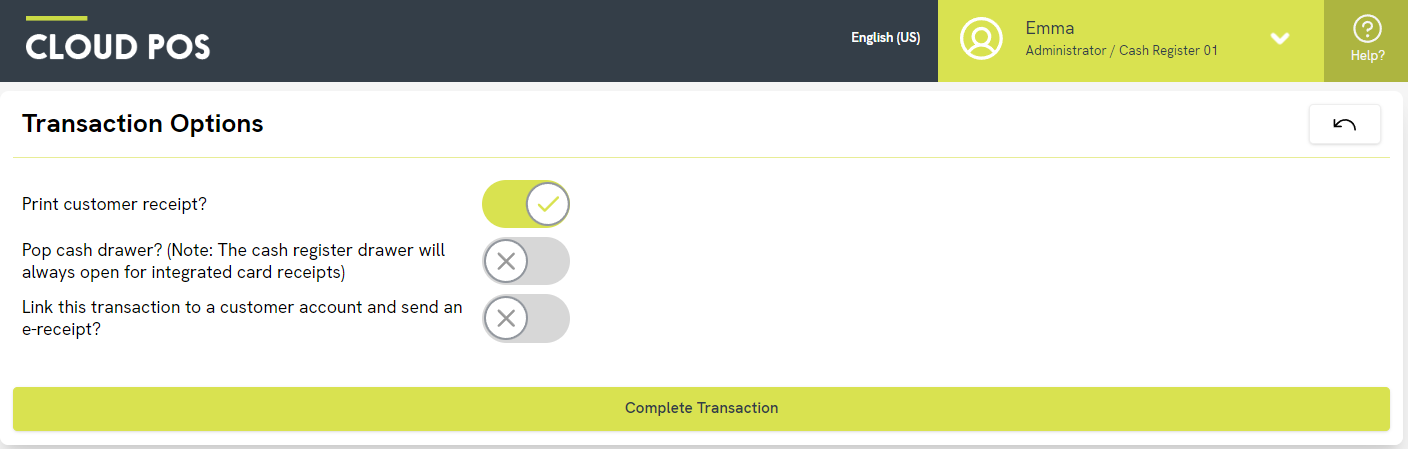
This will take you to the Transaction Options screen, where you can choose if you would like to print and/or email receipts to the customer. When you are ready, click Complete Transaction.
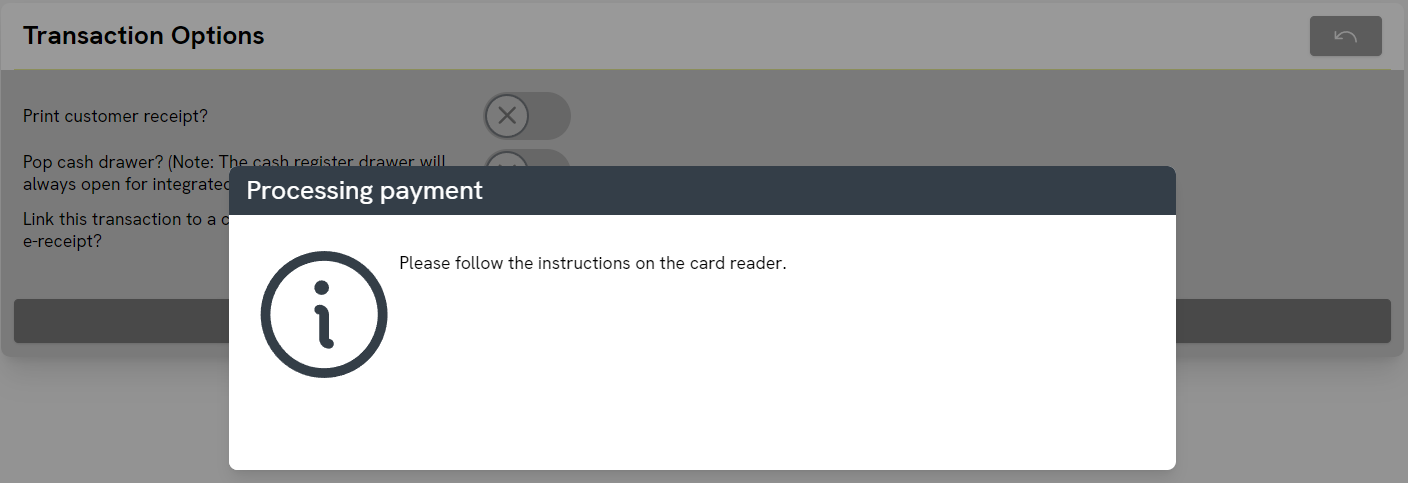
This will now send the total to the card terminal for payment. The Cloud POS screen will tell you to follow instructions on the card reader:
You will also see the total appear on the terminal screen, like so:
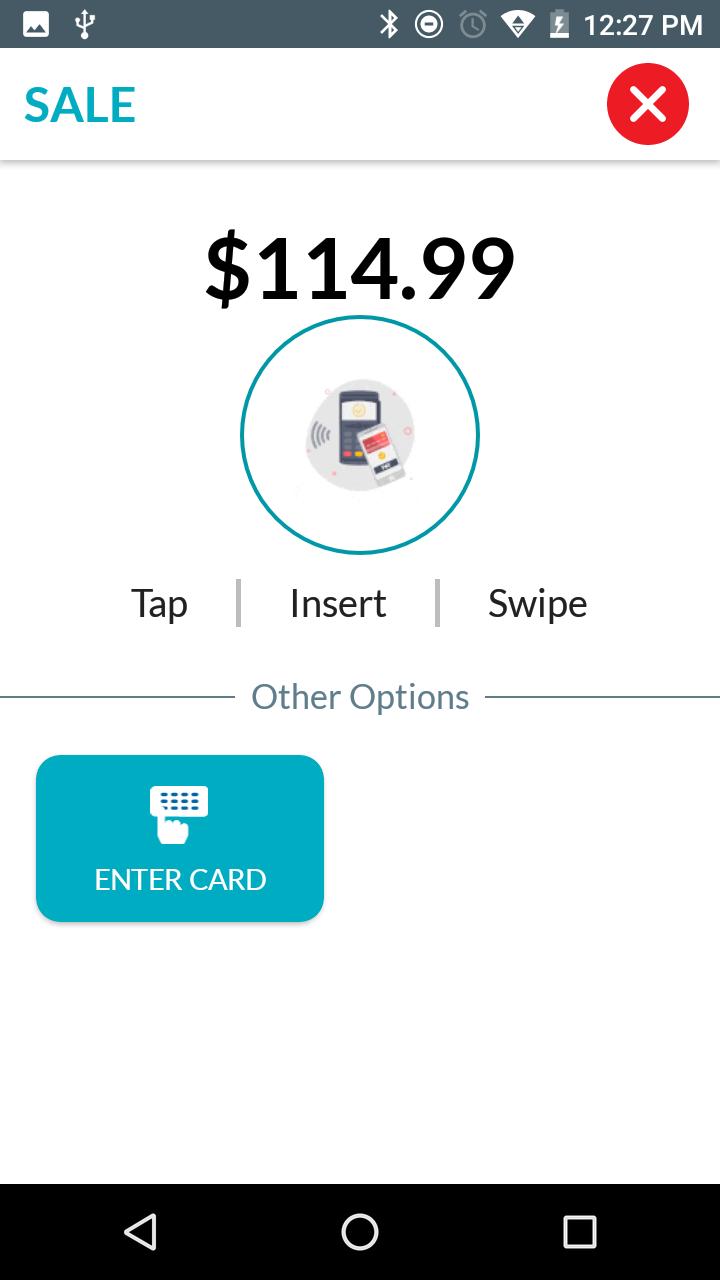
At this point, your customer can tap their card on the top of the terminal (to perform a contactless transaction) or enter their card into the terminal (at the bottom) if they need to enter their PIN.
Card Not Present (CNP) Transactions
If your customer is not present in the store and you need to enter their card details manually — for example, if you are taking payment over the phone — tap the blue ‘Enter Card’ button on the terminal screen. This will then take you through a series of prompts to capture the long card number, CV2 code, billing code and so on.
As soon as the payment has successfully completed, Cloud POS will complete the transaction and you will see a message on the screen:
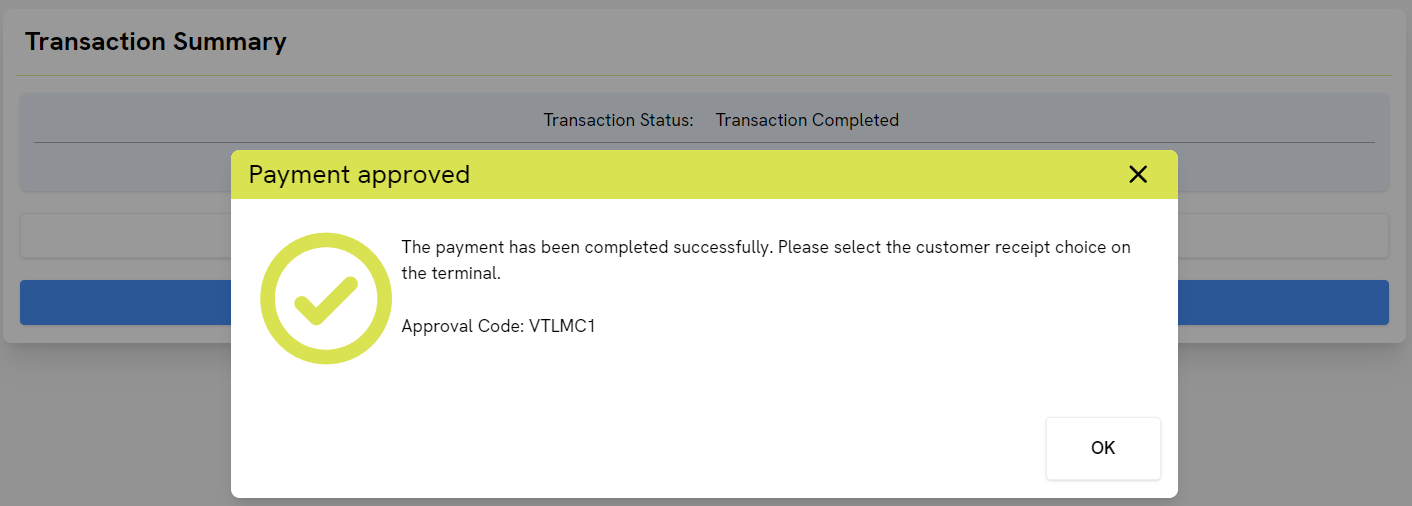
If you would like to print a customer copy of the payment receipt, press the relevant button on the card terminal. (Remember that product receipts need to be generated from Cloud POS — the receipts from the DejaVoo terminal just confirm that the card payment has been taken.) You can configure merchant copies of receipts on/off in your iPOS portal or ask the Citrus-Lime Support Team to change this for you.
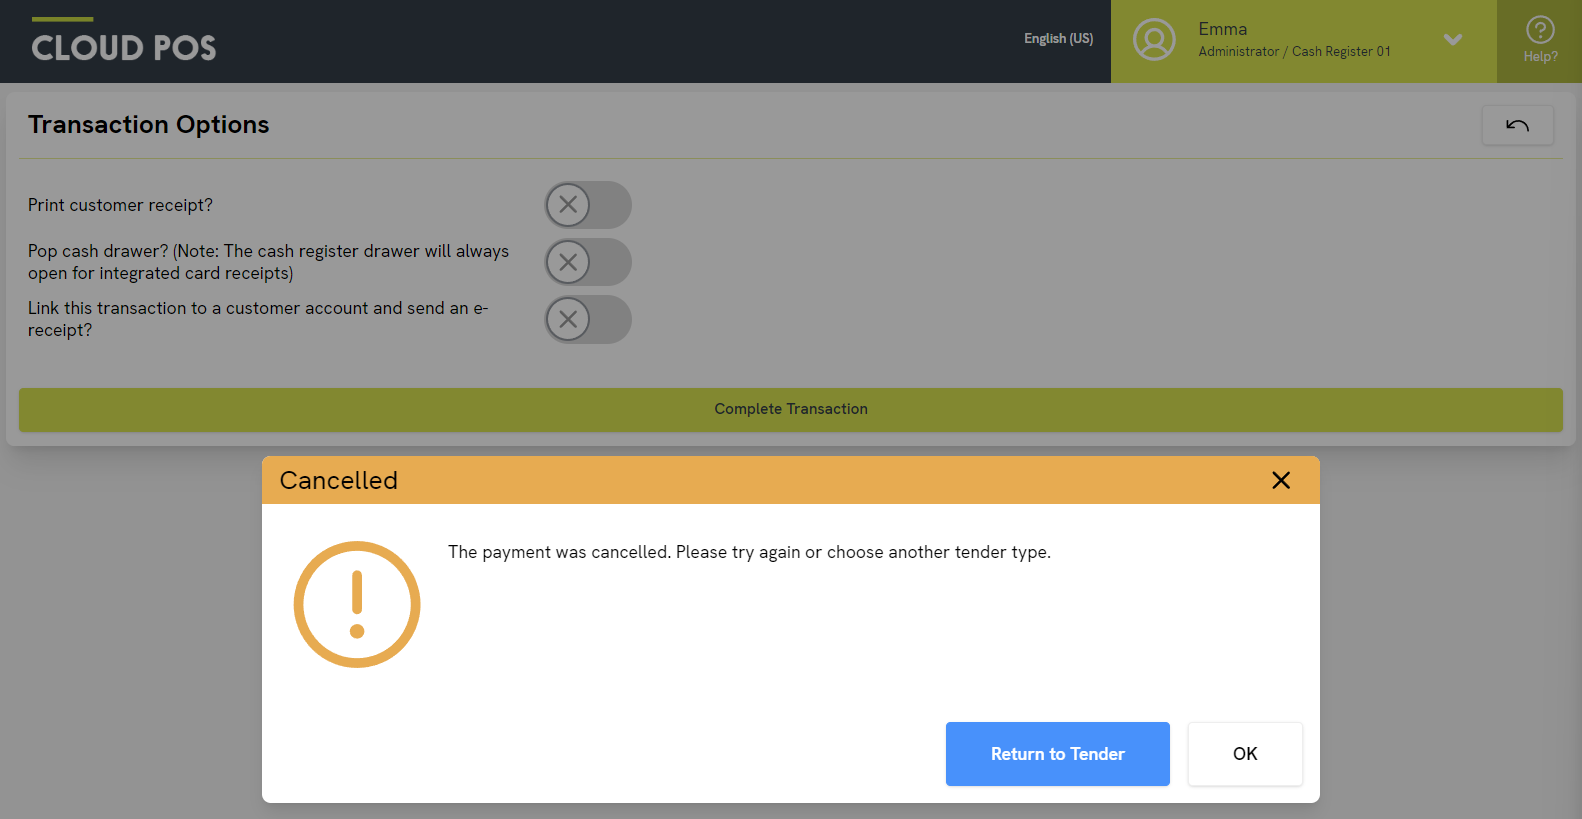
If you need to cancel the transaction for any reason, you need to do this on the card terminal. Press the red cross icon in the top-right corner of the screen:
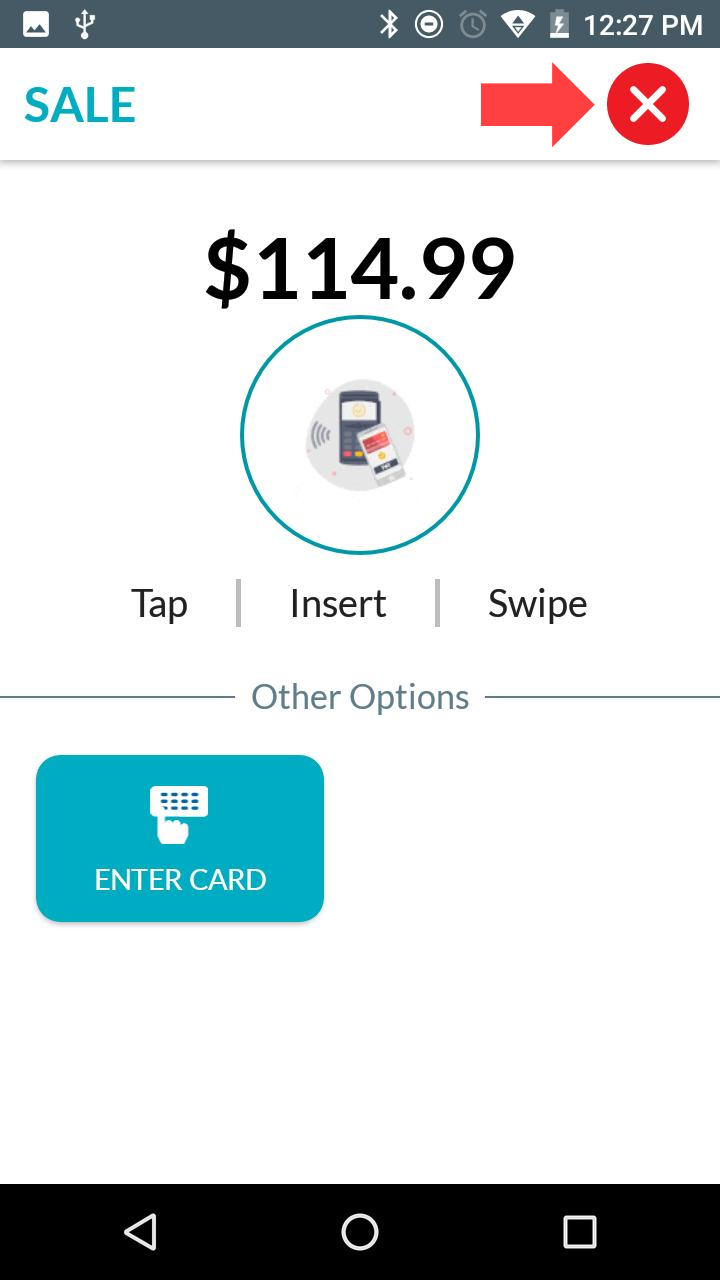
Cloud POS will then recognise that the transaction has been cancelled, and you will see a message offering you two options. Click ‘Return to Tender’ to choose a different payment method, e.g. Cash. Alternatively, click ‘OK’, and then you can click ‘Complete Transaction’ again to retry on the card terminal.
Processing a refund
To process a card refund for a customer, you should begin the return process in the usual way, by using Sales & Returns > Return Transaction. If you need further help with this process, please refer to this article.
Once you reach the Tender Transaction screen, you can assign the amount being refunded by card to the Credit Card tender type:
Click Continue with Transaction to proceed.
This will take you to the Transaction Options screen, where you can select your receipts. Click Complete Transaction to proceed.
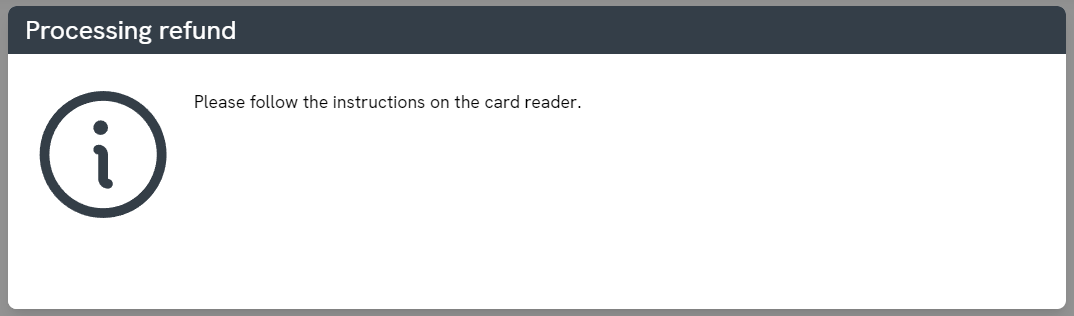
Cloud POS will tell you to follow the instructions on the terminal:
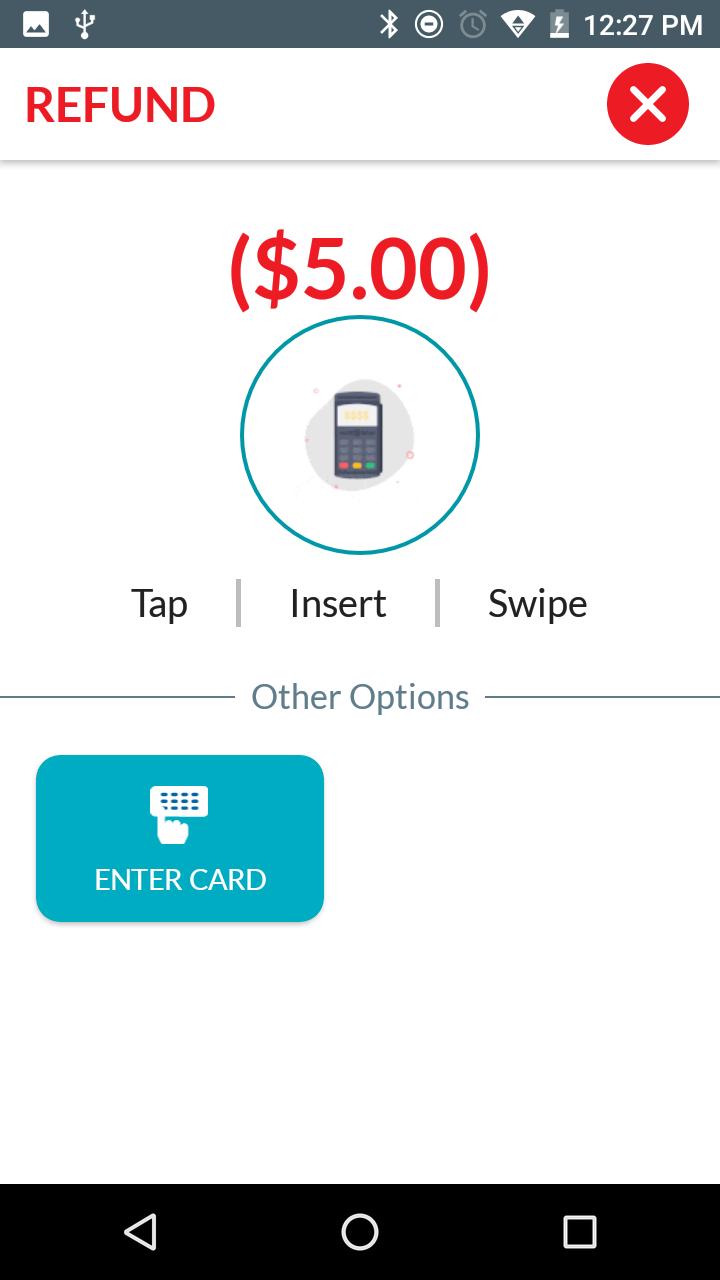
At this point, your customer can tap their card on the top of the terminal (to perform a contactless transaction) or enter their card into the terminal (at the bottom) if they need to enter their PIN.
Card Not Present (CNP) Transactions
If your customer is not present in the store and you need to enter their card details manually — for example, if you refunding over the phone — tap the blue ‘Enter Card’ button on the terminal screen. This will then take you through a series of prompts to capture the long card number, CV2 code, billing code and so on.
As soon as the refund has successfully completed, Cloud POS will complete the transaction and you will see a message on the screen:
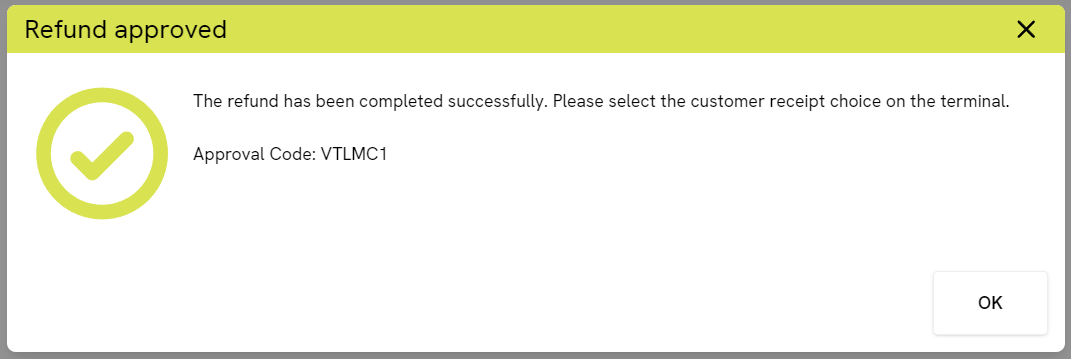
Your card terminal will always print a merchant copy of the refund receipt. If you would like to print a customer copy of the refund receipt, press the relevant button on the card terminal. (Remember that product receipts need to be generated from Cloud POS — the receipts from the DejaVoo terminal just confirm that the card refund has been successful.)
If you need to cancel the refund for any reason, you need to do this on the card terminal. Press the red cross icon in the top-right corner of the screen:
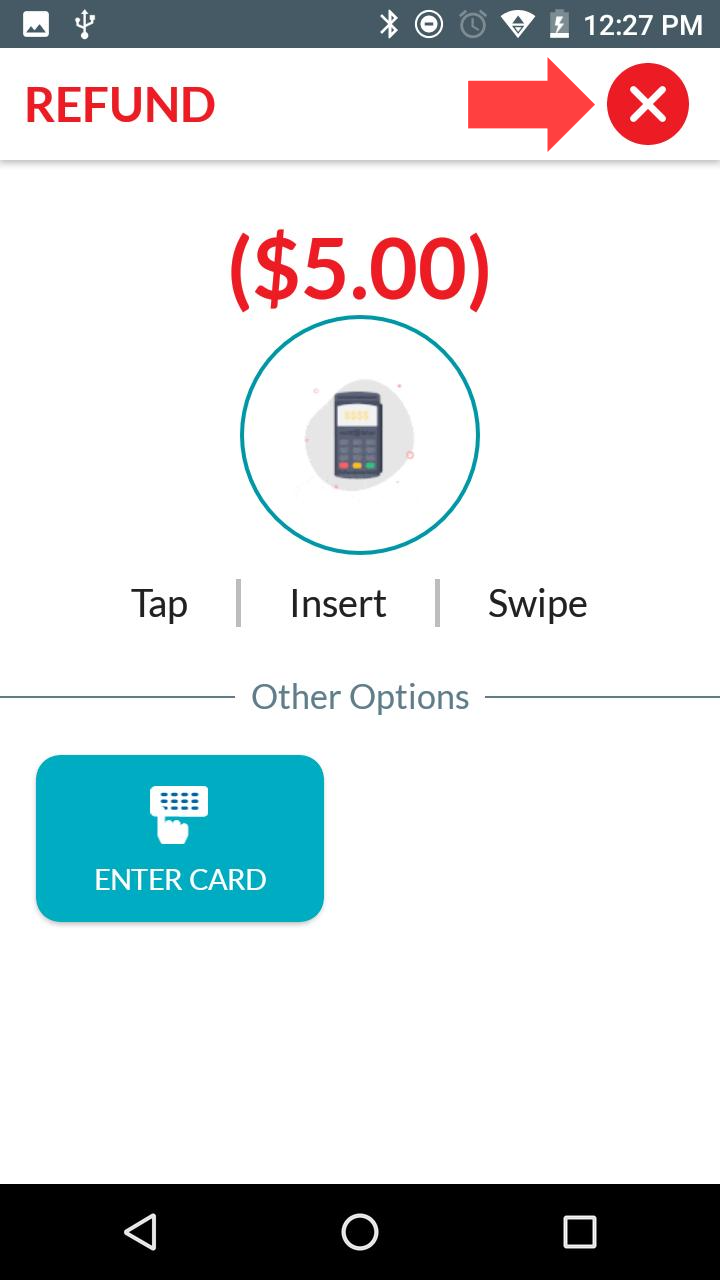
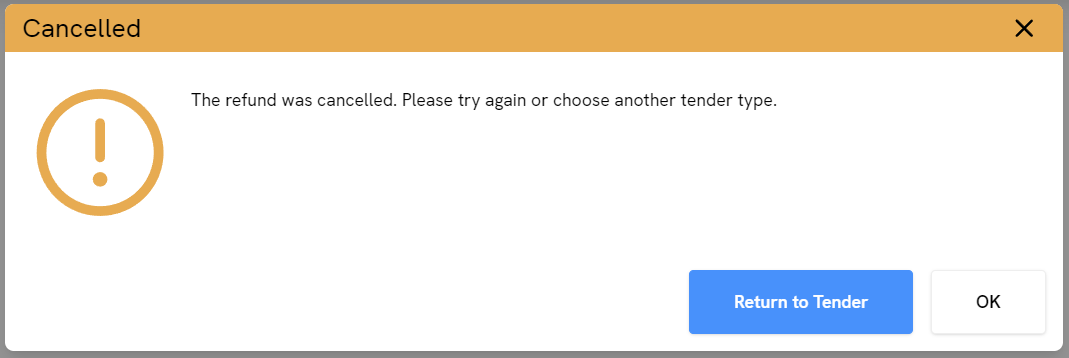
Cloud POS will then recognise that the refund has been cancelled, and you will see a message offering you two options. Click ‘Return to Tender’ to choose a different refund method, e.g. Cash. Alternatively, click ‘OK’, and then you can click ‘Complete Transaction’ again to retry on the card terminal.
Closing a batch
We recommend that you open and close your Cloud POS batches on a daily basis. This makes it much easier to resolve any discrepancies, particularly in cash. At the end of the day, when you are ready to close your Cloud POS batch, you can also close the batch on your DejaVoo terminal.
Warning
The DejaVoo card terminals have two different modes for closing batches of transactions.
The first option is manual mode. This means the terminal will only close a batch of transactions if you ask it to (which you should do from Cloud POS — see below).
The second option is automatic mode. This means the terminal will automatically close a batch on a daily basis. This is not recommended. It will make it much harder to reconcile your batches in Cloud POS with the batches on the terminal.
The Citrus-Lime Support Team can change these settings for you, if needed.
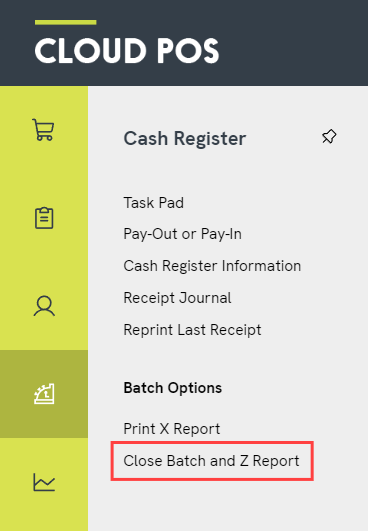
In the Till menu, click Close Batch and Z Report:
This will take you to the Close Batch screen. For more help with using this screen, please refer to this article: How do I close a batch with a Z Report?
When you are ready to check your card terminal totals, you have a few options for fetching this information:
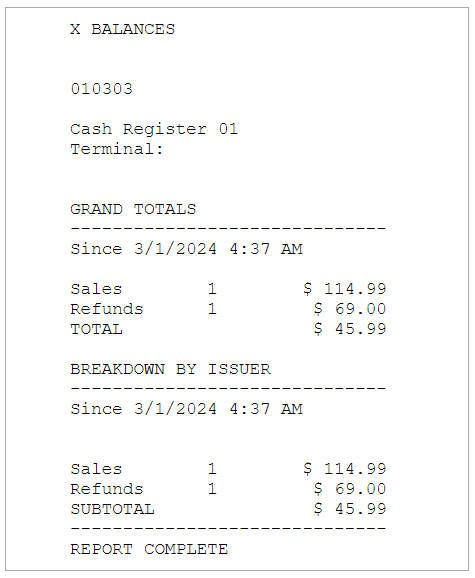
a) Generate an X Report from Cloud POS. This will produce two print-outs from your receipt printer. The first will be the general Cloud POS X Report, which shows a breakdown of your Money In, Money Out, Taxes Collected and a Tender Summary (for all tenders). The second print-out will show the total for your card terminal. It will show a payment total, a refund total and an overall total. If you pass on processing fees to your customers, you will also see a Fee breakdown (not shown in this example):
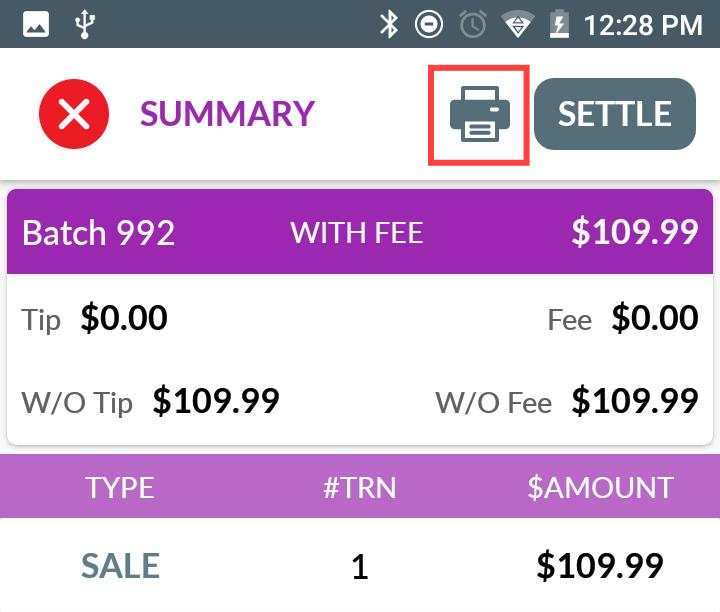
b) View the totals on the card terminal. To do this, press the Favourites icon, then Show/Settle Batch. This will display your totals on the screen:

c) After clicking to view the batch totals on the terminal screen (see option b, above), press the Print icon to print a receipt with these totals from the card terminal:
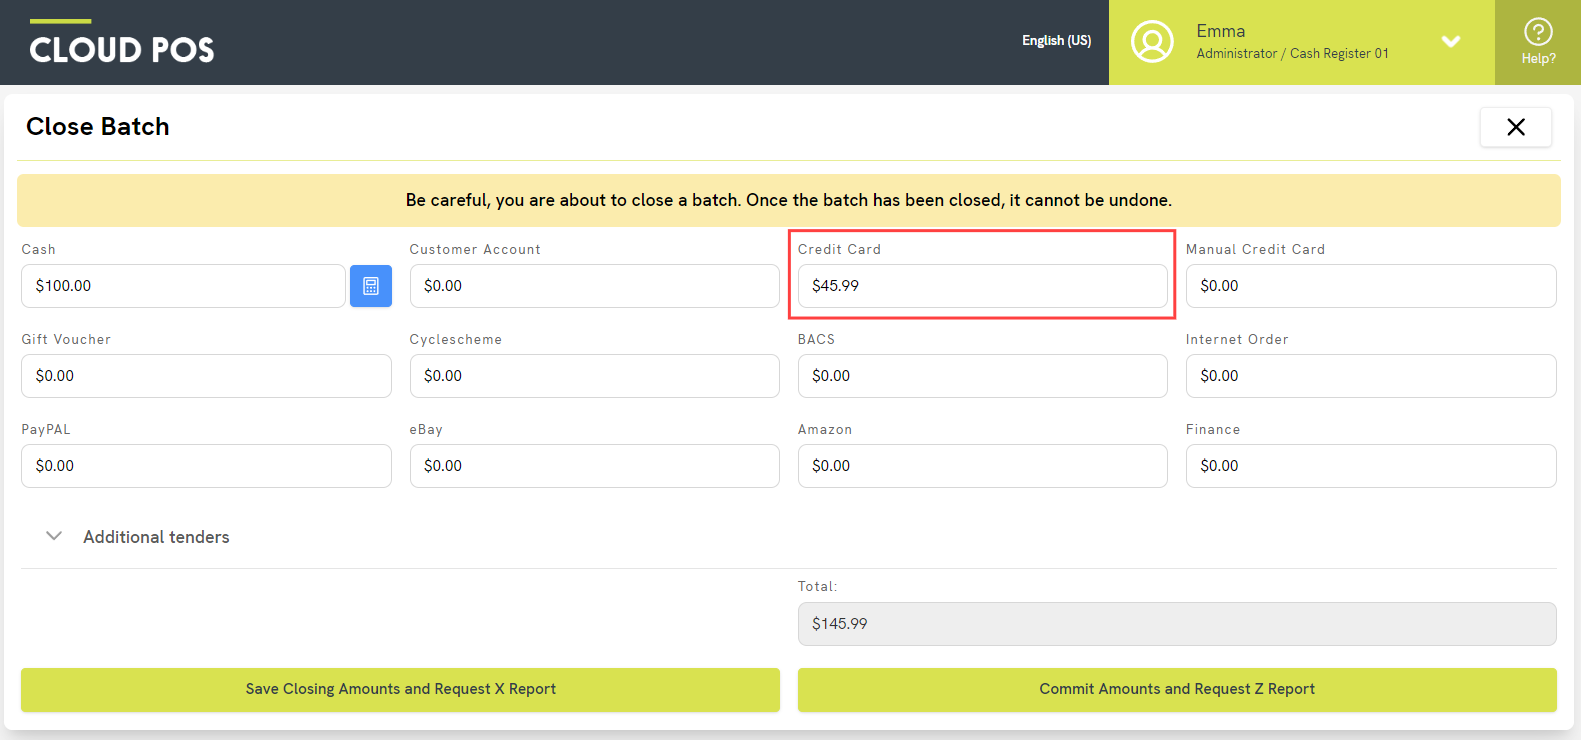
Whichever method you choose, you should enter this amount into the Credit Card field on the Close Batch screen:
A Note on Fees
If you pass on fees to your customers for card payments, you should enter the ‘W/O Fee' (Without Fee) amount into Cloud POS.
We would then recommend clicking Save Closing Amounts and Request X Report on the Cloud POS screen. This will compare the amount you have entered from your card terminal with the amount Cloud POS expected for this batch. If there are any discrepancies, this will be highlighted on the X Report in the ‘Tender Summary’ section. In the example below, Cloud POS expected a total of 160.98 from the card terminal, but we only entered 45.99:
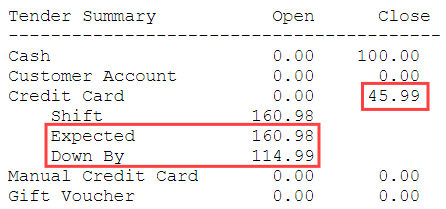
This is very unlikely! If you are opening and closing batches on a daily basis, and using the integrated Credit Card tender type, there shouldn't be any discrepancy between Cloud POS and the card terminal.
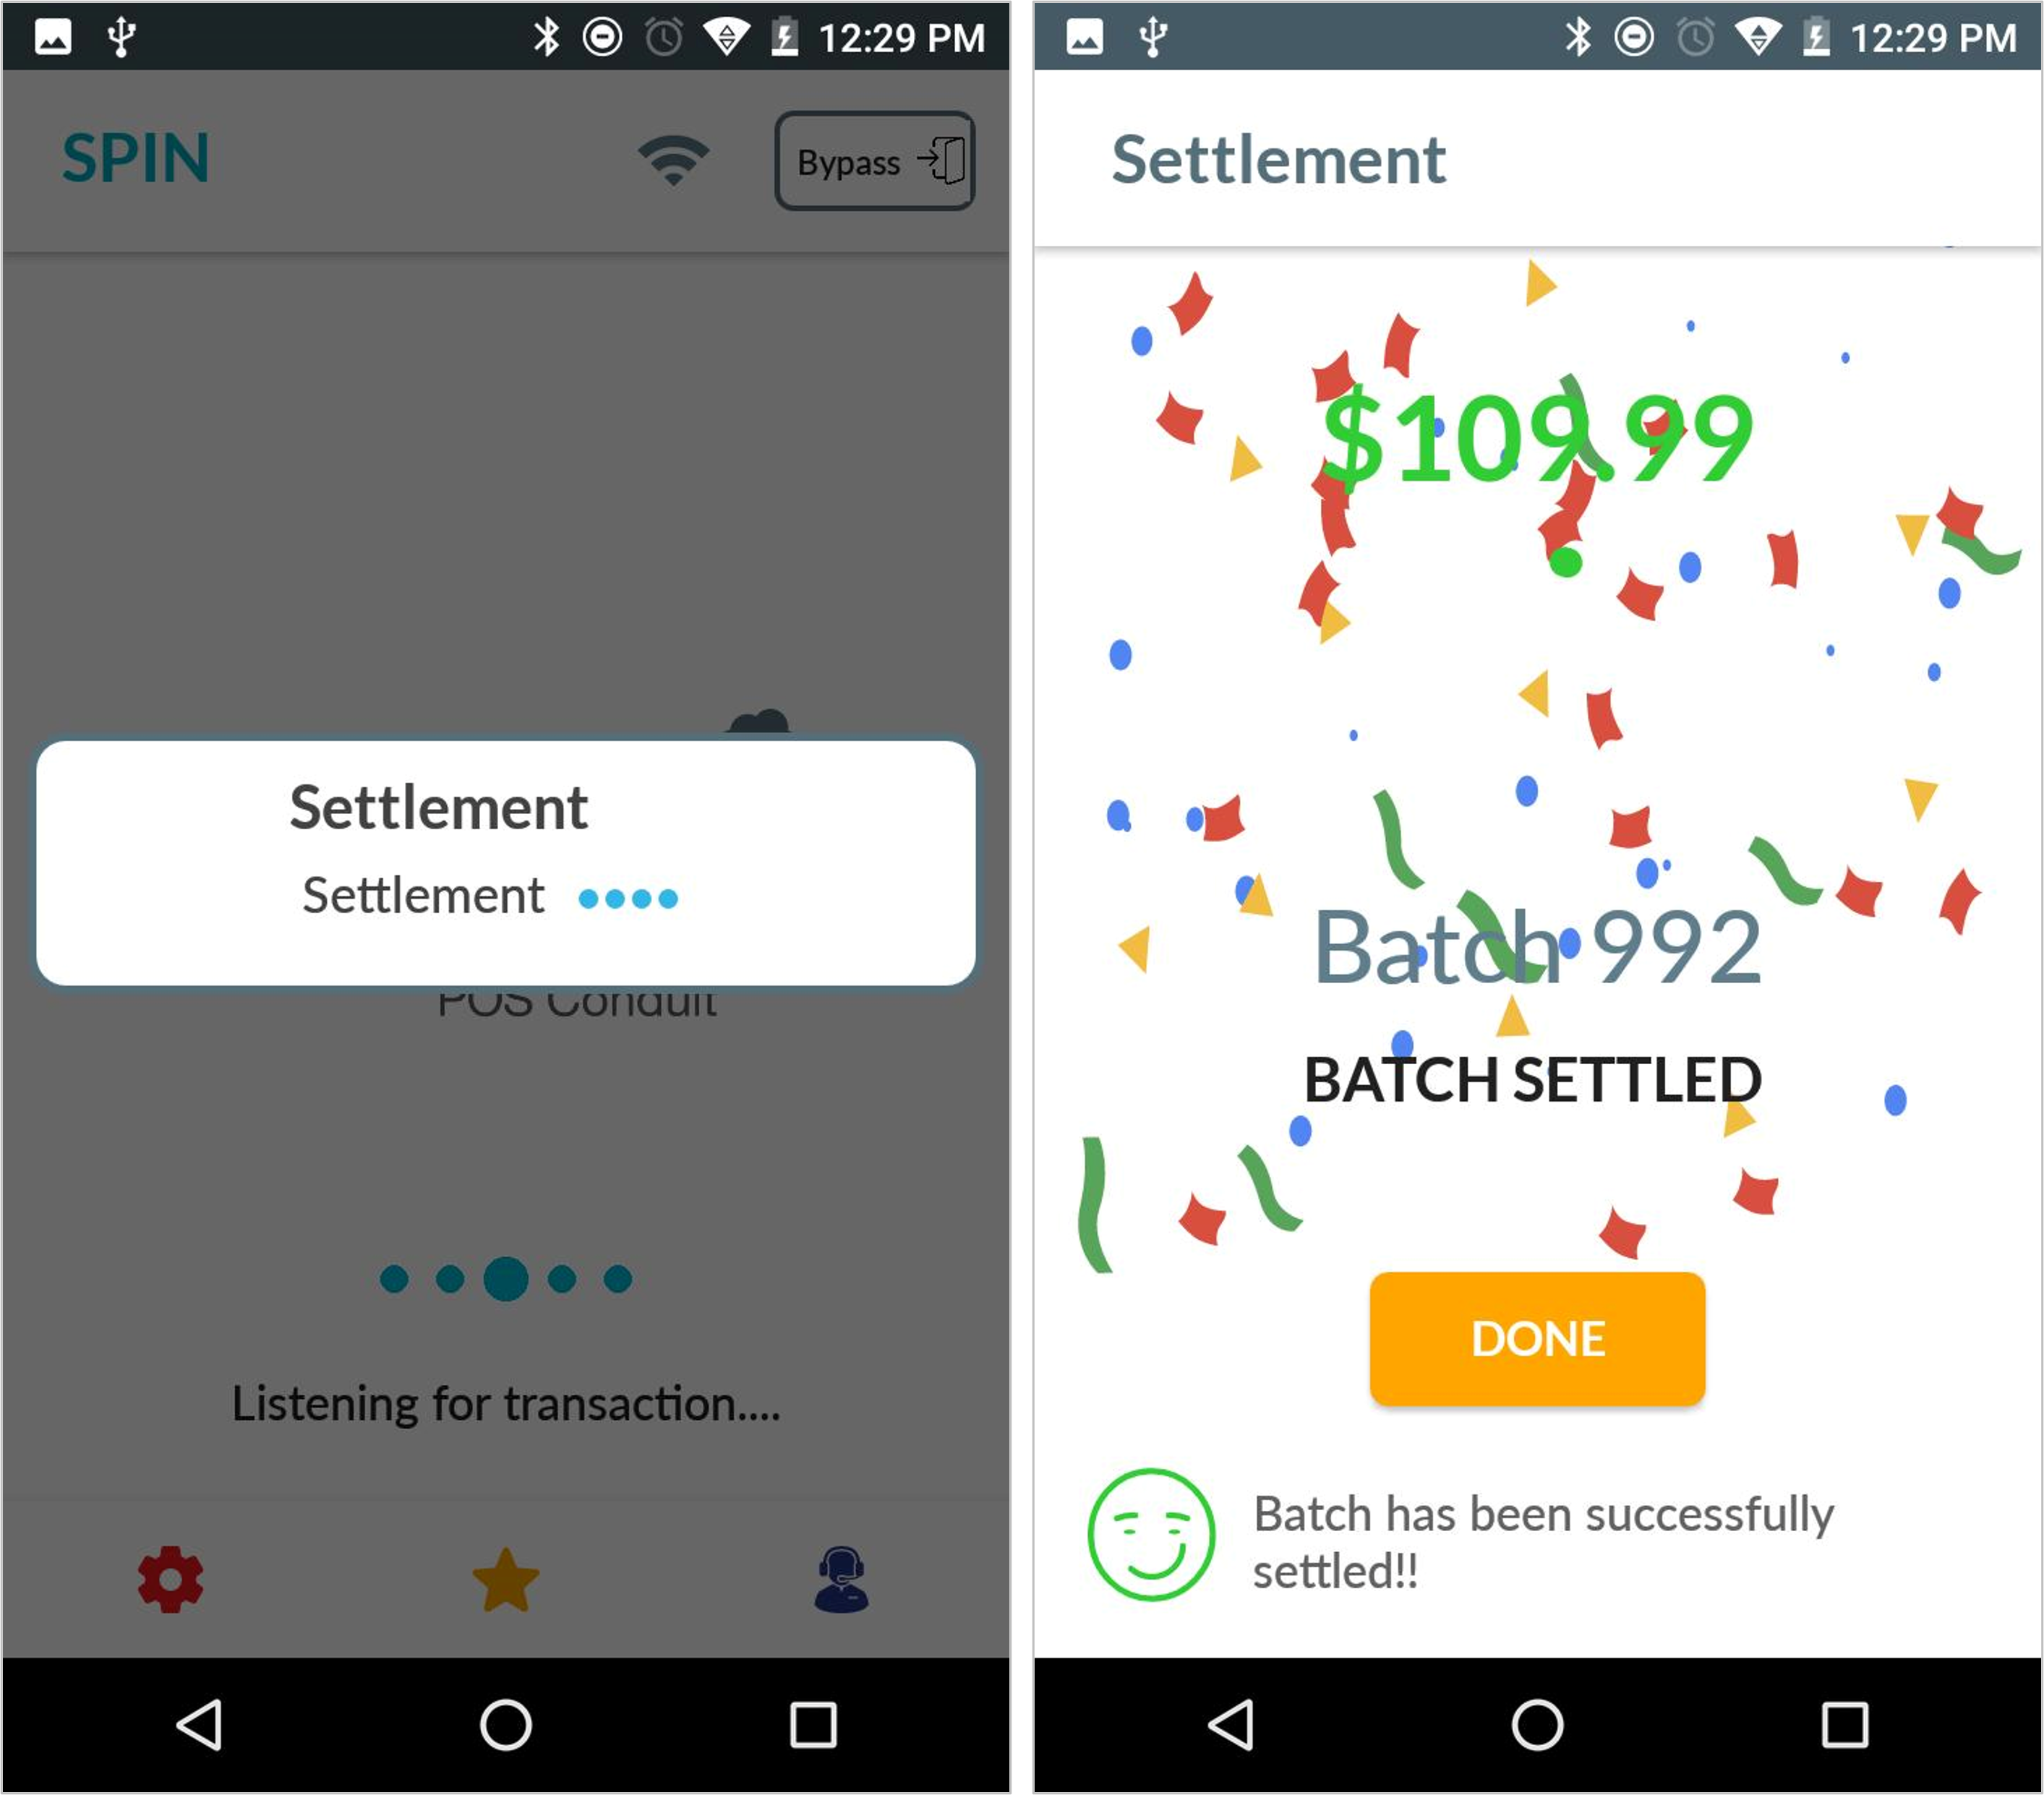
When you are happy with your closing amounts, click Commit Amounts and Request Z Report. This will close the batch in Cloud POS and automatically close the batch on your card terminal, so that both are ready for a new batch to begin the following day.
The terminal will show that Settlement is in progress, and then confirm that the batch has been successfully closed:
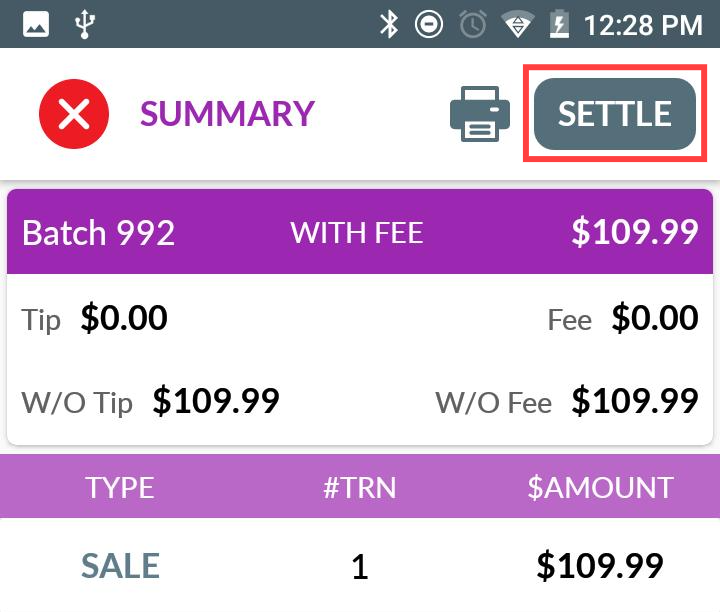
If, for any reason, the batch does not successfully close on the terminal after you have requested the Z Report in Cloud POS, you can do this manually on the card terminal. Press the Favourites icon and then Show/Settle Batch. Then press Settle:
Frequently Asked Questions
If I've just started using Cloud POS, can I integrate a DejaVoo card terminal that I already have in store?
Yes. If you already have a DejaVoo terminal and an Aurora contract prior to using Cloud POS, you can integrate your existing terminal(s) with your Cloud POS register(s). Just follow the instructions in the section titled, ‘Linking your card terminal with Cloud POS’. If you need your API Key and/or Terminal ID, you can request these from the Citrus-Lime Support Team. Your Terminal ID can also be found by pressing the red ‘Settings’ icon on your card terminal — this will show the Terminal ID as the ‘TPN’.
Can I refund an amount to a different card?
Yes, you do not have to refund an amount back to the original payment card. For example, if the customer's card has been lost, stolen or has expired in the time between making their original payment and receiving the refund, you can refund the amount to a new card. This is also useful if you need to refund a payment made outside of Cloud POS, e.g. in your previous EPOS system.
Will my customers be required to sign their receipts?
No. The default setting on the card terminals is that a customer signature will not be required. If you would like to request signatures from your customers, the settings can be changed by the Citrus-Lime Support Team, but the terminal would then require a signature for all transactions.
Can I put my terminal into standalone mode?
Yes. This is called ‘Bypass’ mode on the card terminal. For example, in the very unlikely event that Cloud POS became inaccessible, you could use your terminal in ‘Bypass’ mode so that you could continue to accept card payments from customers. You could then tender the transactions to ‘Manual Credit Card’ in Cloud POS, to correct your inventory and card totals.
You can find the ‘Bypass’ button in the top-right corner of your SPin home screen. After pressing ‘Bypass’, you can enter the payment total manually. Press ‘OK’. You are now ready for the customer to tap or insert their card, or to enter the details manually by pressing ‘Enter Card’.
After the transaction completes, the card terminal will automatically return to its integrated mode (called ‘SPin mode’). To process another standalone transaction, you would need to press the ‘Bypass’ button again.
What paper size do I need for my terminal?
The recommended paper roll size is 2.25" x 50 feet. Longer rolls may be too large for the paper cavity and may experience frequent paper jams until the roll reaches a smaller size and/or prevent the paper cavity cover from closing.
Can I pass on the processing fees to my customers?
Yes — the most popular options for this are either Surcharge (where you choose a percentage amount to charge on top of the transaction total) or Dual Pricing (where the terminal asks the customer if they wish to proceed with card and pay a fee, or switch to paying cash with no fee).
If you'd like to start adding fees to your transactions, please contact the Citrus-Lime Support Team.