Matrix items allow you to create a database item with multiple attributes, such as size or fittings.
The best practice for Matrix item creation is to create a separate Matrix per colour, if an item is available in multiple sizes and colours.
This gives you the ability to list each colour variation separately online, returning far better search results for the item under organic search results, as customers can search for the specific item by colour, rather than creating a listing that contains all colour variations and having no definition.
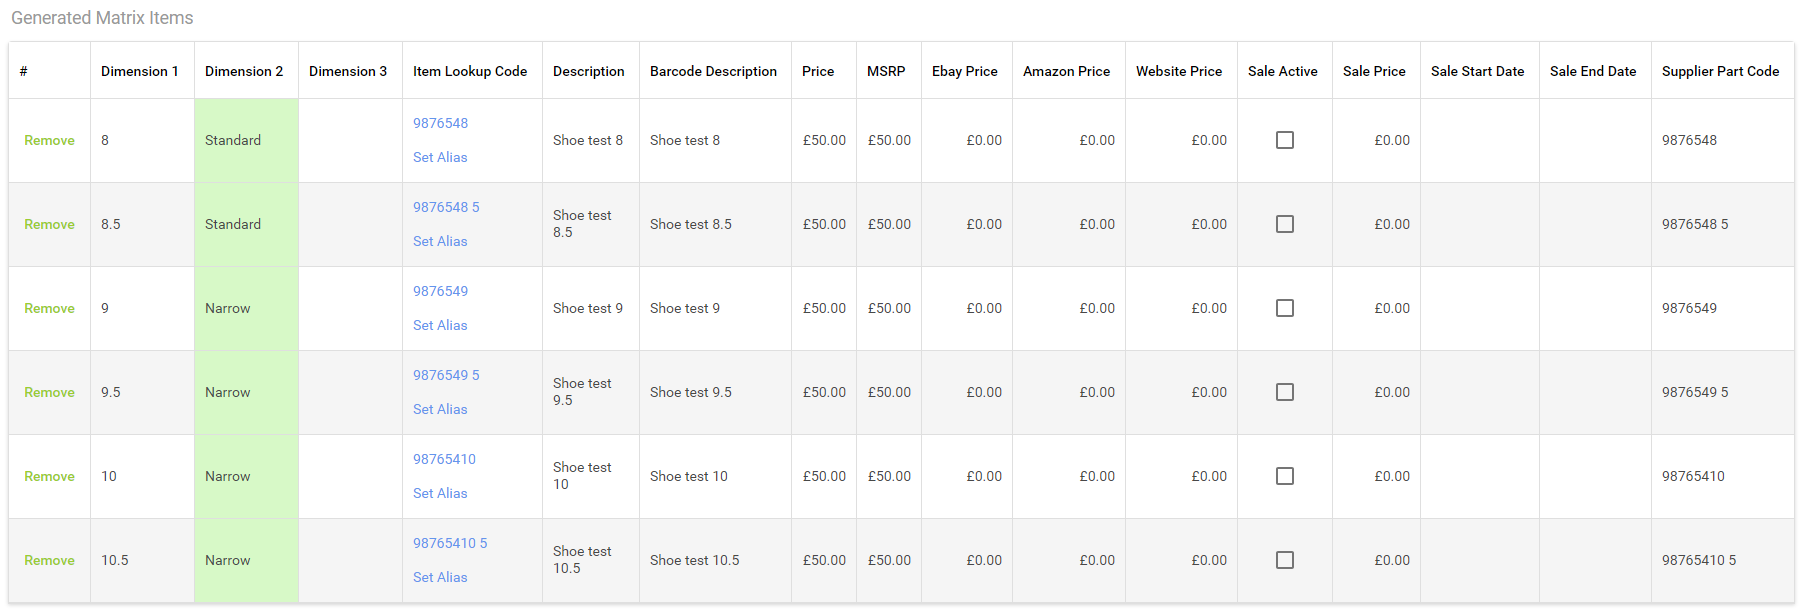
Once a Matrix item has been created and the items are generated, you can add more detail by adding more Dimensions which will add to the item's detail in the Add to Basket grid in the product detail page on your website. You can do this by adding the extra detail as additional Attributes in Dimension 2 and 3 after you have generated the items:
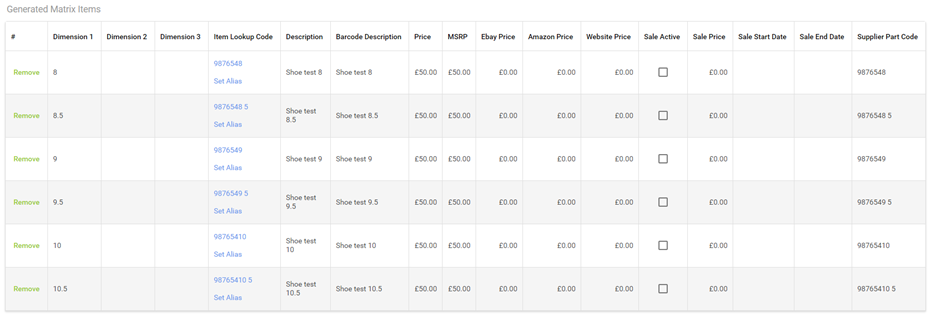
In the example above, the items have been generated.

You can add more detail to an item that is not specifically part of the item lookup code, which is useful on Ecommerce websites to provide more information to the customer.
In the screenshot above, more detail has been added as Dimension 2. This is selected for the individual item by selecting the Dimension 2 cell for that item in the Matrix Items grid and selecting the relevant Attribute from the drop-down. Once you have made the required changes, always click Save Changes in the bottom right.
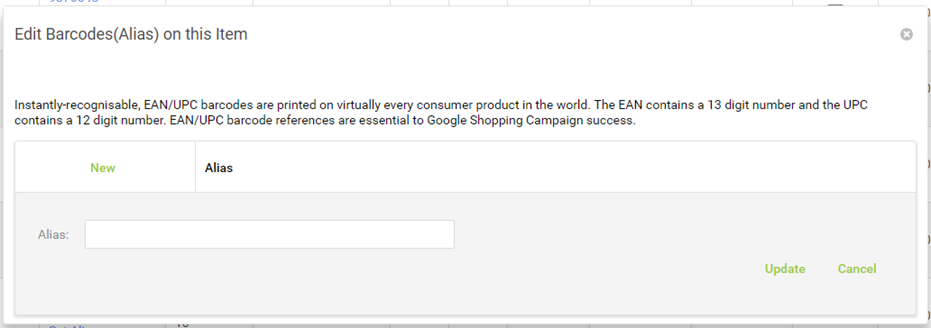
Also in the screenshot above, you can click Set Alias and scan in the barcode of the item. Click on Set Alias and another window will open, click New, scan the items barcode or type it in manually and click update to complete:
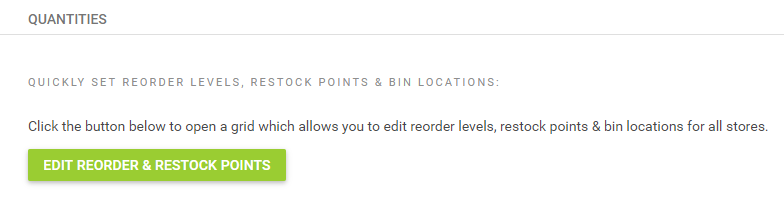
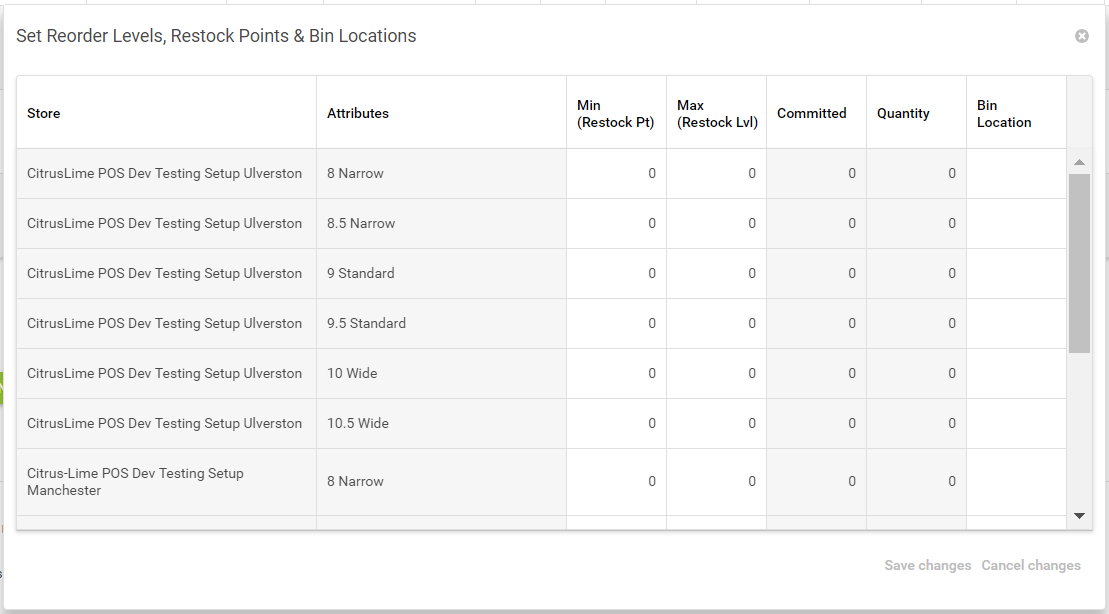
You can also add in re-stocking info (min/max) and bin location as part of the creation process. Click Edit Reorder & Restock Points and a new window will fire allowing you to update those values. Make sure to click Save Changes once you have made all applicable changes.