This article describes the process used to receive stock into the Cloud POS system, after a purchase order has been placed to order in the stock. See the related articles for guidance on how to create purchase orders.
1) Within the Cloud POS backoffice menu, select Stock Management, then Goods In:

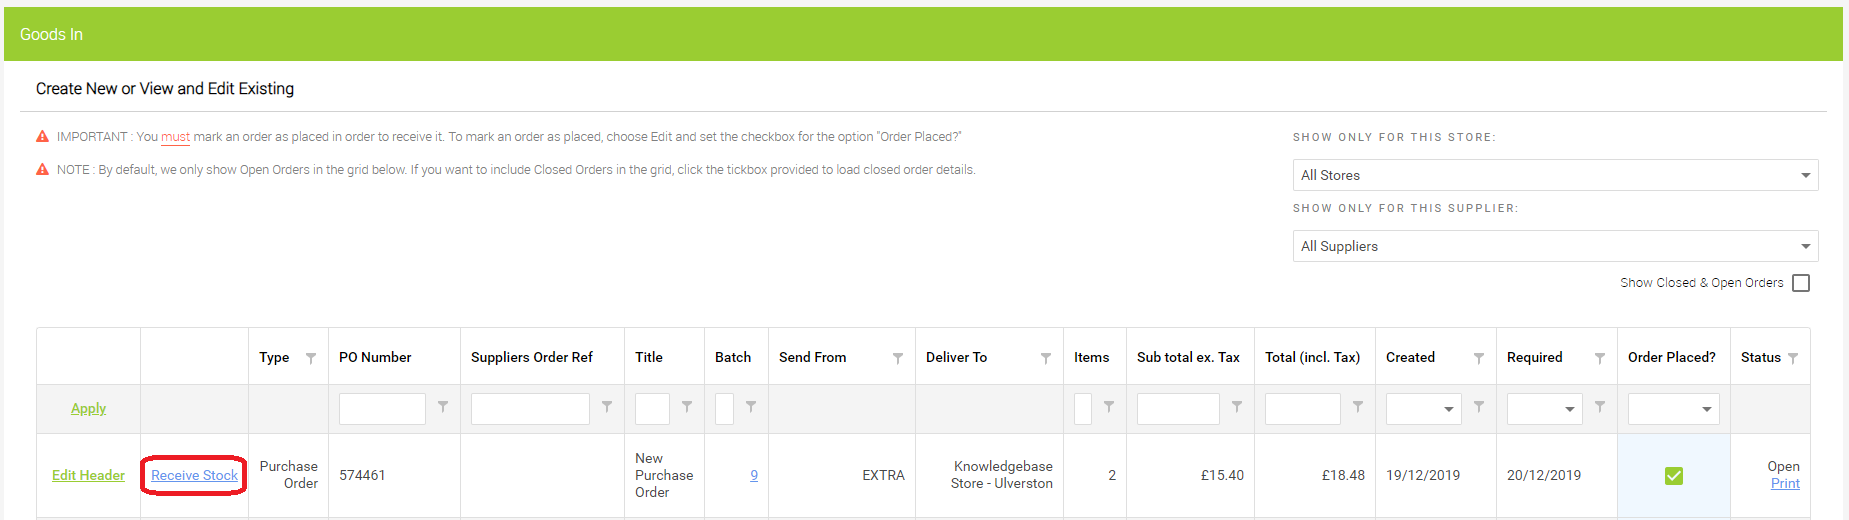
2) Using the filters, locate the purchase order you are receiving, and then click Receive Stock:
3) You now have a couple of options for marking items as received:
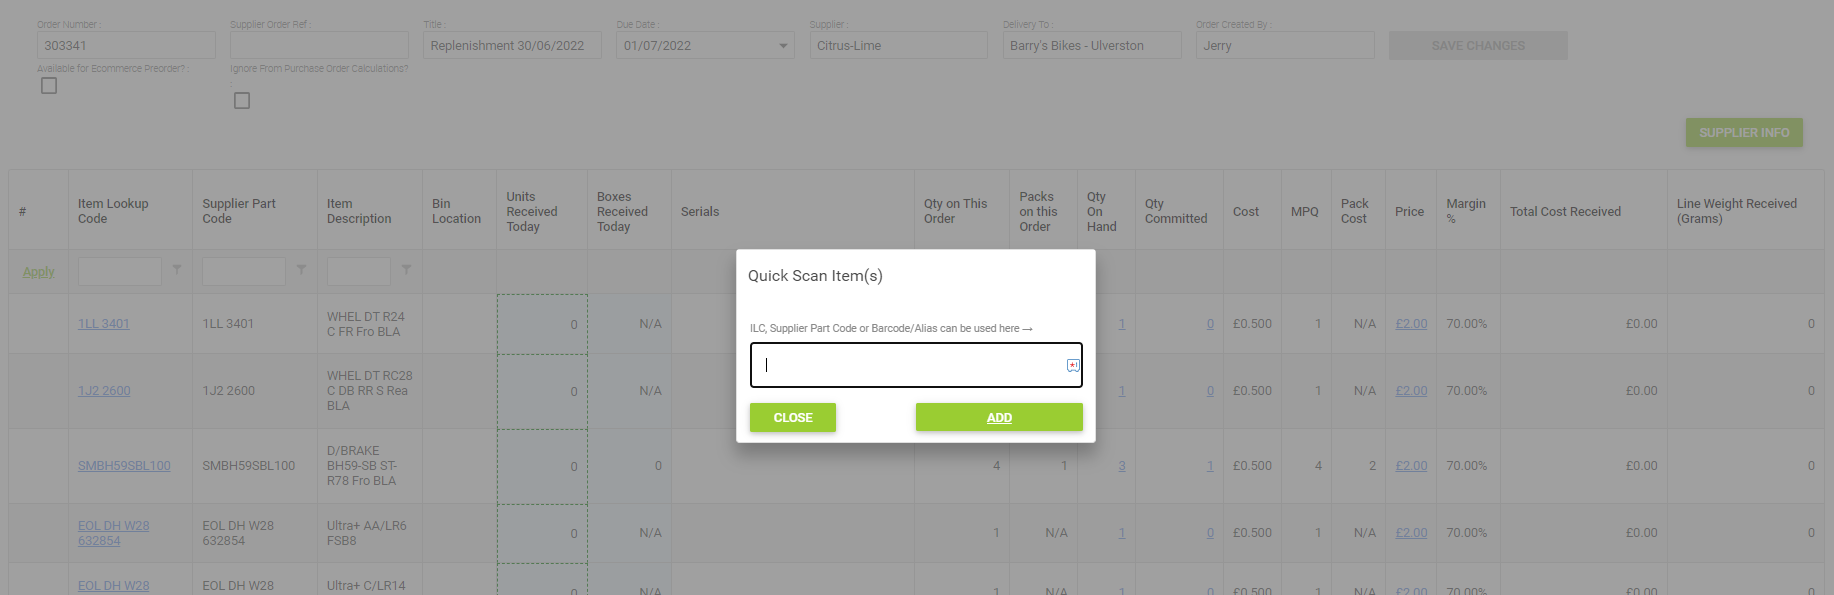
a) A useful option for booking in parts, accessories and clothing is to use the Quick Scan option. Click the Quick Scan button and this will open the quick scan functionality. You can then open the box of goods you have received from the supplier, and scan the barcode on each of the items. This will mark them as received and increase the quantities as you scan multiples of an item:
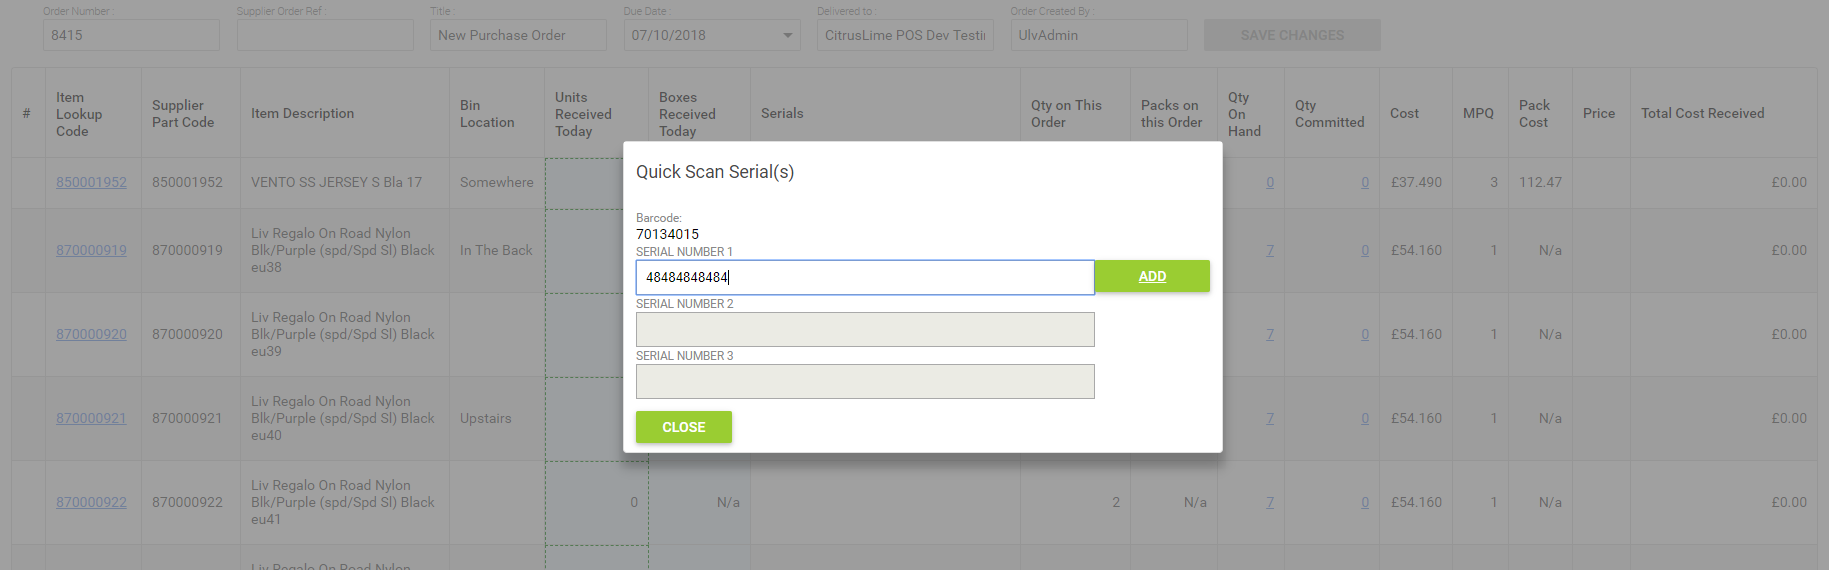
If you scan a serialised item, you will be asked to enter the serial number. You can do this now or, if you don't wish to add the serial number at this point, you can close the Quick Scan Items window and manually adjust the quantity received.
You can also click the Quick Scan button in the Serials column, where you will then be prompted to scan or type the serial number. This will then adjust the quantity received:
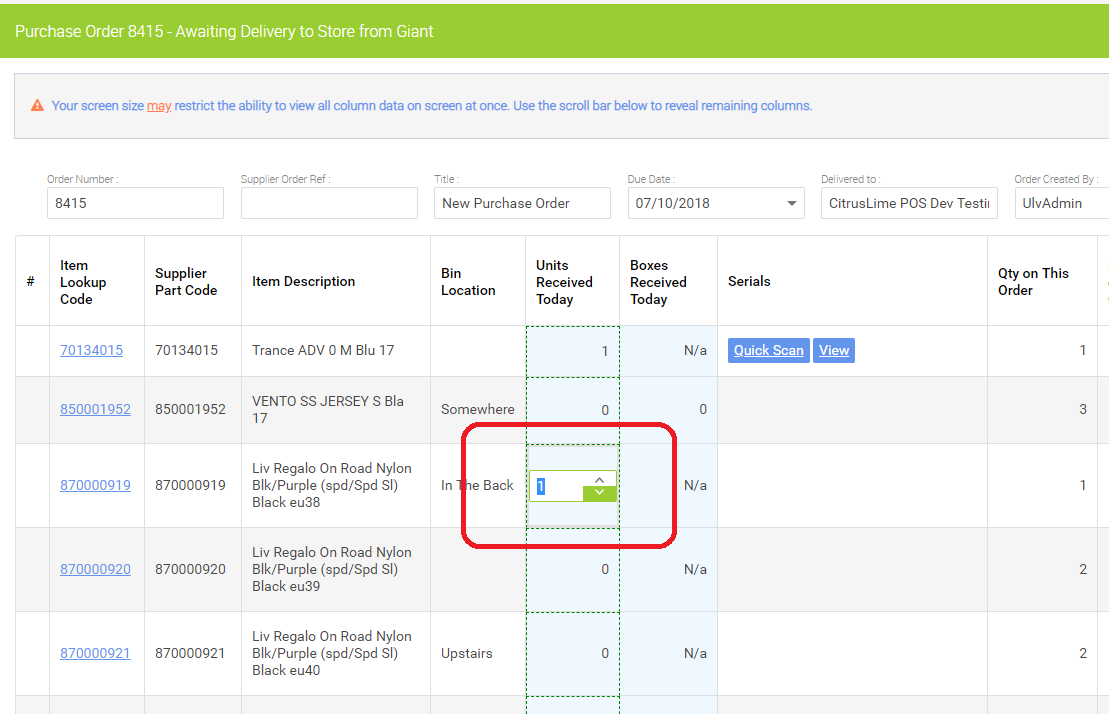
b) If you prefer to manually count in the items you have received, you can manually adjust the quantity received by clicking in the Units Received column against each item and typing in the quantity of items:
c) The final option available is to use the Receive All (exc. Serial) button. This will set the quantity received to match the quantity ordered against all items, apart from serialised items. Any serialised items will need to be changed according to the previous options outlined above in a) or b).
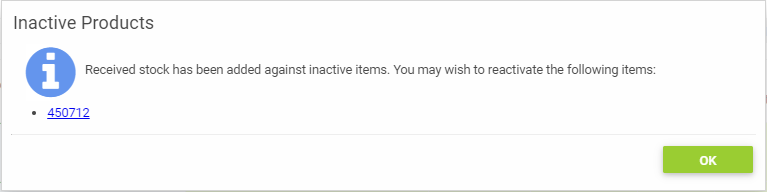
4) If any items on the purchase order are currently inactive in your Cloud POS database, when you add a quantity against the item and Save Changes, you will see a warning advising you of the inactive status of the item(s) affected, with a prompt to reactivate the item(s):
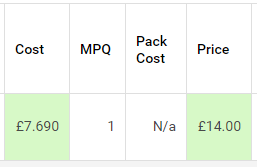
5) Before continuing, the recommendation is to double-check all cost pricing and retail pricing for the products on the Purchase Order. If you always check and adjust where needed at this point of the process, you will maintain the most accurate pricing on your system:
6) When you have marked all items as received, click Save Changes. You can then use the Commit Stock button to receive the stock into the system.
NOTE: If you are receiving stock into a different location than the store you are logged into, you will see a warning such as the below:
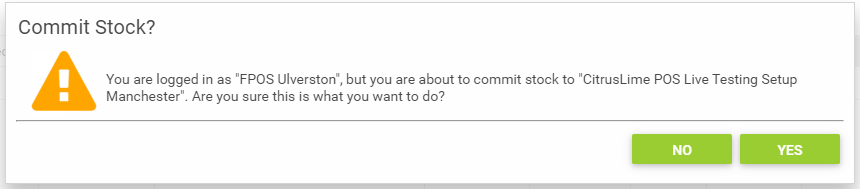
This is designed as a safeguard against inadvertantly booking in a purchase order that was placed by a different store within your Cloud POS group.
7) You will need to label the product, so click the Print Labels button, select the appropriate label printer, and then click the Print Labels And Continue button:

8) Apply the labels to your products. If you find you have too many or too few labels, this indicates something must be wrong with the order. Check the received quantities against the order and make any amendments as needed.
If you have not received all the items that were expected on the order, please see the notes below under the section 'What if the supplier didn't send all the items on the purchase order?'
9) Once the order has been checked and labelled, the final step is to click the Commit Stock button.
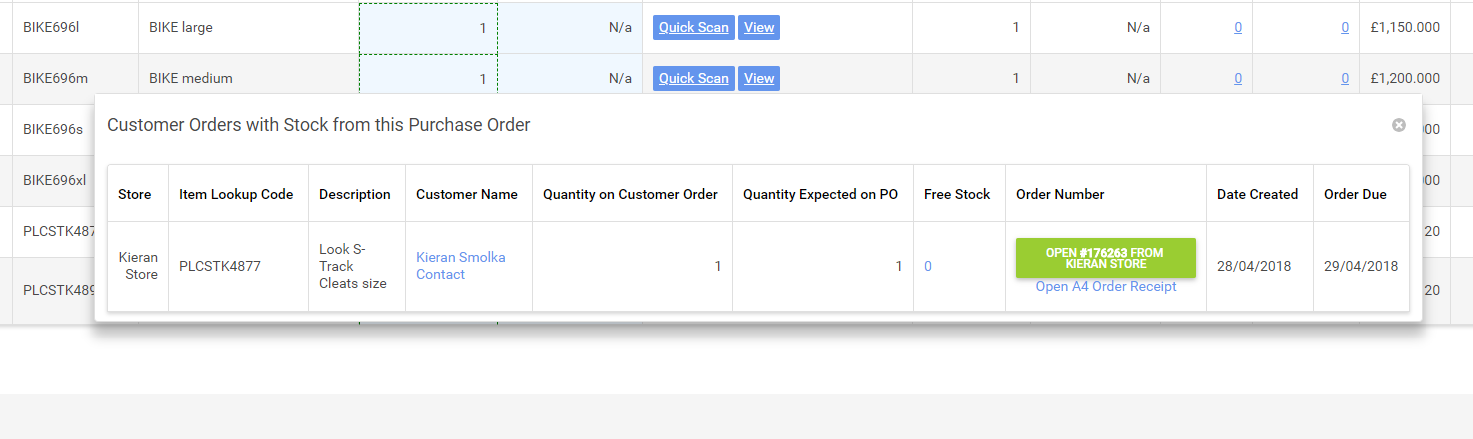
10) At this point, a pop-up window will open, which indicates if any of the items on the order relate to customer order. From this window you can click the Open button to check the order in the Point Of Sale. You can also click the Contact link to let the customer their order has arrived:
11) Once the Commit Stock button has been pressed, the stock levels will be updated and the Purchase order will be marked as Received and Closed.
What if the supplier didn't send all the items on the purchase order?
If your supplier didn't send all the items on the purchase order, and this wasn't something you were anticipating, the first step is to make enquiries with the supplier to find out why.
Whilst this situation is resolved, you may wish to book in the stock that you have received, whilst you await the remaining stock from the supplier.
Cloud POS will allow you to partially receive a purchase order and commit the stock that has been received at that point in time. To do this, follow the same process as described in the steps above, entering the quantities for the items you have received and committing the stock.
The original purchase order will then close, but a new, 'child' purchase order will be automatically created for any items which were not received in full on the original purchase order. The child purchase order will keep the same number as the original, but appended -2, so for example, if the original purchase order number was 574461 then the child purchase order will be 574461-2:

Cloud POS will continue to create child purchase orders until all items have been received. For example, if your order arrives in four different shipments over a number of days, you can book the items in each shipment into stock as you receive them, and would finish the Goods In process with the original purchase order and three child purchase orders.
This system means you are not restricted to waiting for all goods to arrive before you can book in stock, and also creates traceable records of what items have been received, and when.