By marking old, obsolete items as inactive, you will reduce the size of the lists you have when searching for or reporting on products. This will make it faster and easier for you to find what you need in the system.
For each selected product (either all products for one or more suppliers, or all products in a particular department or category for one or more suppliers), if the Supplier has removed the item from their data as it is no longer available, SIM will mark the item as "May not be placed on purchase order".
If both you and the Supplier have no stock of the item, it will also be marked as inactive, so that it is hidden from the product lists in the Cloud POS system. If you have an ecommerce site with Citrus-Lime, the listing or attribute is made Inactive on your website, which has a positive effect on search results as you are not advertising Out Of Stock items.
1) In Cloud POS Backoffice, click the Navigation Menu icon:

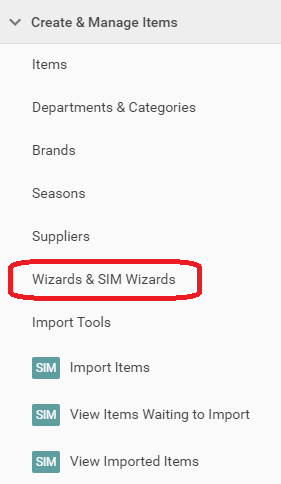
2) In the Create & Manage Items section, click on Wizards & SIM Wizards:
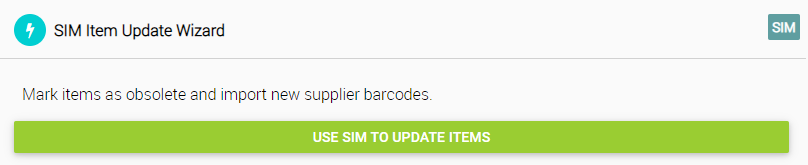
3) On the main Wizards screen, select the SIM Item Update Wizard and click Use SIM to Update Items:
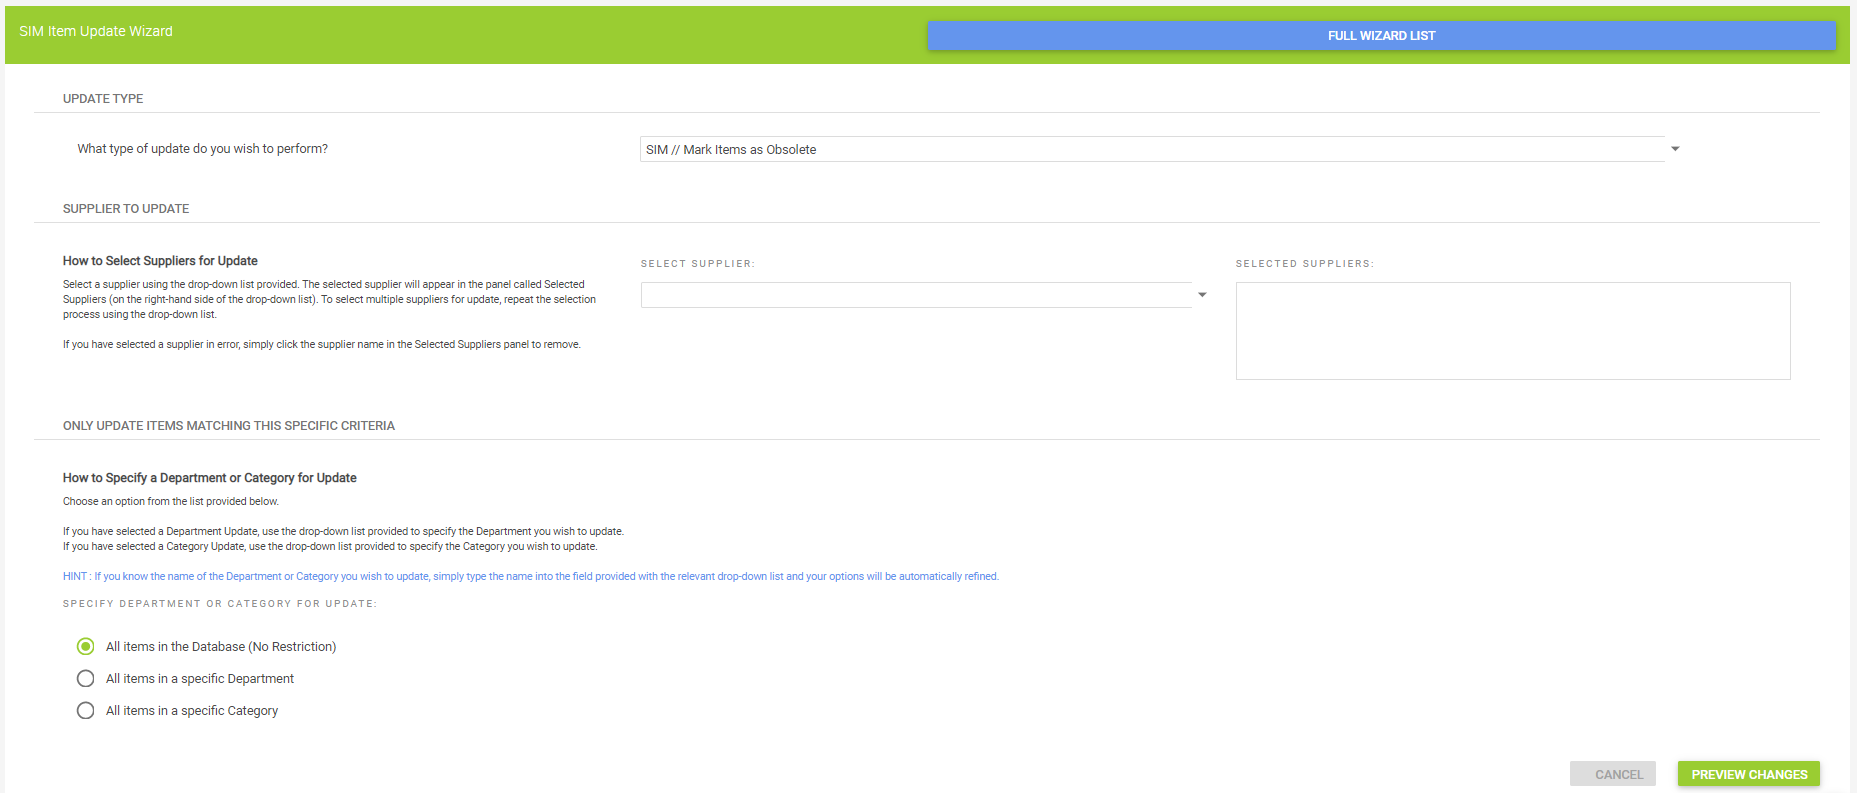
4) On this page, select SIM // Mark Items as Obsolete in the first dropdown list, then select any suppliers that you want to update. The selected suppliers appear in the box to the right of the supplier dropdown:
 If you wish to only update a specific department or category, you can use the 'All items in a specific Department' or 'All items in a specific Category' options to restrict this selection.
5) To proceed, click Preview Changes, and you will receive an update on how many items will be affected by this update. It's important that this looks reasonable, as this change cannot be automatically undone:

6) If you wish to cancel the update, click No. To continue with the update and apply the changes, click Yes. A confirmation will now be shown of the number of items that have been updated:


7) Click OK and the changes have now been made in your system.
Watch A Video: