If you have an e-commerce site that is configured to show supplier stock availability, then the following scenario may be familiar:
You have some items in local stock and once they've sold through, you don't intend to order any more. However, if the supplier still has stock of these items, there's the possibility that once your local stock has sold, your customers will still be able to purchase the items from the supplier stock.
In this situation, you can use the Block SIM Stock functionality in Cloud MT. This will prevent supplier stock levels from being included in the stock availability shown to your customers. Once your local stock has sold, the items will no longer be available to purchase from your e-commerce site.
You can block SIM stock on an individual item, by editing the item card and, under the Item Stock & Handling subheading, clicking the Block SIM Stock checkbox:

However, there may be occasions where you want to block SIM stock for a number of items at a time, so editing each individual item record would be time-consuming.
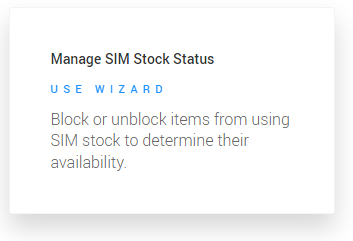
In this instance, you can use the Manage SIM Stock Status bulk wizard to update a selection of items in a single job. You can find this wizard here: https://cloudmt.citruslime.com/#/wizards

There are three stages to using the wizard:
1) Selecting the items you wish to update
Use the search or filters to identify the items you want to adjust, then add them to the wizard by checking the boxes in the leftmost column:

Once you have selected the items, click the Set Selection button.
2) Pick your action
You now have the option to either Block SIM Stock or Do Not Block SIM Stock on the items you have selected. You can use the latter option to undo items that already have Block SIM Stock set (so, make supplier stock available for items where it is currently blocked):

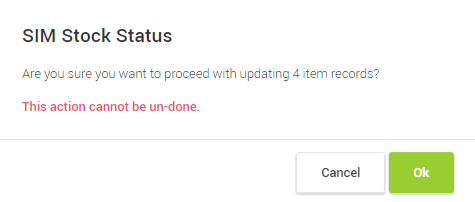
You'll be prompted to confirm that you want to make the requested changes:

3) View the results
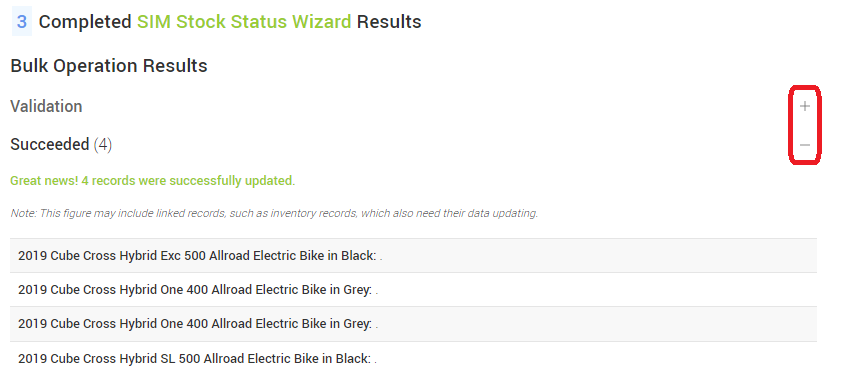
If you click OK to proceed with the wizard, the changes will be applied and you'll see a summary of the results. Clicking on the + or - icons will show or hide further information:
