The Range Viewer functionality in Cloud MT enables you to create a product range and then assign items to this range, so that they display on the product detail page as alternative items.
This is different to the Colour Group functionality, which you would use to link colour variants of the same item.
This also differs from the Related Items functionality, which you might choose to use to display different products that the customer may also want to purchase alongside the main item on the page.
For example, if the main product is a bicycle pump, Related Items might be an inner tube, puncture repair kit, or tyre levers, but these do not need to be the same brand as the main product.
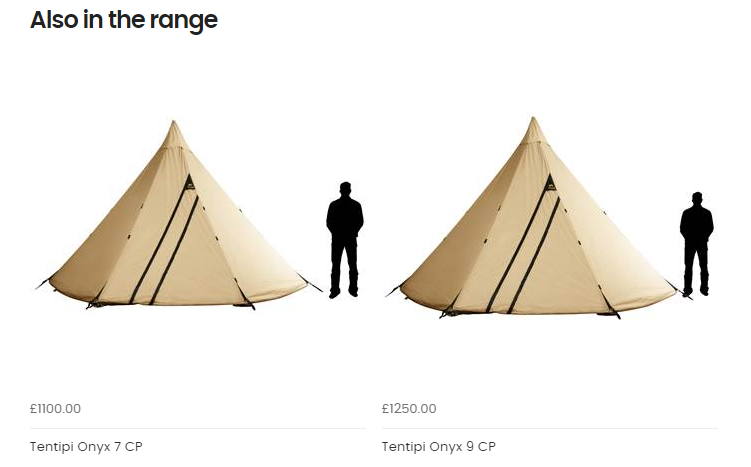
The aim of the Range Viewer is to display items on the page from the same brand that are part of the same product range, as in the example below:
You can set up a Range Viewer on a product page in Cloud MT, under the Extra Item Details section.
To create a new range, highlight the New button and then type the name you wish to give to your range into the text field:

When you Save Changes on the page, your new Product Range title will be created.
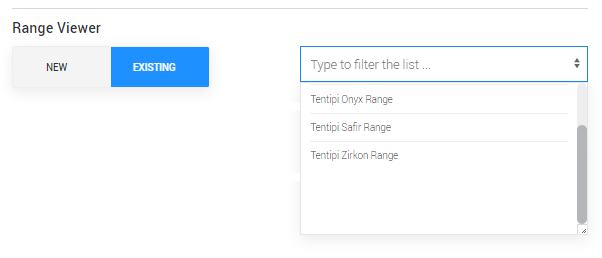
If you now navigate in Cloud MT to the product page of another item in the range, you can click the Existing button, select the necessary range from the dropdown list and Save Changes:
Now, when you visit the product detail page of any item you have assigned to the same Product Range, you'll see the other items in the range displayed under the Also in the range section:

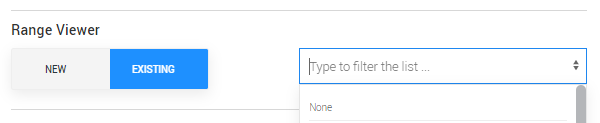
To remove a product from a range, select the None option from the dropdown menu and Save Changes: