You may wish to complete these steps before or after generating the CSV file from the stock take app.
From the main menu in Cloud POS backoffice, navigate to Stock Management then Stock Take. This will then take you to the stock take screen and show all of your previous stock takes.
Create your stock take
Click New to begin the creation of your stock take;
Enter a Description and select the Store at which you are completing the stock take, from the dropdown menu.
There are three options when importing a stock take:
1. Create a stock take with all items. This should be done for a full store stock take only.

This will give you a list of all items in your database. When you import your stock take file, the quantities of the items you scanned will be added and all other items will be left at zero. When you commit the stock take, items scanned will be set to the scanned quantity, all other items will be set to zero.

Jump ahead to the 'Importing your File' section further down this article.
2. Create a blank stock take and add items

This allows you to add a selection of products by department, category, brand etc., using custom filters.
When you import your stock take file, the quantities of the items you scanned will be added and all other items will be left at zero. When you commit the stock take, items scanned will be set to the scanned quantity. All other items that were included in the stock take will be set to zero.
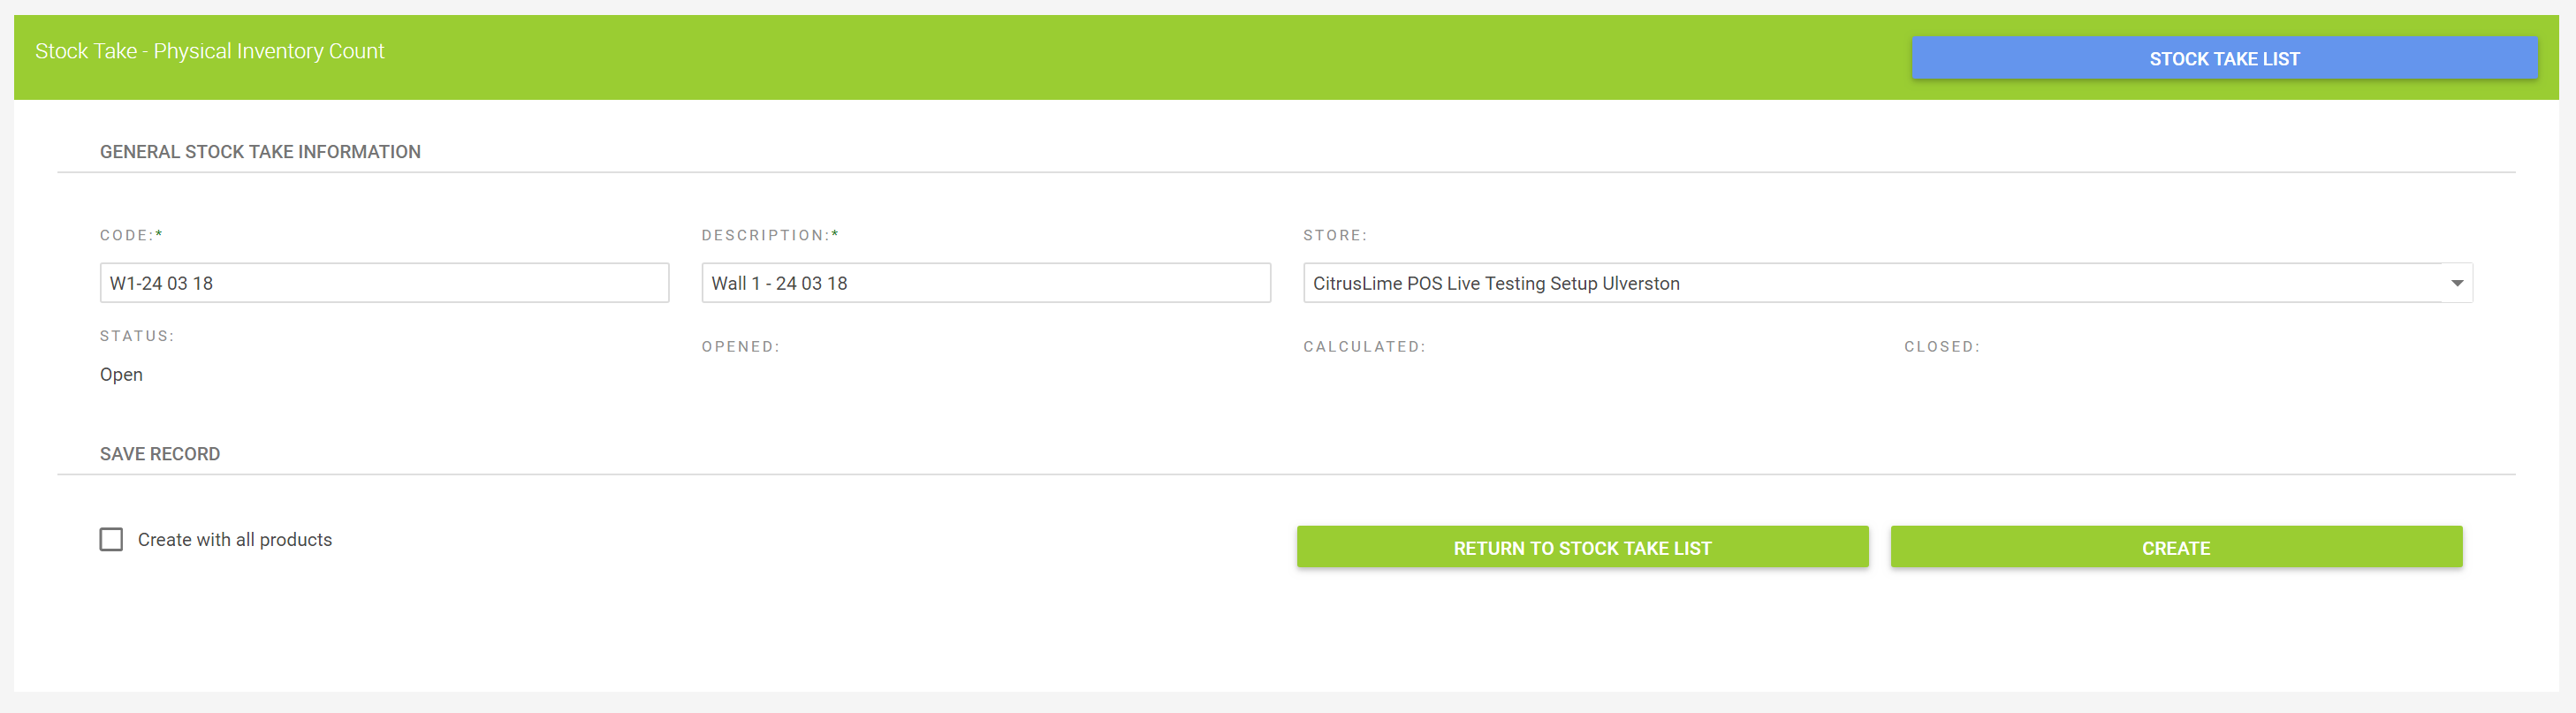
Select the Create A Blank Stock Take & Add Items option when creating this stocktake.
Your stocktake will be created and will open. Now select Add Items In Bulk:

Use the filters to find and select the items you wish to add. If you require, you can add items in bulk by filtering the ticking the checkbox in the top left corner.
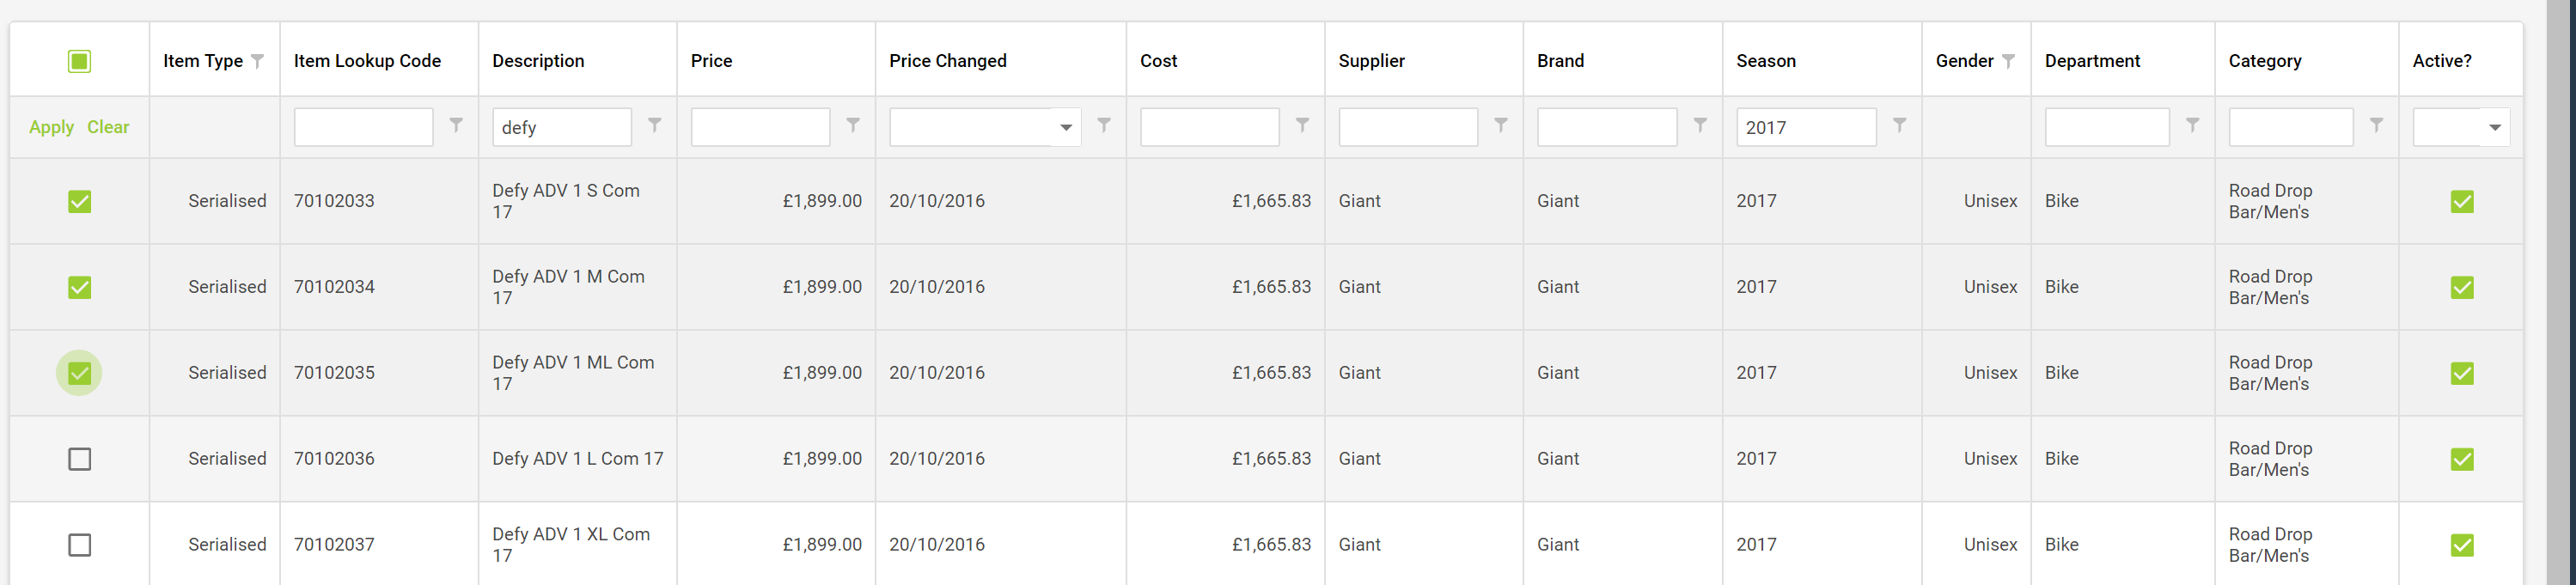
Once you have selected all the required items, click the button marked Add Items To Stock Take.
Jump ahead to the 'Importing your File' section further down this article.
3. Only change the quantities of the items you scanned
Importing your file into a blank stock take will add all of the items you scanned, with the quantities that you scanned.
When committing the stock take, you will change the values of only the items you have scanned.

Select the Create A Blank Stock Take & Add Items option when creating this type of stock take.
Importing your file
To import your file, on the open stocktake screen and click Import:

Select the import options as shown below on the Import File pop-up:

Click Browse and choose the file you previously saved onto your computer as instructed above, then click Upload File.
The import will now populate the counted field in the stock take.
You can now click Calculate & Commit. On the following screen, you can review the calculations and investigate any discrepancies.
When you are ready to finalise the count figures, you will need to apply a reason code to account for the changes you are going to make. The reason code used will then display on the Item Movement Report in Cloud Reports. See the Related Article if you require guidance on creating reason codes.
You can use either the Apply Reason Code To All Items option, or set a reason code against each line as required. Click Save Changes once you have done this:

You can now click Commit Stock Take, and this will then set the quantities on your system to match those counted, or you can click Return & Recount to take you back to the previous screen and count again and make further adjustments.