You have the option within Cloud POS to set up Sales Reps. This provides an extra level of identification regarding a sale and is a mandatory step if you intend to use the commission functionality within Cloud POS to incentivise and reward their ability to make sales.
Using Sales Reps allows you to report on which member of staff sold a particular item, rather than relying on which cashier was logged into the till at the time the sale was made.
An example scenario might be where Geoff spends time on the shop floor with a customer, helping them to choose an item to purchase, but Geoff then hands the customer over to his colleague Gary to process the transaction through the till. Geoff has 'made the sale', but Gary is the cashier who tendered it.
In this scenario, Gary would appear as being responsible for the sale. By using Sales Reps, Gary would have been able to set Geoff as the sales rep before he processed the transaction, meaning that Geoff would be identifiable in the reporting as having made the sale and therefore due any commission.
Sales Reps are an optional feature and many retailers choose not to set them up, as they are happy to rely on the cashier logins to provide accountability for sales.
Creating a Sales Rep
1) In Cloud POS backoffice, click the menu icon;
2) In the Setup section, click Sales Rep. Setup;

3) The Sales Rep list will display;
4) Click the New button on the Sales Rep list:
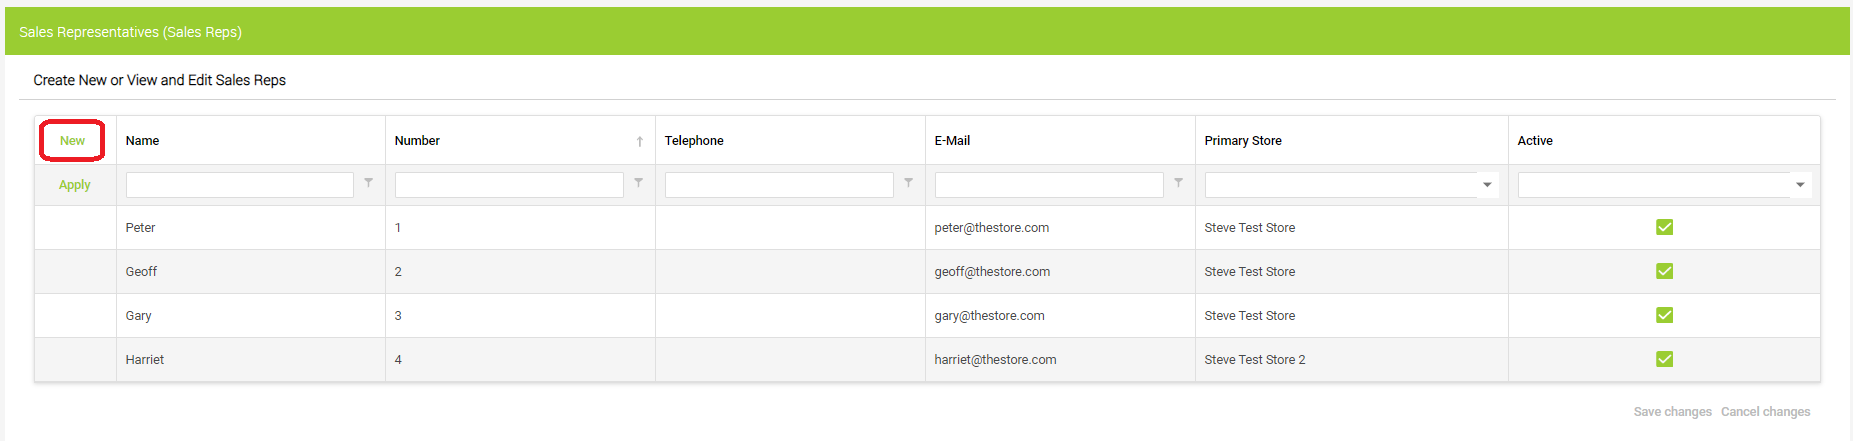
5) Fill in Name and Email fields. These are required fields. You can also enter a Telephone number if needed.
6) You will also be able to set the Primary Store. This should be the location at which the Sales Rep is normally based. The Primary Store specified here allows prioritisation of listing the Sales Reps in POS.
The rep number will auto-populate and cannot be changed.
7) Finally, click Save Changes. This will save your new Sales Representative, and it will now be possible to assign this Sales Rep to transactions or individual items on transactions.
Deactivating a Sales Rep
1) In Cloud POS backoffice, click the menu icon;
2) In the Setup section, click Sales Rep. Setup.
3) The Sales Rep list will display.
4) Untick the Active tickbox next to the Sales Rep you wish to deactivate.
5) Click Save Changes.
Watch A Video: