The Item Import tool allows quick, bulk creation of items in the Cloud POS database.
This can be used in situations such as, for instance, where you need to add to the system items that are not available through the Supplier Integration Module, or if you are moving to Cloud POS from another retail platform and wish to bring across your existing product data.
Please note: the Item Import tool should be used with care. Any changes are permanent and cannot be undone.
Prerequisites
We always recommend using the import template generated within Cloud POS, since it contains the correct fields which are required for the import. The template is also pre-populated with the departments and categories, brands, and seasons that already exist inside your Cloud POS group, so you can easily select these fields for each item you wish to import.
We also recommend processing item imports in small batches (i.e. up to 1000 items), as this makes it more manageable to deal with any errors which might appear after uploading the data to the import.
Generating an import template
1) From the main menu in Cloud POS backoffice, navigate to Create & Manage Items, then Import Tools.
2) Under the Item Import / Export heading, click on the button to Generate Blank Template, then click on Download File to save the template file on to your computer. The template file format is a Microsoft Excel file (.xlsx).

Understanding the item import template
Depending on the type of items you are creating, certain fields within the template are mandatory and must be completed.
To create Standard, Serialised and Non-Inventory Items, the mandatory fields are:
ItemLookupCode
Description
Department / Category
Tax Rate
Supplier

In the example above, the import here would create three individual standard items.
To create Matrix items, then in addition to the mandatory fields listed above, the required fields are:
Matrix ItemLookupCode (Matrix ILC)
StyleName
Size
Colour
If you are unsure about whether your items should be part of a matrix item, please read the Related Article 'How do I create a Matrix item?'

In the example above, the import here would create three standard items, grouped together within matrix parent SSTB.
A full description / guide to all of the fields on the template are available in this PDF: itemfields.pdf
Whilst we would recommend including as much data as possible in the item import template, any non-mandatory fields can be left blank on the template and the records will be set with the default values (as stated in the itemfields PDF).
Brands and Seasons use drop-down selections based on the brands and seasons which already exist in your Cloud POS group. However, entering a Brand or Season which doesn’t currently exist in your system will create the new brand / season when the import is complete.
The item import templates contain data validation, i.e. maximum character length and drop-down selections. You’ll be shown an error message within Excel if the data is not valid for import.
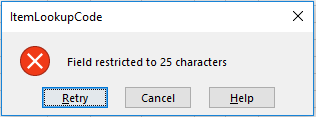
When you have entered all of the necessary data into the template, save the file onto your computer – the file format must be Excel for the import to work.
Importing the item import template
Once you have your item import template prepared and checked, you can now import the data into the Cloud POS system.
1) From the main menu in Cloud POS backoffice, navigate to Create & Manage Items, then Import Tools.
2) Under the Item Import / Export heading, click on the Import Items button:

3) Click Browse to locate select the file from your local machine:

4) Select the file and click Open:
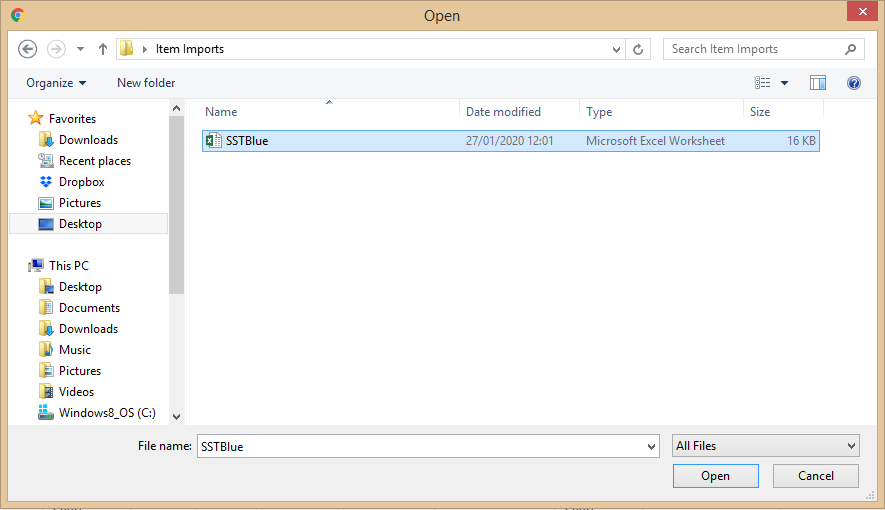
5) Click Upload:

6) The grid will now populate with the item records as per your template:
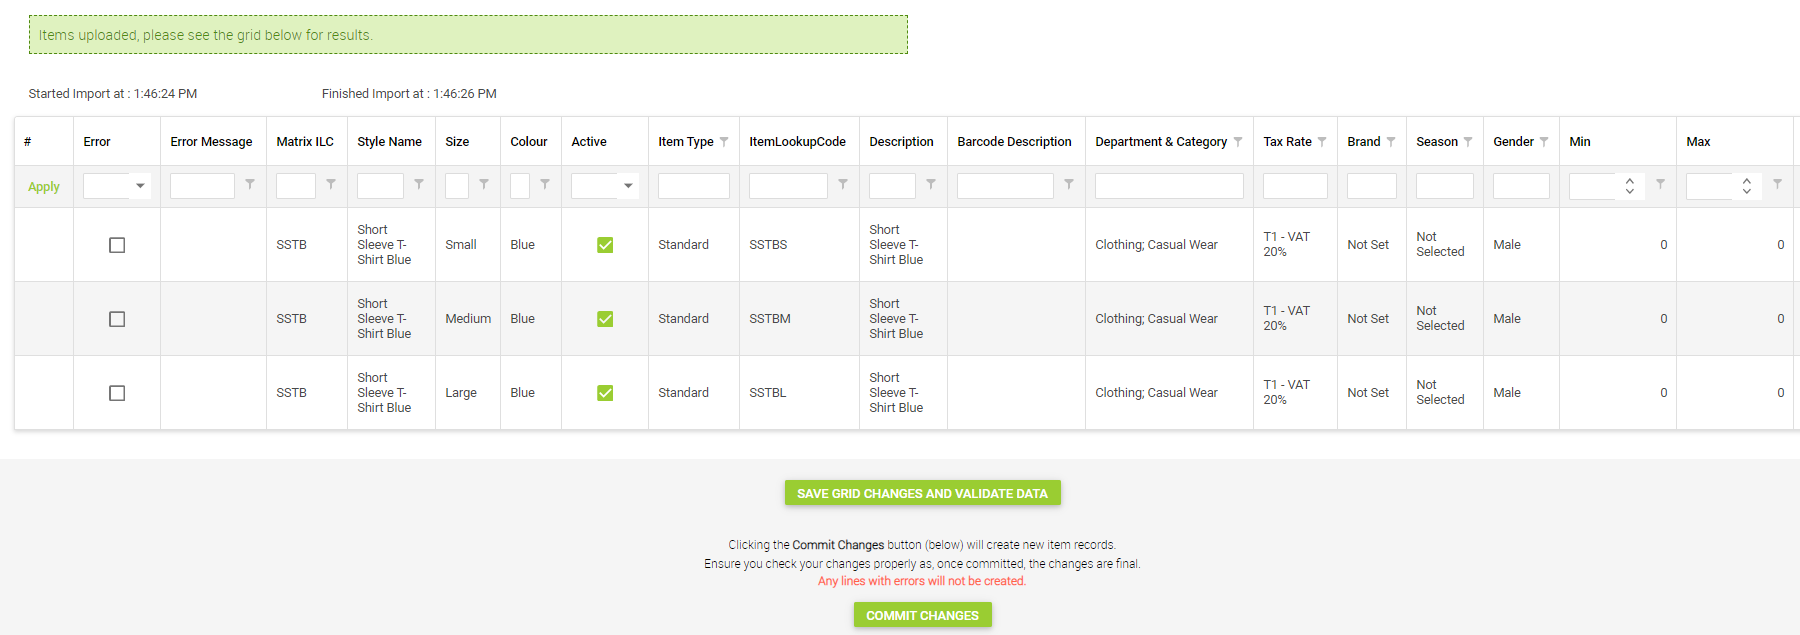
Records will be marked as Error if there are any problems with the data, and the Error Message column will give a description of the problem:
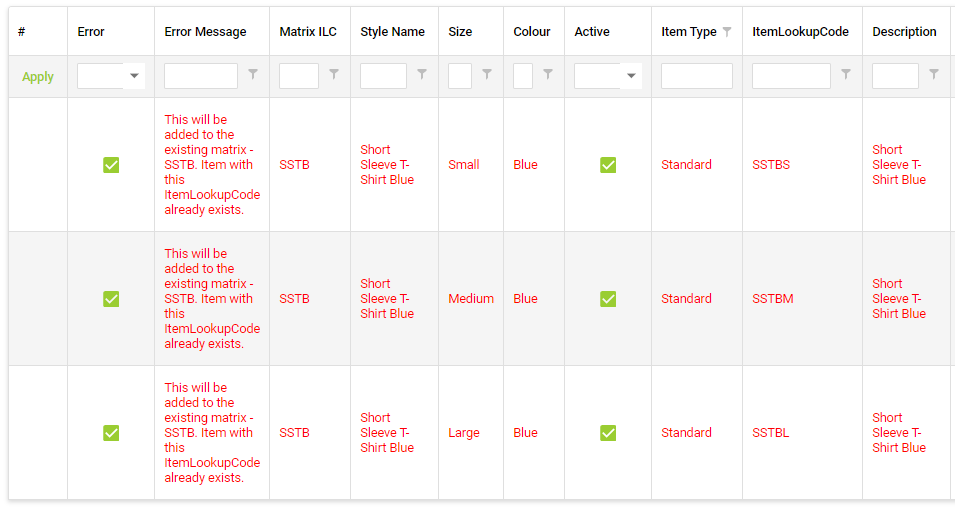
If there are records with errors, these will not be imported and these lines will be skipped by the import process. The system checks for any invalid data:
- Number of characters in a field is greater than the maximum allowed;
- ItemLookupCode is already in use;
- Barcode / Alias is already in use;
- Missing Size / Colour for matrix items;
- Department / Category does not exist in your Cloud POS group;
- Supplier does not exist in your Cloud POS group;
- If you enter a Matrix ILC which already exists, then any items in the import template which use the same Matrix ILC will be added to the existing matrix, e.g. "This will be added to the existing matrix - SSTB".
7) If there are errors, you can make changes directly within the grid to rectify any issues. Click on the field you wish to edit and type in the new information.
Alternatively, you can edit the template in Excel and upload it again by following steps above. This will replace the data you have previously uploaded in Step 5.
8) After you’ve made changes to correct any errors, click the Save Grid Changes and Validate Data button. This will re-validate the information in the grid (i.e., do another check on that data to make sure that it’s okay for import). You can repeat this step as many times as you need to.
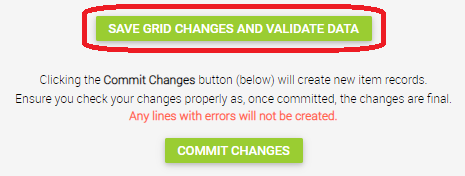
Ensure you check any changes thoroughly as, once committed, the changes are final.
9) When you’re completely happy with the new item records you’re going to create, click the Commit Changes button. This will create the item records in your Cloud POS database.