Cloud POS allows you to create item message templates, which can then be applied to items to provide a notification to the cashier when the item is added to a transaction in the Point of Sale.
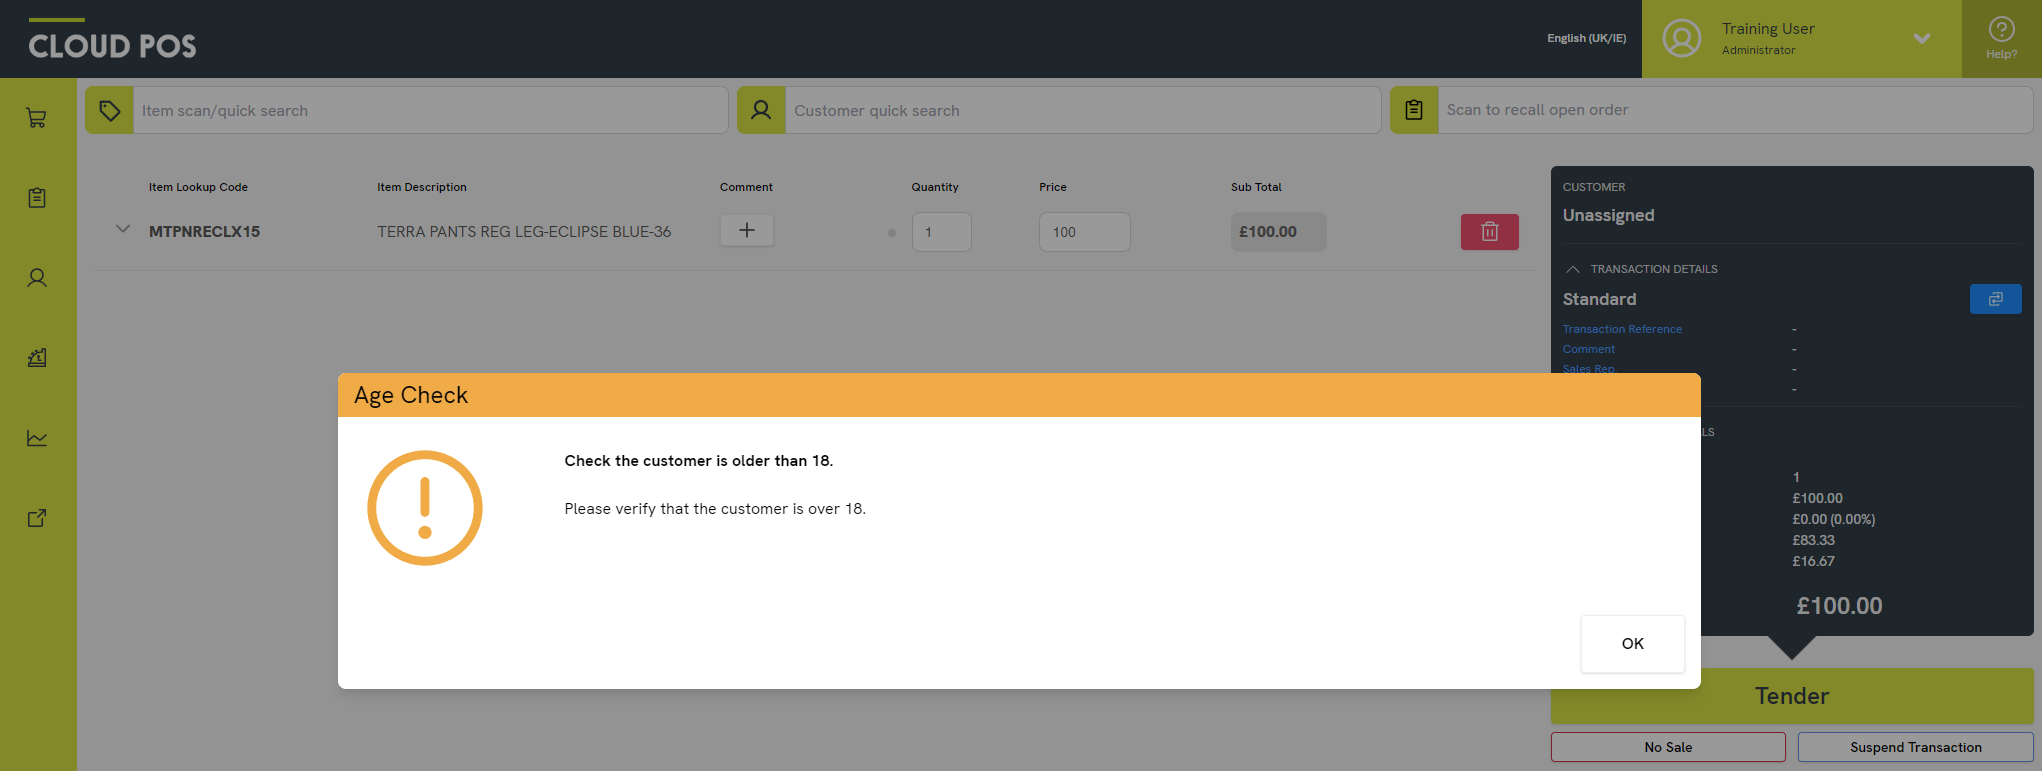
For example, you may sell some age-restricted items, where you need the cashier to verify the age of the customer before proceeding with the transaction.
If an item has an item message assigned, it will display when the item is added to a transaction:
Item message templates are created and applied to items in the Cloud POS Back Office.
Creating the item message templates
1) Navigate to Setup > Item Messages Setup.
2) Click New. You will see three fields in which you can enter information: Title, Message and Age Limit:

- The Title will display as the heading of the message. This field is required.
- The Message is the information that will display to the cashier. This field is required.
- The Age Limit is where you would set the minimum age the customer needs to be to purchase the item. This field is optional, since it may not be applicable to the message you wish to create.
3) Once you have populated the necessary fields, click Update to save the template.
Applying the template to items
With the template created, you now need to apply it to the relevant item(s).
You can apply a template to items on the item records or using the Modify Item Detail Wizard.
On the item record
1) Open the item record in the Back Office.
2) Click the Advanced tab.
3) In the Item Message section, select the template you wish to apply from the dropdown menu:

4) Click Save.
Using the Modify Item Detail Wizard
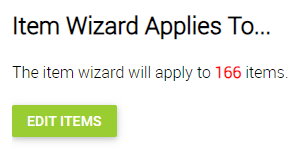
1) Select the items you wish to edit.
2) Click Edit Items.
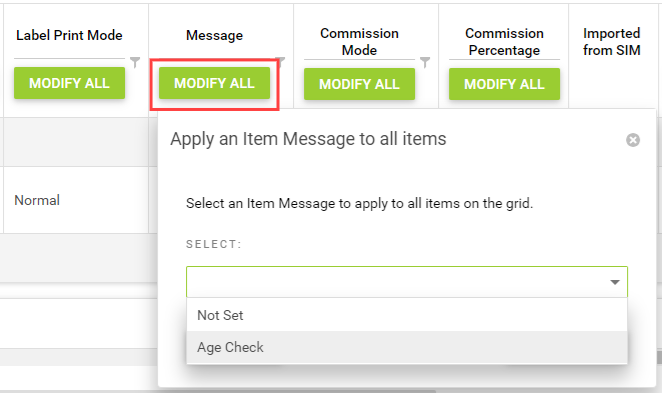
3) Locate the Message column in the wizard grid.
4) You can click Modify All to select a template and apply it to all items in the grid. Alternatively, click directly into the grid cells to apply different templates to your items.
5) To confirm, click Commit Changes.