In the Cloud POS Back Office, there are several Wizards to allow you to make bulk changes to the items in your database.
The Modify Item Detail Wizard allows the user to:
| Search and filter by | Make changes to |
| Item type | Description |
| Item code | Barcode Description |
| Description | Notes |
| Price (any) | Department / Category |
| Price changed (any price) | Brand |
| Cost | Gender |
| Stock on hand | Season |
| Supplier | Tax Rate |
| Brand | Active / Inactive status |
| Season | Enter Price at POS status |
| Gender | QTY entry not allowed at POS status |
| Department / Category | Item not discountable status |
| Active Status | Allow on purchase order status |
| Bin location | Packed / item weight |
| Enter Price at POS status | Label print mode |
| QTY entry not allowed at POS status | Link to SIM |
| Item not discountable status | MSRP Changed |
| Allow on purchase order status | Date Created |
| Tax Rate | Do Not Order |
| Label print mode | Commodity Code |
| Packed / item weight | Country of Origin |
| Commodity Code |
Prices can be changed within the pricing wizard. Learn how here.
Wizards are found in the Cloud POS Back Office menu, under the Create & Manage Items section:

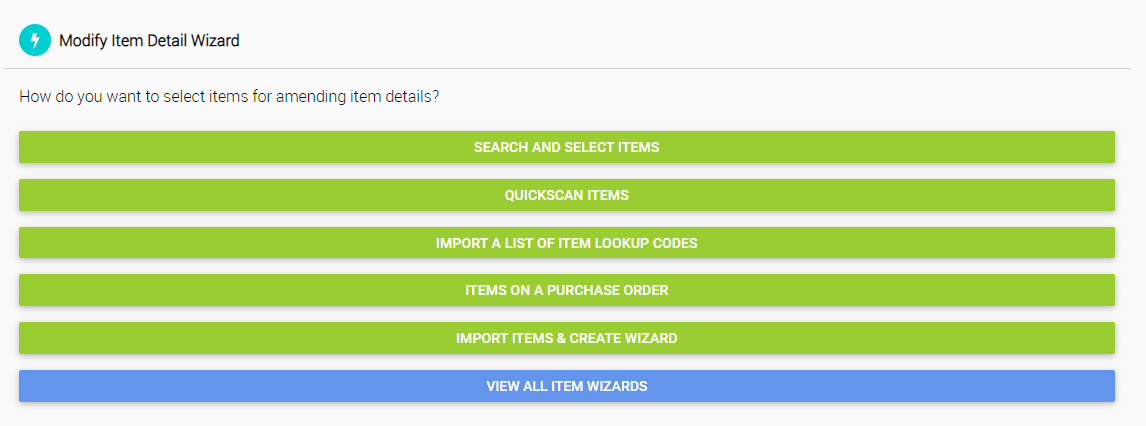
Select the Modify Item Detail Wizard.
You have several options for how to add the items you wish to modify into the wizard:
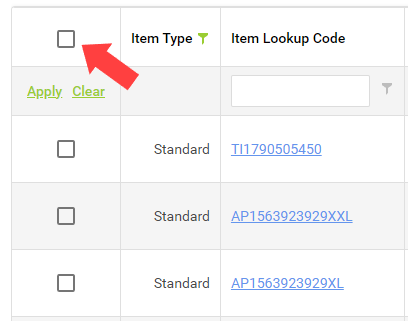
If you use the Search and Select Items option, use the filters, type in any of the fields and click Apply.
Once you have found the required items, you can add them individually or add all searched using the tick box in the top left:
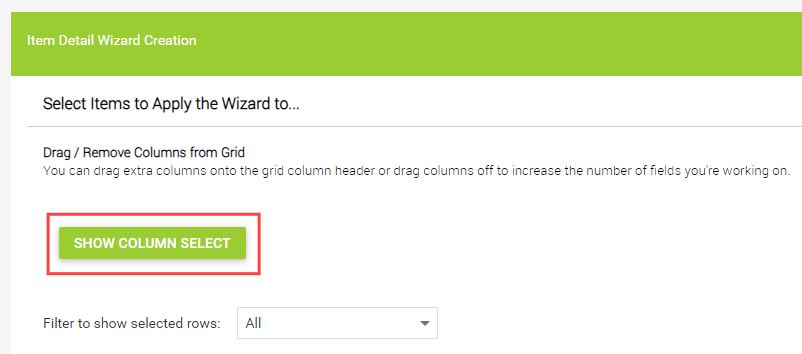
Adding columns
You can add more search columns to the grid. Click the ‘Show Column Select’ button in the top left of the screen, and then drag and drop extra columns into the grid. You can also use this to remove columns from the grid.
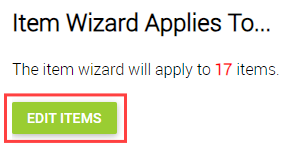
Once you have selected your range of items, click Edit Items at the bottom of the page to move on to the edit screen.
On this screen, you can edit items individually, by typing into the grid:
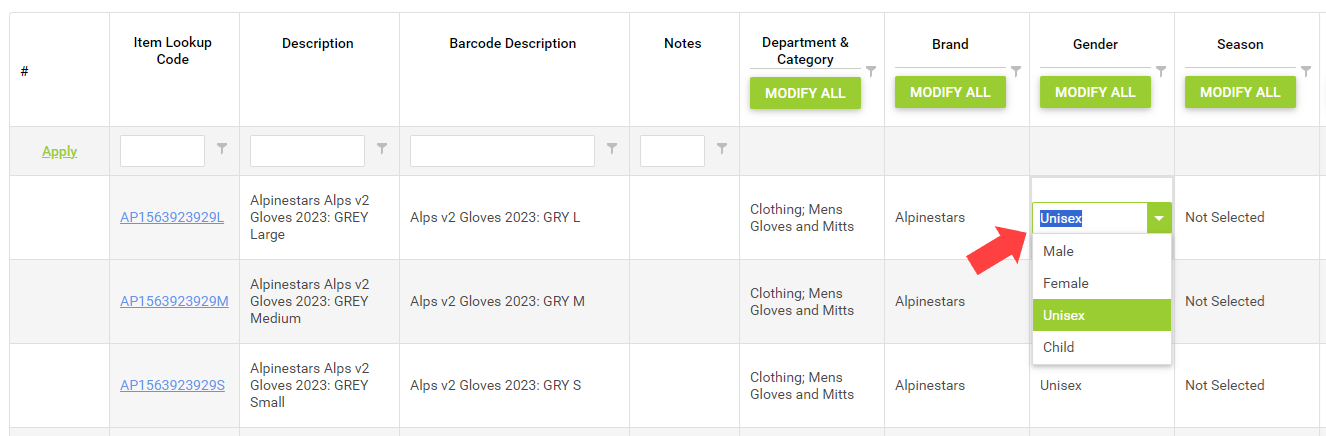
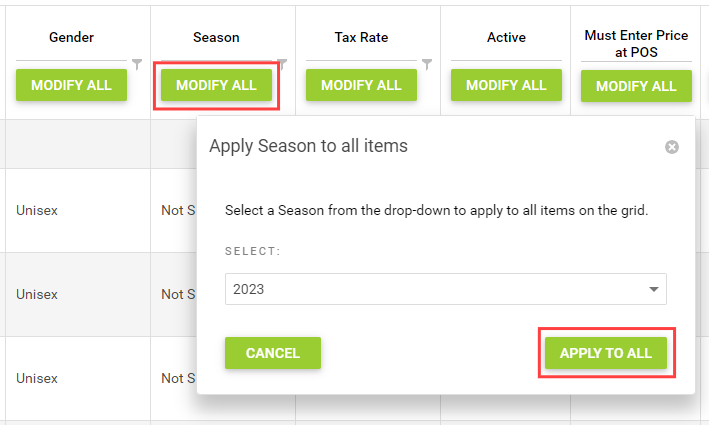
Alternatively, you can make changes in bulk using the Modify All buttons:
Importing a file
If you already know the items you wish to update, you can import an Excel file of the items and create a wizard. This option removes the need to search for the items and allows you to make your pricing updates in Excel rather than Cloud POS.
To use this feature, select the Import Items & Create Wizard.
You can import a maximum of 10,000 records per import.
The columns that must be in the file are:
Code
Description
Barcode Description
Notes
Department And Category
Brand
Gender
Season
Tax Rate
Active
Must Enter Price At POS
Quantity Entry At POS Not Allowed
Item Not Discountable At POS
May Not Be Placed On Purchase Order
Not Available From Supplier
Commodity Code
Label Print Mode
Message
Commission Mode
Commission Percentage
Linked To Sim
Country Of Origin
Packed Weight (Grams)
Item Weight (Grams)
To aid you in this process, you can click Generate Empty Template, and this will allow you to download an Excel file which is pre-populated with the mandatory column headers.
Codes can be either Item Lookup Codes, Supplier Part Codes or Barcodes (Aliases), but they must exist in the database. Every column you do not wish to change can be left blank as necessary, to indicate that its value should not be updated.
When you have prepared your file, click on the Browse button to locate it, then click Upload.
Once the file has uploaded, click View Wizard.
You'll now see a grid of the items you've imported. You can use the functionality on the page to make any necessary adjustments.
Committing your changes
Regardless of which method you used to create the wizard, once you are happy with the changes, you'll need to commit them.
If you've made any adjustments within the grid, you'll need to click Save Changes. The button will be greyed out if there are no changes to save.

If you would like to schedule the wizard to run at a particular date and time, you have the option to do so:

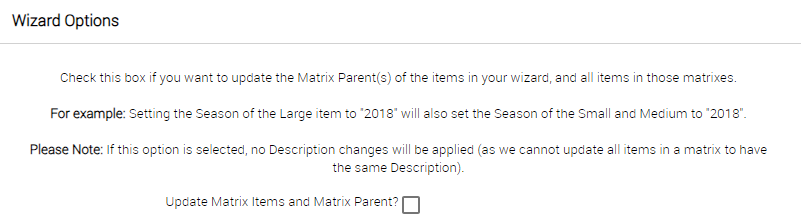
At this stage, you have the option to update the matrix parents of the items in your wizard, and all items within those matrixes:
Once you've saved any changes, click Commit Changes. The Commit Changes button will be greyed out if there are unsaved changes:
