1) From the main menu in the Cloud POS backoffice, navigate to Purchasing & Transfers and then Transfers:
2) You will be taken to the main Transfers screen:

3) Click New. This will open the 'Create Transfer' page. Select the Send to Supplier option:
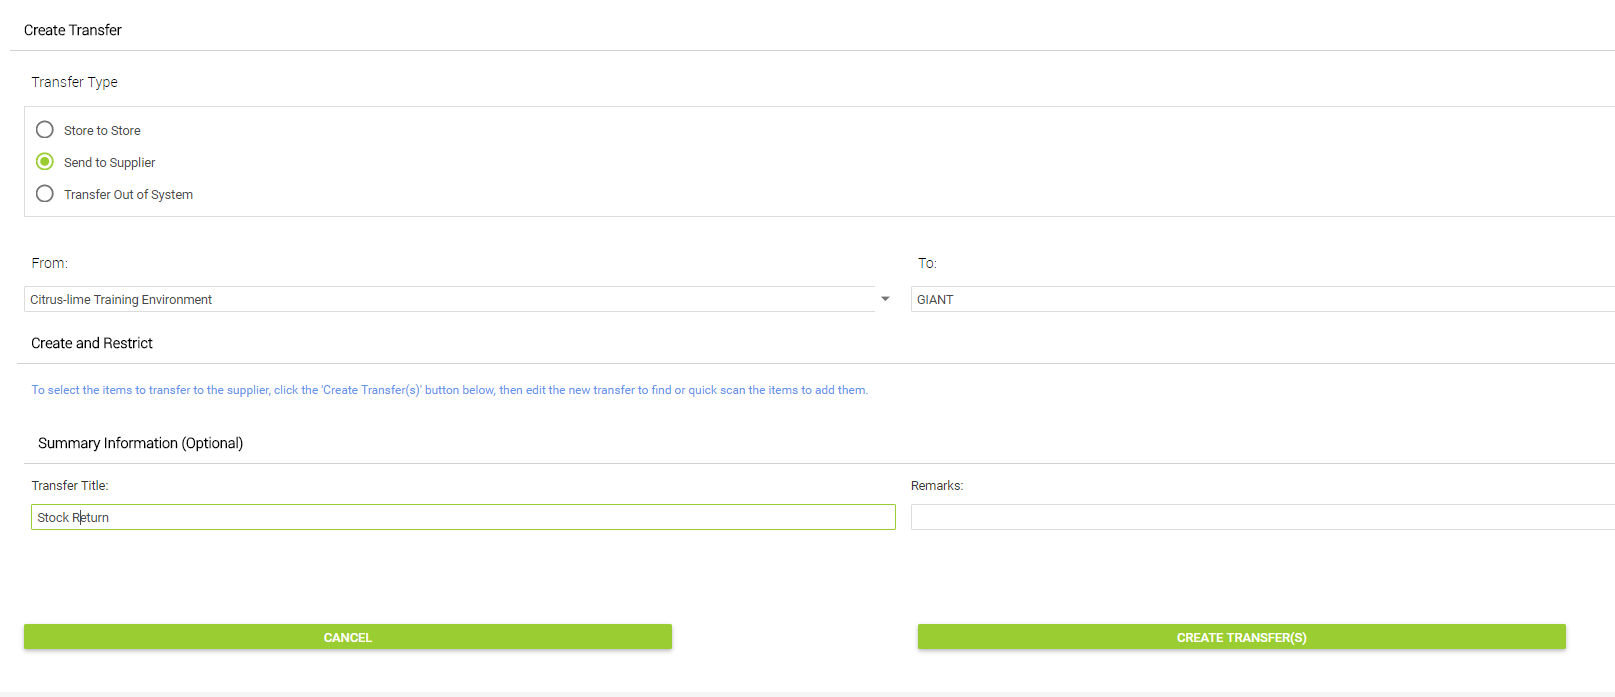
4) From here, select the correct store under From drop-down menu, and select the Supplier under To. Give the Transfer a title and any remarks, then select Create Transfer. This will create the transfer you can hyperlink to :


5) Click Edit Items and you will move into the transfer where you can select the items that need to be sent to the supplier, use the Quick Scan Items or Add items to Transfer options to populate your transfer:

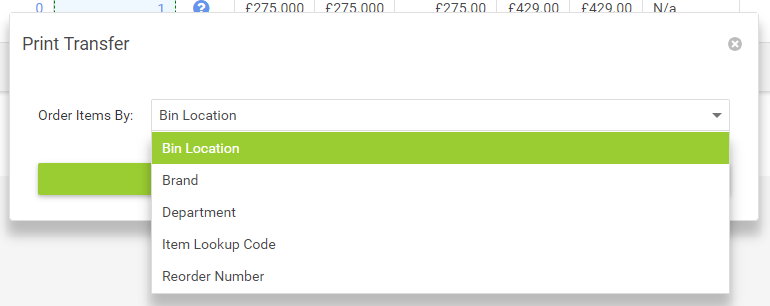
6) Once you have selected the items you require and they are present in the Transfer, click Save Changes. You can then print the Transfer to aid with picking the goods from their location(s). This can be filtered by Bin Location, Brand, Department, Item Lookup Code or Re-Order Number:
7) Once you have populated the transfer with the items you require, click the Mark As Placed button. This marks the transfer as ready to be issued / sent. You will see a hyperlink at the top of the screen that will take you directly to the Goods Out screen, from where you can issue the stock. You have a number of ways marking the items as issued:
a. Manually adjust the quantity issued against each item in the Qty Issued Today column;
b. Click the Issue All button which changes the Quantity Issued today to match the Quantity on the order (please note this will not adjust quantity issued for serialised items).
c. For Serialised items, you can click the View or Add buttons to select or add a serial number for the item. This will change the quantity issued to match the number of serial numbers added.
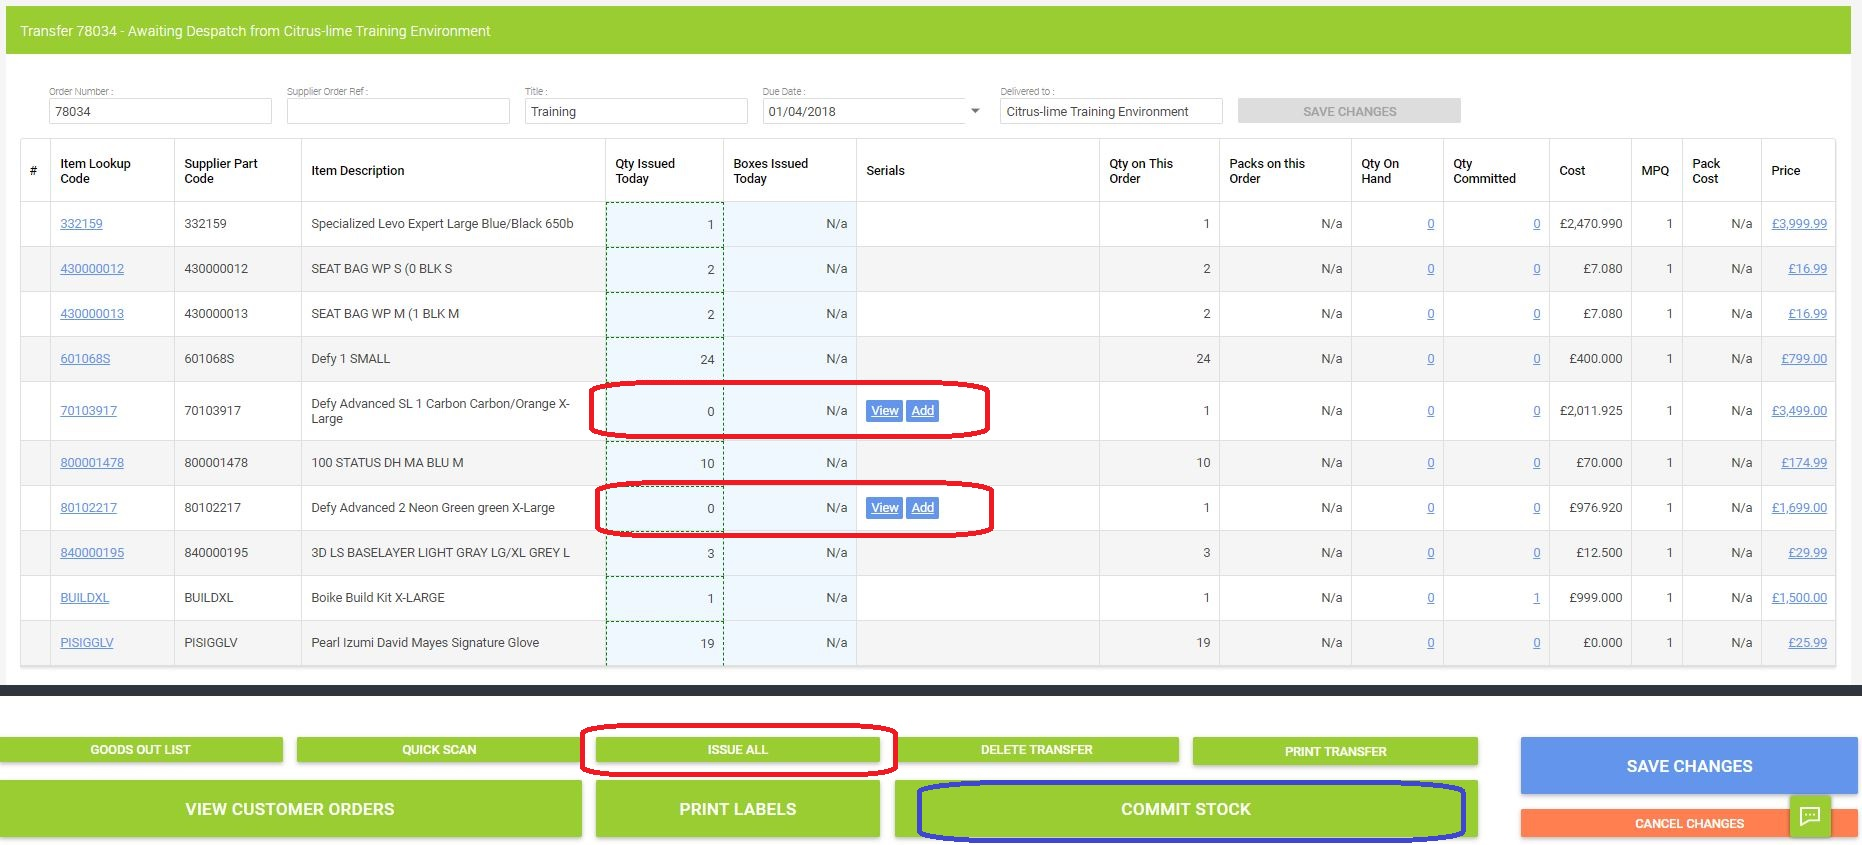
8) The final step is to click the Commit button. This is the point at which the stock is removed from your system.
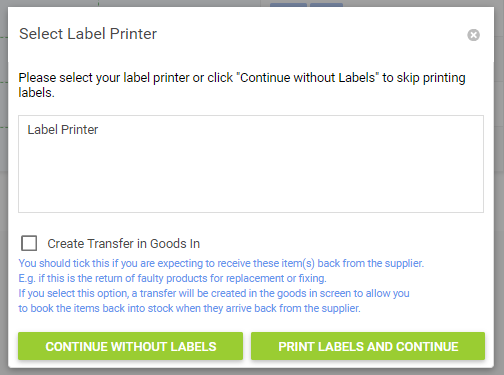
You will see a screen asking if you wish to create a corresponding Transfer In. This option is used for warranty work, when you would be expecting the item to come back into stock after replacement or repair. You can simply select Continue Without Labels:
9) If you wish to print the transfer at any stage, select the Print Transfer button. You will then be presented with the option to select how you would like the items on the transfer to be ordered, i.e., by Item Lookup Code, by Brand, etc. Select the preferred option and click Print Transfer again.