This article will cover everything you need to create and publish content to your blog.
If you haven't setup Open Live Writer with your blog details, please read this following article: https://howto.citruslime.com/42239-setting-up-your-store/setting-up-your-blog.
NB: If you aren't currently making the most of our blogging platform, then please log in to Citrus Lime Customer Support Portal and raise a case asking us to create a blog for you.
Please note: Open Live Writer is currently unavailable for Apple Mac users. A Windows machine must be used to access your blog.
Creating a New Post
You'll find that Open Live Writer is an easy to use platform, similar to Microsoft Word in its functionality. On start-up, you will be presented with a blank post. You will first need to define a 'Post Title'. This will appear as the main header and will be used to create the URL* of the blog post.
Please note: Do not end your Post Titles with numbers.

* While it is possible to change the Post Title once the blog post is published, we highly advise against it. Google will crawl and index your published articles, so changing this will also change the article URL. This will cause you to lose all SEO value from that article.
Entering Content
The big box below the Post Title is where you enter your blog article content. You can type straight into this box or you can paste in content, though this method isn't preferred as Open Live Writer will copy across styling, meaning your published article might have some formatting issues.
Text
With the 'Home' tab selected along the top of Open Live Writer, you'll be able to modify your text colour, size and apply other general formatting options as you would with any other document editor. By default, your article will inherit your website font, so you won't need to worry about specifying once here unless you'd like to change it.
Images
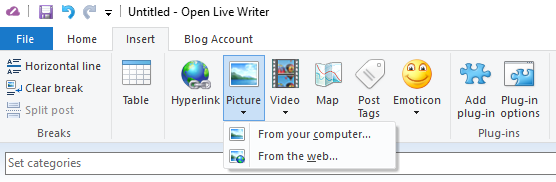
Open Live Writer has the ability to upload images to your article from both the web & your device. Along the top row, either select the picture drop-down on the far right of the 'Home' tab or click on the 'Insert' tab and select the picture drop-down from there:
Once inserted, your picture will inherit some default styling that you're able to amend. By default, the 'Format' tab will have appeared* along the top:
*If this doesn't show, simply click on the image in your content and it will appear.

Most of these options will be self-explanatory, though there are three steps we recommend applying before you continue:
-
Change the image mode from Drop Shadow to None
- There are three images of a landscape in the 'Format' tab when editing a picture. By default, every image will be inserted with a drop shadow. While not mandatory, we do encourage you to change this option to 'None' (click on the middle picture) so that your images don't insert with a drop shadow (it's not the 90's anymore).
- There are three images of a landscape in the 'Format' tab when editing a picture. By default, every image will be inserted with a drop shadow. While not mandatory, we do encourage you to change this option to 'None' (click on the middle picture) so that your images don't insert with a drop shadow (it's not the 90's anymore).
-
Change the image size from Small to Large
- At the top left of the 'Format' tab, there is a 'Small' setting currently selected in the drop-down. We advise changing this to 'Large' as it is quite likely that your website will scale your images to be the full width of your blog article. Scaling a smaller image will cause pixelation.
- At the top left of the 'Format' tab, there is a 'Small' setting currently selected in the drop-down. We advise changing this to 'Large' as it is quite likely that your website will scale your images to be the full width of your blog article. Scaling a smaller image will cause pixelation.
-
Click 'Set to default'
- Once you've completed the first two steps, click on the 'Set to default' option near the middle-right of the 'Format' tab to apply the settings to all your images you embed to your article moving forward.
Videos
Open Live Writer supports videos, however, the process to embed these requires some basic HTML editing. There is an option to insert a Video though, at the time of writing this article (Feb 2018), this feature is defunct. A video will have to be uploaded to a video sharing website for you to embed it. For this example, I will use YouTube to demonstrate how to insert video into your article, though you can use other websites (Vimeo, Google Videos etc.) too.
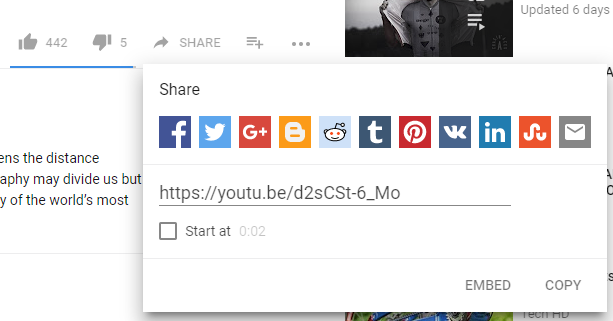
Once you have a video you'd like to upload, click on the 'SHARE' button. A popup box will open, which you'll then need to click on the 'EMBED' link at the bottom:
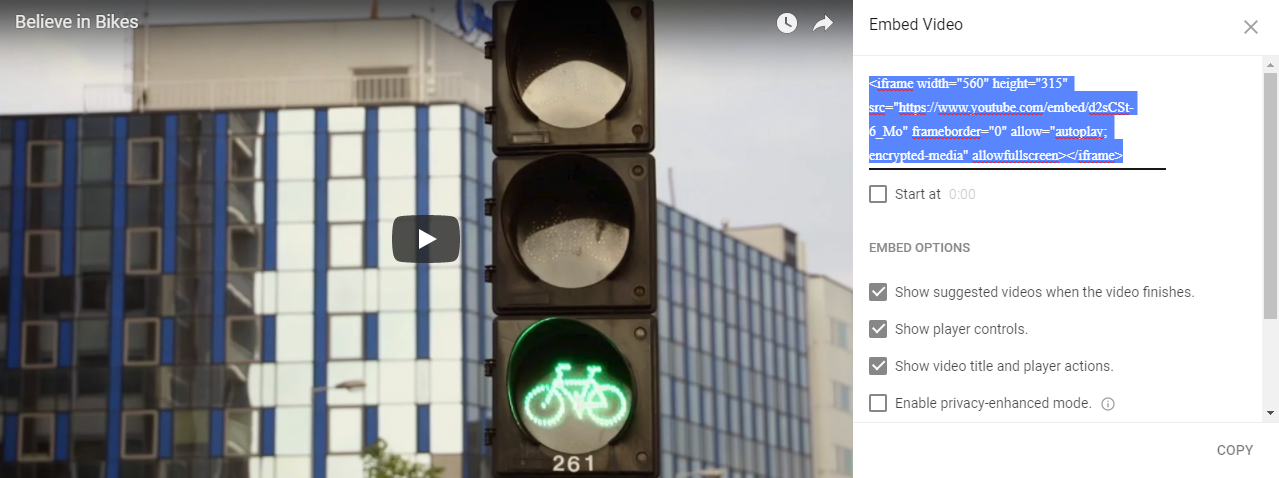
This will then open up another popup box that will provide you with some HTML for an 'iframe'. You need to copy this code to embed to your article:
Once you have this code, head back over to Open Live Writer. At the bottom left of the page, there are three tabs; 'Edit', 'Preview' & 'Source'. Click on the 'Source' tab and you will be presented with the source code of the blog. Paste the full iframe code you gathered from YouTube into the source code for the video to pull through.
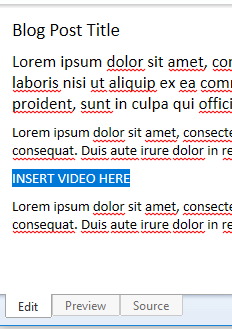
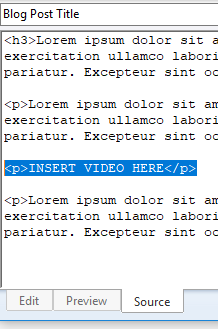
If you're not entirely sure with where to paste your code, then you can use this quick tip. When using the 'Edit' tab, simply enter 'INSERT VIDEO HERE' where you'd like the video to show:
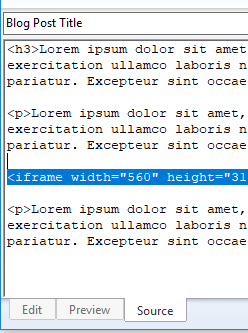
Once done, head on over to the 'Source' tab and find the INSERT VIDEO HERE text. Replace that text with your iframe and your video will render out in its place:
Click back on your 'edit' tab and you'll see a video frame will render out.
Please note: The video will only show once published on your website and cannot be played in Open Live Writer:
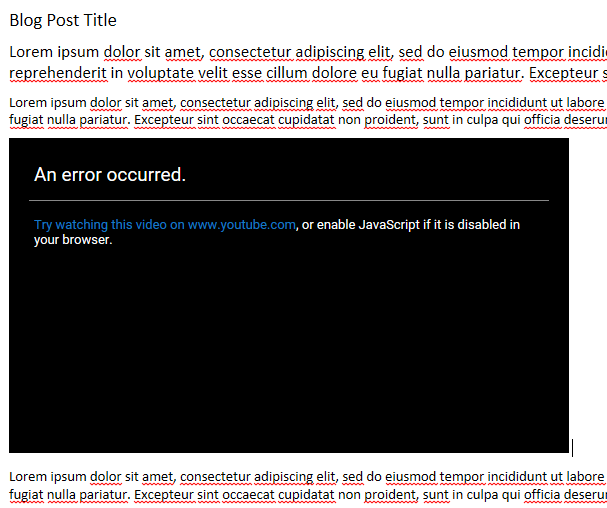
A published video will automatically scale to the full width of the blog article.
Dictating where the blog appears on your site
If you need to tag a blog post to control which page it appears on within your site, you need to use the 'Set Categories' menu, not Insert > Guides.
In Open Live Writer, it looks like this:

NOTE: If you re-publish the blog again in future, you will need to put the category back in again, as Open Live Writer erases it each time.
Publishing Content
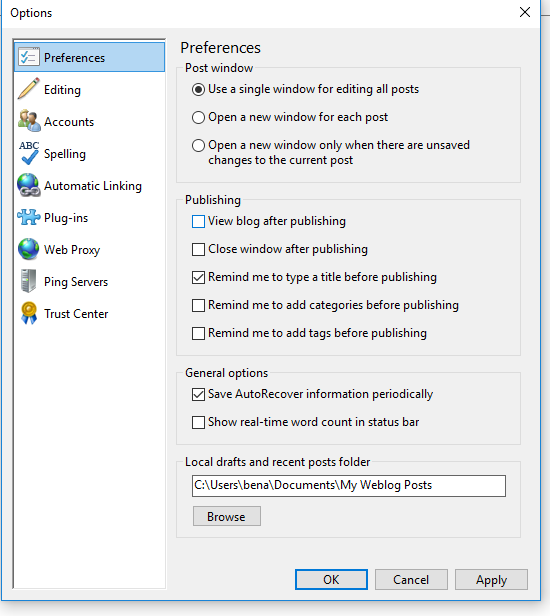
Under 'File > Options' there is a checkbox to 'View blog after publishing'
This will try and open the server where the blog is hosted, and not your blog. Leaving it checked will automatically open a web page every time you try publishing, which will cause a lot of frustration when trying to upload content!
Open Live Writer gives you two options when you'd like to publish content on your blog:
-
Publish to your website
- This is the 'Publish' icon along the top bar. This will create the article live on your website for your customers to see:
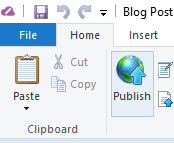
- This is the 'Publish' icon along the top bar. This will create the article live on your website for your customers to see:
-
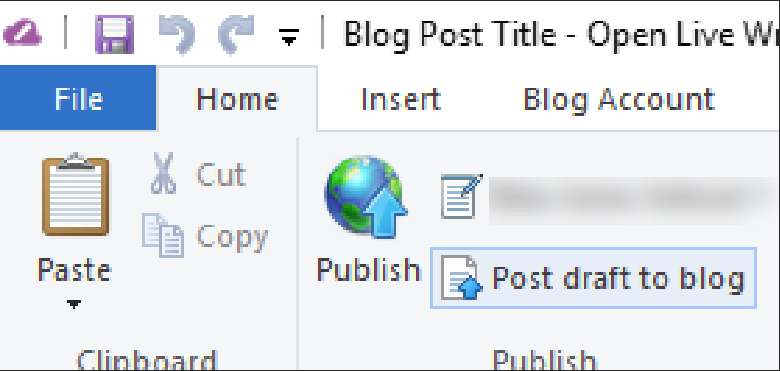
Post draft to blog
- If you plan to continue working on the article from another machine or want to pick it up at a later date, you can simply publish a draft. This will upload the article to your blog but won't be visible to your customers.
- If you plan to continue working on the article from another machine or want to pick it up at a later date, you can simply publish a draft. This will upload the article to your blog but won't be visible to your customers.
There is an option to save an article, though this will only save it to the machine you are working on. We'd advise publishing a draft instead of saving in case you are no longer able to use the machine the article is saved on.
Amending & Deleting Published Content
After an article has been published, online or just a draft, it can be either amended or deleted from any machine with Open Live Writer that is connected to your blog.
Accessing Published Articles
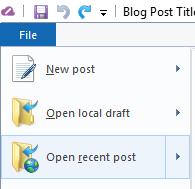
From the blue 'File' tab at the top of Live Writer, click on the 'Open Recent Posts' option:
This will cause a popup to open. Click on the name of your blog and the 50 most recent articles will appear (you can change the drop-down to show all articles that have been published to your blog):
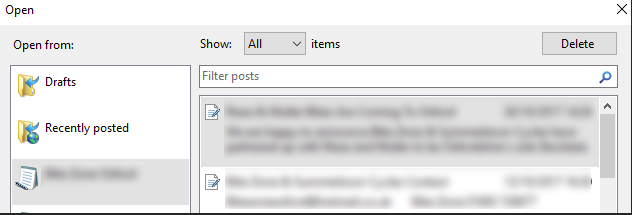
From here, you can select the published article to make amendments or delete it entirely.
Amending an article
Find the article you'd like to edit. For ease of use, you can use the 'Filter posts' text box to search for the name of your article. Once you've found your article, either double-click on it or press the 'Okay' button to open it. You can then make any changes to it as usual, simply Publish the article again for the changes to appear on your website.
Deleting an article
Once you've found the article you are looking for, there is a delete at the top of the popup box that will remove the article from your website along with any drafts.
WARNING: Deleting an article is permanent and cannot be undone. Only do so if you want to completely remove an article from your website. If you only want to delete the article from your website but would like to keep a copy to publish at a later date, then follow these steps:
- Open your article following the steps above
- Click on the 'Source' tab at the very bottom
- Copy all the content from the page and paste it into a text editor, like Notepad
- Head back to the 'Recent Posts' popup box and delete the article
- Create a new post from 'File > New Post' in the blue tab at the top
- Click the 'Source' tab and paste in your content from your text editor
- Click 'Edit' from the bottom left tabs and click 'Post draft to blog', this will re-upload your article ready for publishing whenever you see fit
Best Practices
- Try to create as many internal links from the blog as possible. It will help Google index your site better making your content easier to find
- E.g. If you're writing about a specific product, make sure there are plenty of links to this product within the article (as long as it is live on your E-commerce store).
- This also applies to other blog articles or pages on your website
- Images by default will link to themselves, so amend these to something more suitable (if possible) once you've embedded them
- The same blog credentials can be used to login to Open Live Writer on multiple machines
- You can change the 'post date' of an article with the 'Set post date' drop-down field, this appears just above the Post Title and to the right of the 'Set Categories' field. This will re-order how your articles appear on your website. Articles are listed by most recent post date first