Warning
We strongly recommend that Tender Types are only activated, deactivated, added or deleted when all of your Cloud POS batches are closed. If you make these changes with an open batch, you may encounter errors when you next close the batch.
Any open batches will be displayed in a table at the bottom of the Tender Type page.
Creating a new Tender Type
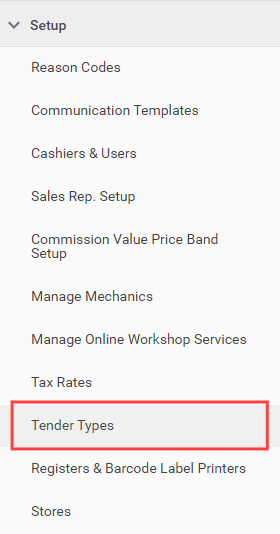
1) From the Cloud POS Back Office menu, navigate to Setup > Tender Types:
2) Click New in the top-left of the grid.
3) Complete the Description field. This is the name for the Tender Type that will appear in the Point of Sale.
4) Select the Type from the dropdown menu.
Please Note
The 'Credit Card (Integrated)' option in the Type section is only usable if you are using an integrated card terminal with Cloud POS (e.g. Paymentsense, Dojo, CitrusPay, Worldpay or Aurora). For non-integrated credit card terminals, please use 'Manual Credit Card' as the Type.
The 'Voucher' option in the Type section is designed for Cloud POS gift vouchers/certificates. If you require a Tender Type for other vouchers (e.g. brand voucher schemes), you should use the Type ‘Other Voucher’.
Any Tender Types set to ‘Cash’ will appear on the Open Batch screen and the Pay-In / Pay-Out screen.
5) The Display Order controls the order of your Tender Types in the Point of Sale. Your first two Tender Types are shown at the top of the Point of Sale screen, and the rest are displayed in additional buttons. There is further guidance on this here.
6) You can also select some additional settings if needed:
Block Customer Rewards: For users of the Customer Rewards module, this would prevent customers from accruing any Customer Rewards points for a transaction paid using this Tender Type (either partially or in full).
Prevent cashier overtendering: This would prevent cashiers from entering a tender value that is higher than the total due. This box would be unticked for Cash, for example, as customers will often need to pay an amount that is higher than the total due and then receive change. However, you would tick this box for a card Tender Type, as customers would never over-tender using this payment method.
7) Leave the ‘Inactive’ box unchecked.
8) When you have finished, click Update to save the new Tender Type.

You will need to refresh the Point of Sale to use your new Tender Type.
Editing a Tender Type
1) From the Cloud POS Back Office menu, navigate to Setup > Tender Types:
2) Click Edit beside the Tender Type you wish to change.
For more information on each field, follow the guidance in the section above.
3) Click Update to save your changes.
Deleting a Tender Type
Deleting vs. deactivating
You cannot delete a Tender Type that has been present in a batch.
If you have Tender Types which you no longer need, but that have been present in open batches, you need to deactivate these Tender Types instead. You should only deactivate Tender Types when all batches are closed on all registers.
1) From the Cloud POS Back Office menu, navigate to Setup > Tender Types:
2) To delete a Tender Type, click Delete beside the Tender Type you wish to remove:

To deactivate a Tender Type, click Edit beside the Tender Type, and then check the ‘Inactive’ box:

If you have deactivated a Tender Type, click Update to save your changes.
Watch A Video: