If a customer returns an item that they've previously purchased, and wishes to exchange this, there are two processes involved which depend on whether the customer would like to either a) swap the item for a different product, or b) swap the item for another of the same (which they might do if the original item was found to be faulty, for example).
The procedure for processing an exchange is similar for both scenarios, with a deviation towards the end of the process depending on whether the customer requires a different product or a replacement of the original item.
Exchanging an item for a different product
You might use this option when the customer wishes to swap an item for a different size of the same product, for example.
1) From the main POS screen, click Return Transactions:

2) This will give you three ways to find the transaction you wish to exchange:

a) If you have the returned item to hand, you can use Scan an item to find a sale using the item lookup code or barcode - Click here for info on how to do this.
b) Alternatively, you can use Search Transactions, or c) Search Items functionality.
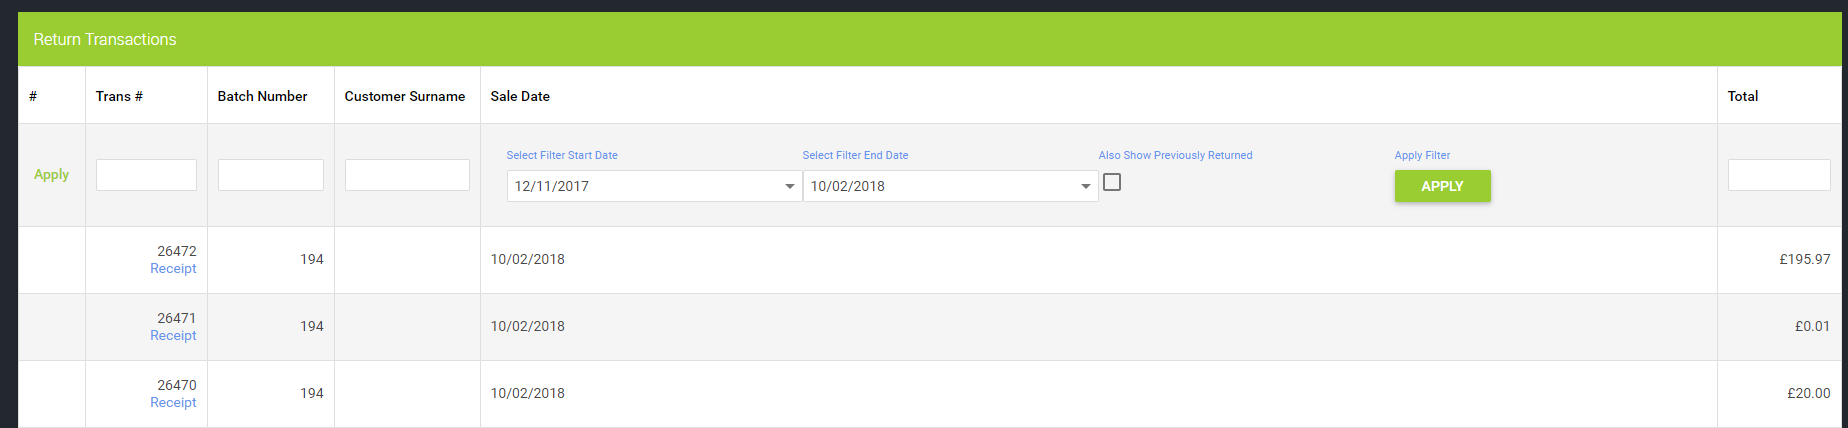
Here you are able to search for the transaction that you wish to exchange, based on Transaction Number, Batch Number, Customer Surname, Sale Date, or Total Transaction Value:
3) Double-click on the correct transaction to start the exchange process. This will take you to the Reason Code screen:
4) If you are only exchanging part of the original transaction, you can use the Click to remove item and Amend quantity options to remove any items that you are not exchanging, or change their quantities.
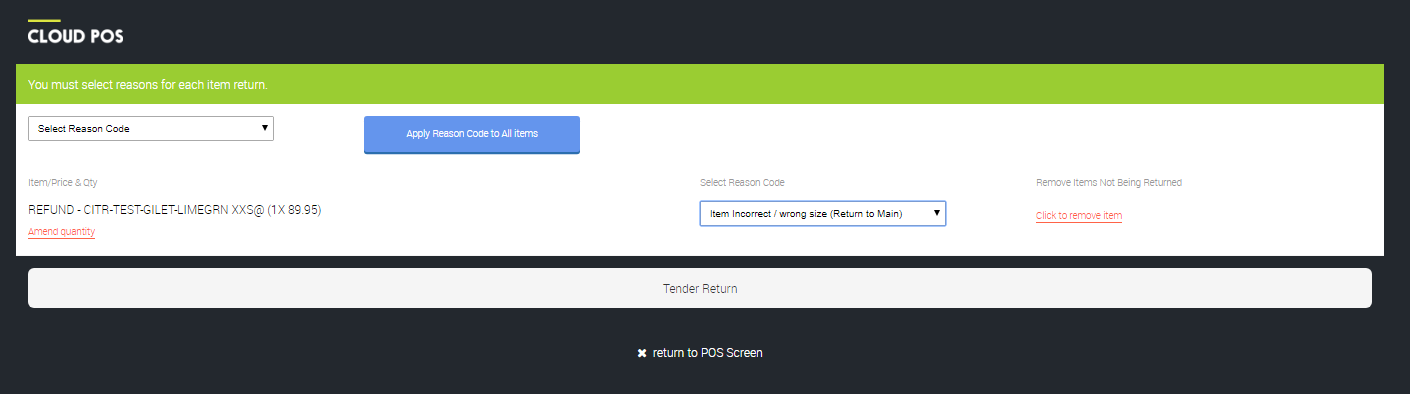
5) Once this is done, you need to Select A Reason Code for the return. This can be done by using the drop-down menu in the top left hand corner to apply the same code to all items on the return, or you can select a different reason code per item.
Return to Main Inventory: This is applied in POS when an item or transaction is returned and the product is able to be resold as new. This will book the item back into available stock.
Return to Offline Inventory: This is applied in POS when an item or transaction is returned is damaged or needs to be returned to the supplier. This option will leave the item unavailable to sell.
See the related articles for further information on Reason Codes, and Offline Inventory.
6) Once you have adjusted any quantities and set the necessary reason codes, click Return to POS Screen. This places the return into the POS screen for you to add any new items that the customer wishes to have in exchange;
7) Use Search Items or the quick scan feature to add the new item(s) to the transaction. You can add items of higher, lower or the same value as the returned items:

8) Once you have the required items in the transaction, click the Tender button and you will proceed to the tender screen. Please be aware that the total value could require you to take a further payment or return money to the customer, dependent on the product values. Ensure that you use the correct tender type;
9) Click the Continue With Transaction button and you will have completed the exchange.
Exchanging an item for the same product
You might use this option to do a like-for-like swap of an item for a customer, if the original item was found to be faulty, for example.
Follow Steps 1 to 5 in the guidelines above, and then:
6) Once you have adjusted any quantities and set the necessary reason codes, click Tender Return;
7) You will now see the tender screen. Click Cancel And Return To POS to get back to the main transaction screen;
8) Add the replacement item to the transaction. You should now have two lines of the same item, one negative quantity and shown as Being Refunded, as in the example below:

9) Once you have the required items in the transaction, click the Tender button and you will proceed to the tender screen. If you are exchanging the same quantity of the same item(s) that were originally sold, there should be no value to tender. If the quantities are different, there will be an amount to tender, so ensure you select the same tender type that was used on the original transaction;
10) Click the Continue With Transaction button and you will have completed the like-for-like exchange.