You can access and use the Customer Communications feature from within the Customers section of Citrus-Lime Back Office, from the Point Of Sale after you have selected your customer, and from within the Workshop Module when you have opened a customer's workshop job.
The email address you specify as the Customer Service Email in the Store record in Cloud POS backoffice will be shown to the customer as the sending address, and is also the address to which customers can reply:
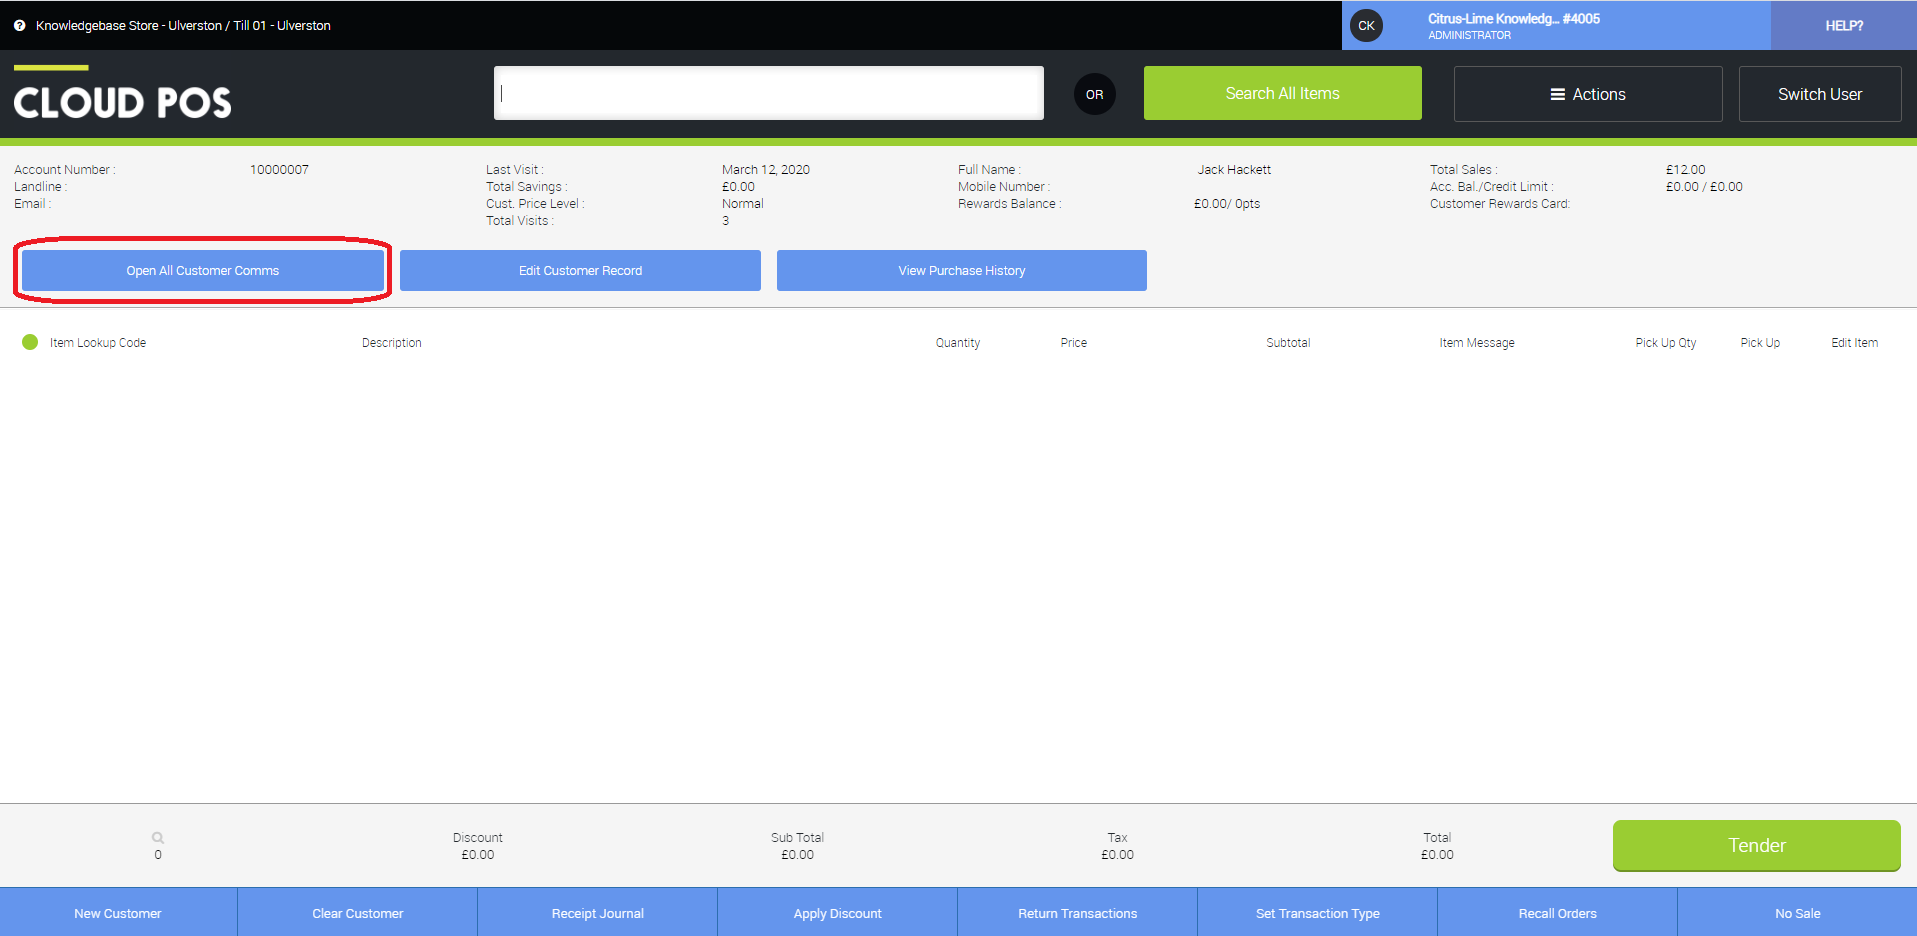
To access customer communications from POS, select the customer and you will then see a link, as shown below:
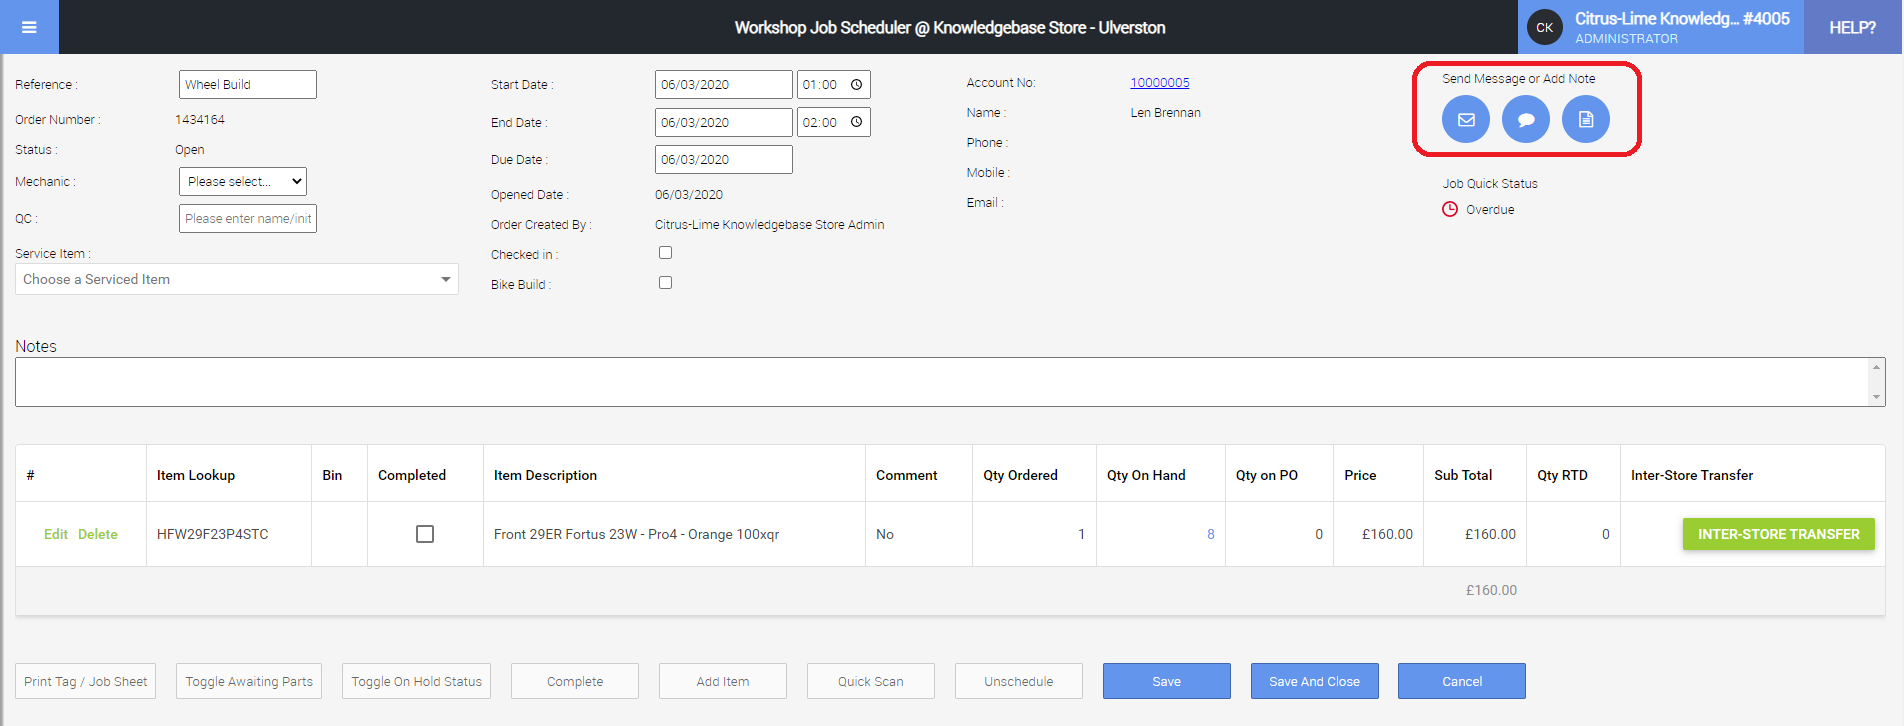
To access customer communications from the workshop module, open a job from the calendar by right clicking on the job. You should then be able to access the functionality using the buttons as highlighted below:
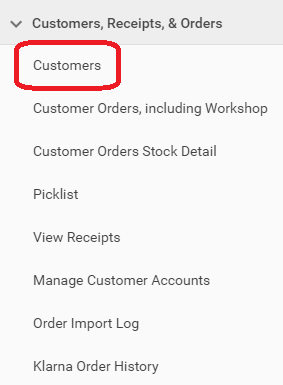
From the backoffice to access the Customers section, open the menu and select Customers from the Customers, Receipts & Orders section:
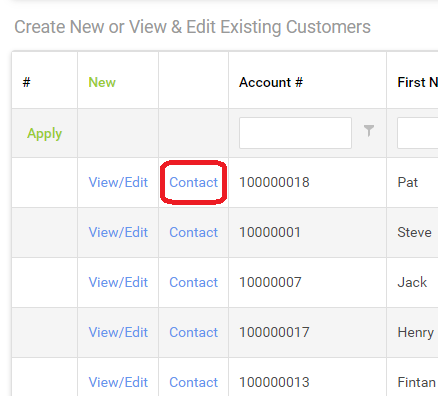
Once the Customers screen loads, you will be presented with a grid of all your existing customers. On that grid you will see a Contact link on each individual customer row.
Click the Contact link (that corresponds to the customer to whom you would like to send a communication or record a note against) to open the Customer Communications panel:
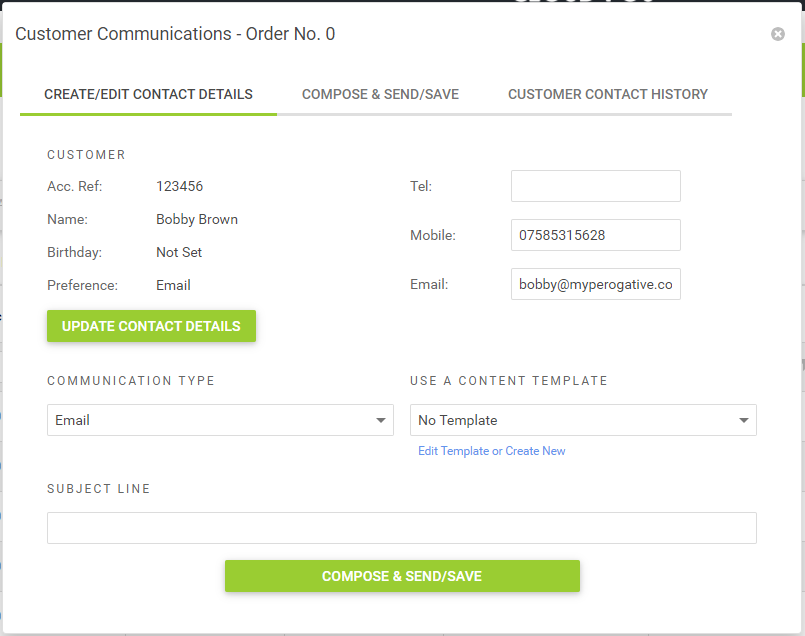
Once you have clicked the Contact link, the Customer Communications panel will open, ready for you to use:
Using the Customer Communications feature
There are 3 tabs on the Customer Communications feature :
- Create/Edit Contact Details
- Compose & Send/Save
- Customer Contact History

Tab #1 : Create/Edit Contact Details
This contains a range of information and feature to help you prepare a communication.
The Customer section highlights key details for the customer you are intending to contact.
You will note that there is a Preference section in the customer details area of this tab. This feature makes a suggestion to the user as to what the best method of communication is to use when contacting the customer. It does not enforce the use of a particular communication type.
Quick Diversion : Setting the Contact Preference for a Customer
It's worth noting that this is completely optional and depends as much upon your Human Processes as system accuracy to be truly useful.
In other words, if it isn't your policy to ask a customer how they would prefer you to contact them, then setting a preference is without value.
However, this is a small practice to adopt and is certain to be appreciated by your customers.
All said, setting a Preference on the customer record is simple.
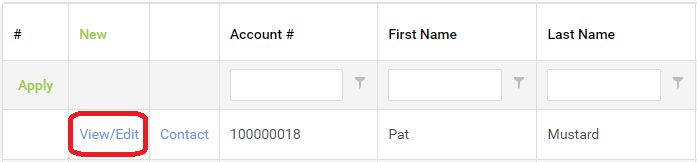
First, from within the Customer screen in Citrus-Lime Back Office, choose the View/Edit link that corresponds to the customer you want to assign a Preference to:
The Edit Customer Record screen will open. Scroll down the page and locate the following area :

Using the dropdown menu, select either Email or SMS to set a preference :
Once you have set a preference, scroll to the bottom of the Edit Customer Record screen and click the Save button to apply your changes.
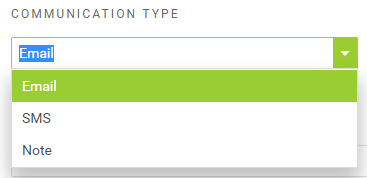
The Communication Type section provides a drop-down list from which you can select the type of communication you wish to use.
The options are Email, SMS or Note.
Email and SMS are Outbound Communications. Note is an Internal Communication; allowing you to record commentary on other forms of customers interaction. For example, you may wish to record a note that the customer called in to notify of a change in their plans or some kind of customer service issue (ie : missing order in post).
You can opt to Use A Content Template by selecting one from the drop-down list provided.
By default, the drop-down list is set to 'No Template'.
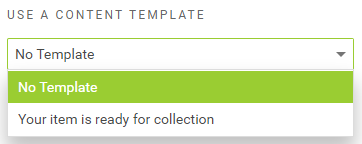
The templates displayed in the drop-down list are relative to the Communication Type you have selected.
In other words, if you have selected Email as the Communication Type, then only Email Communication Templates will be present in the drop-down.
The same is true if you select SMS or Note as the communication type.
Don't yet know how to create a Communication Template? Read this related article.
The Subject Line describes the context of the communication you are composing to send or save.
If you have opted to use a Template, then the Subject Line will be populated for you (assuming the Template has been created with Subject Line content).
If the Subject Line is populated as a result of using a Template, you are still able to edit the content of the Subject Line as you see fit.
If you have opted not to use a Template, then the Subject Line field is available to you to populate as you see fit.
Note that you cannot send or save a communication (of any type) without first setting a Subject Line.
You can choose to either use the Customer Name in Message or you can decide to do this yourself manually.
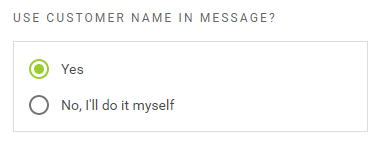
If you choose No, I'll do it myself, then you are free to address the recipient in your own style. Or, indeed, not at all!
By default, the setting is set to Yes. This means that the customer name displayed on the Configure Tab will be used automatically in the composed communication.
Choosing Yes helps to ensure consistency amongst you and your colleagues and minimises mistakes in the spelling of a customers name.
When you choose Yes, then you also have the option of using the default Informal style of greeting or switching to a Formal style, depending on your style of business.
Once you are happy that you have configured your communication appropriately, click the Compose & Send/Save tab to progress.
Quick Diversion : Informal or Formal Greeting Style?
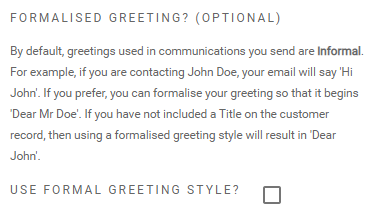
By default, when you opt to have the Customer Communications feature automatically add the customer name, greetings used in communications you send are Informal. For example, if you are contacting John Doe, your email will say 'Hi John'. If you prefer, you can formalise your greeting so that it begins 'Dear Mr Doe'. If you have not included a Title on the customer record, then using a formalised greeting style will result in 'Dear John'.
To use the Formal Greeting Style, simply set the provided checkbox:
Tab #2 : Compose & Send/Save
The Compose & Send/Save tab is comprised of the following features :
- Greeting Style Reminder
- Communication Send/Save Feedback (Success or Fail)
- Subject Line Reminder
- Compose Content Field
- Send/Save button
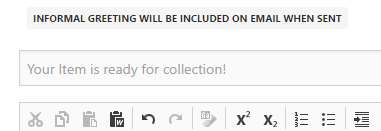
Greeting Style Reminder
This is a simple line of text that serves as a reminder for the type of Greeting you've elected to use in your communication (Informal or Formal style).
Note : Greetings are only utilised on Email and SMS Communication Types.
For example:

Communication Send/Save Feedback (Success or Fail)
When you have successfully sent or saved a communication, a confirmation will be presented to confirm this :

Communication Templates include Subject Lines, so using a template helps to ensure that your communications are correctly configured.
However, if you choose not to use a template, then you are required to include a Subject for your Email, SMS or Note.
If you forget to do this, the communication cannot be sent (or saved) and a message will appear to inform you of this :

Subject Line Reminder
The Subject Line Reminder gives you quick glance confirmation that there is a Subject Line configured and enables you to check that the content of it is contextually relevant :
Note : You cannot amend the Subject Line in the Subject Line Reminder field. To do that, you need to click on the Configure tab and use the Subject field provided.
Compose Content Field
This is the field into which you compose content for the Email, SMS or Note communication that you intend to use.
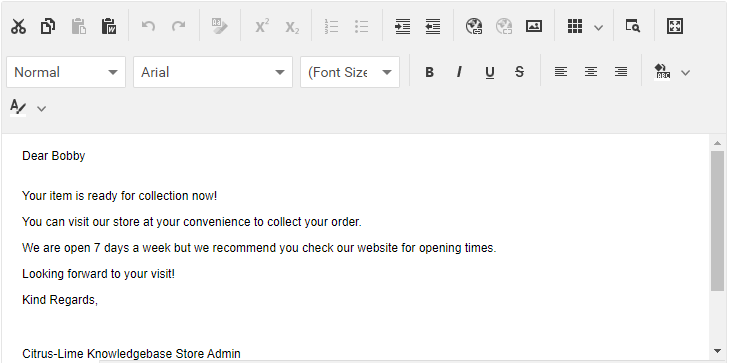
The example shown above is a typical use example, comprising of :
- Formal Greeting
- Template Content
- Signature
If you have elected not to use a template, the Compose Content field will be empty, enabling you to populate it with the content you see fit.
Remember that you cannot use the Greeting and Signature features without having first applied a Communication Template.
Handy Hint : Simply creating a communication template without any predefined content and applying that in the Configure section will ensure that Greetings and Signatures are available to you without having to utilise template content.
You can edit any of the content inserted via Communication Templates, including the details of a Signature or Greeting, after it has been applied. Those changes are only applicable to the instance of the communication you are composing; if you want to permanently change the content of a Communication Template, you will have to visit the Communication Templates section of Citrus-Lime Back Office and modify the template there.
Not sure how to modify or create new Communication Templates? Read this article
Send/Save Button
Quite simply, clicking this button will either Send your Email/SMS or Save your Note against the customer record.
Tab #3 : Customer Contact History
The Customer Contact History tab contains a searchable/filterable list of all communications previously sent (or saved) relating to the customer record you are currently working with.
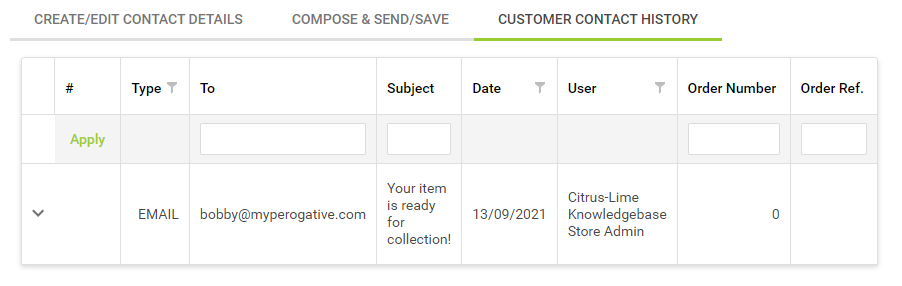
Clicking the chevron next to a specific communication expands the row to reveal the content of that communication.
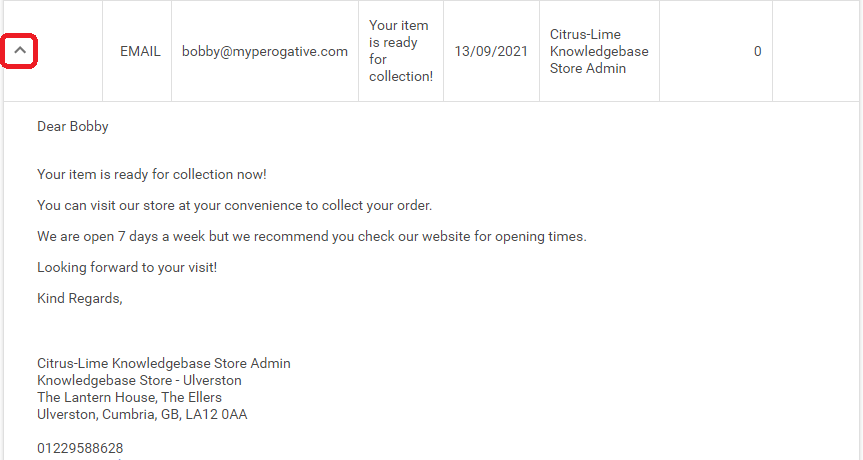
This is also a great way to confirm for yourself that the current communication has successfully been recorded against the customer record as it will appear in the table immediately following the click of the Send/Save Button on the Compose Send/Save tab.