If you are creating an order for a customer at your store, and you need to request for the stock to be transferred from another store in your Cloud POS group, you can create that transfer from within the Point of Sale.
This is the Inter-Store Transfer functionality.
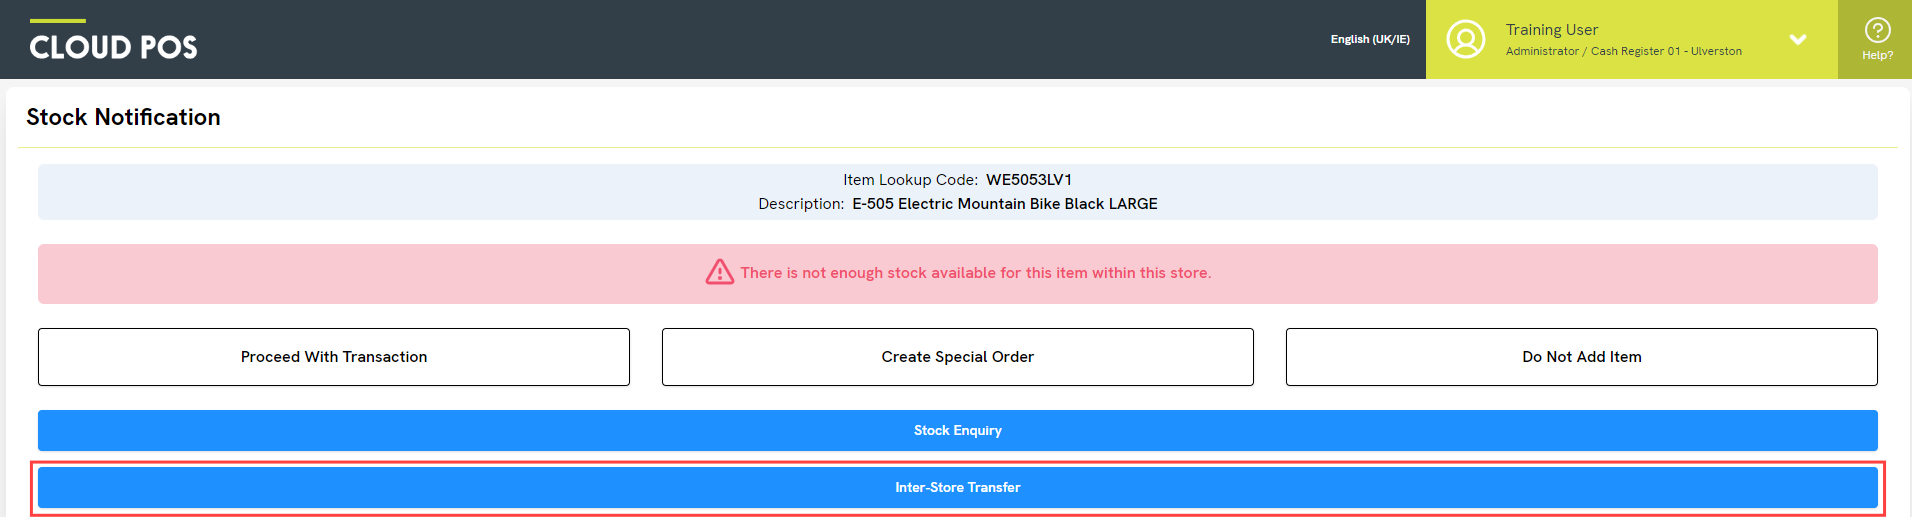
If you add an item to a transaction and there is no available stock at your current store, you will see the following screen:

At this stage, you may want to click Stock Enquiry to investigate if the stock is available at another store in your group (or if the stock is due on a Purchase Order, or available from the supplier).
1) If you decide to have the stock transferred from another store, you can click the Inter-Store Transfer button:
2) You can now choose between two tabs:
Select Stock From Another Store: this will show stock that is already available at other stores in your Cloud POS group
Select From Inbound Stock: this will show stock that is due to arrive at other stores on a Purchase Order or Transfer
3) On either tab, use the select boxes to choose which store you would like to request stock from:
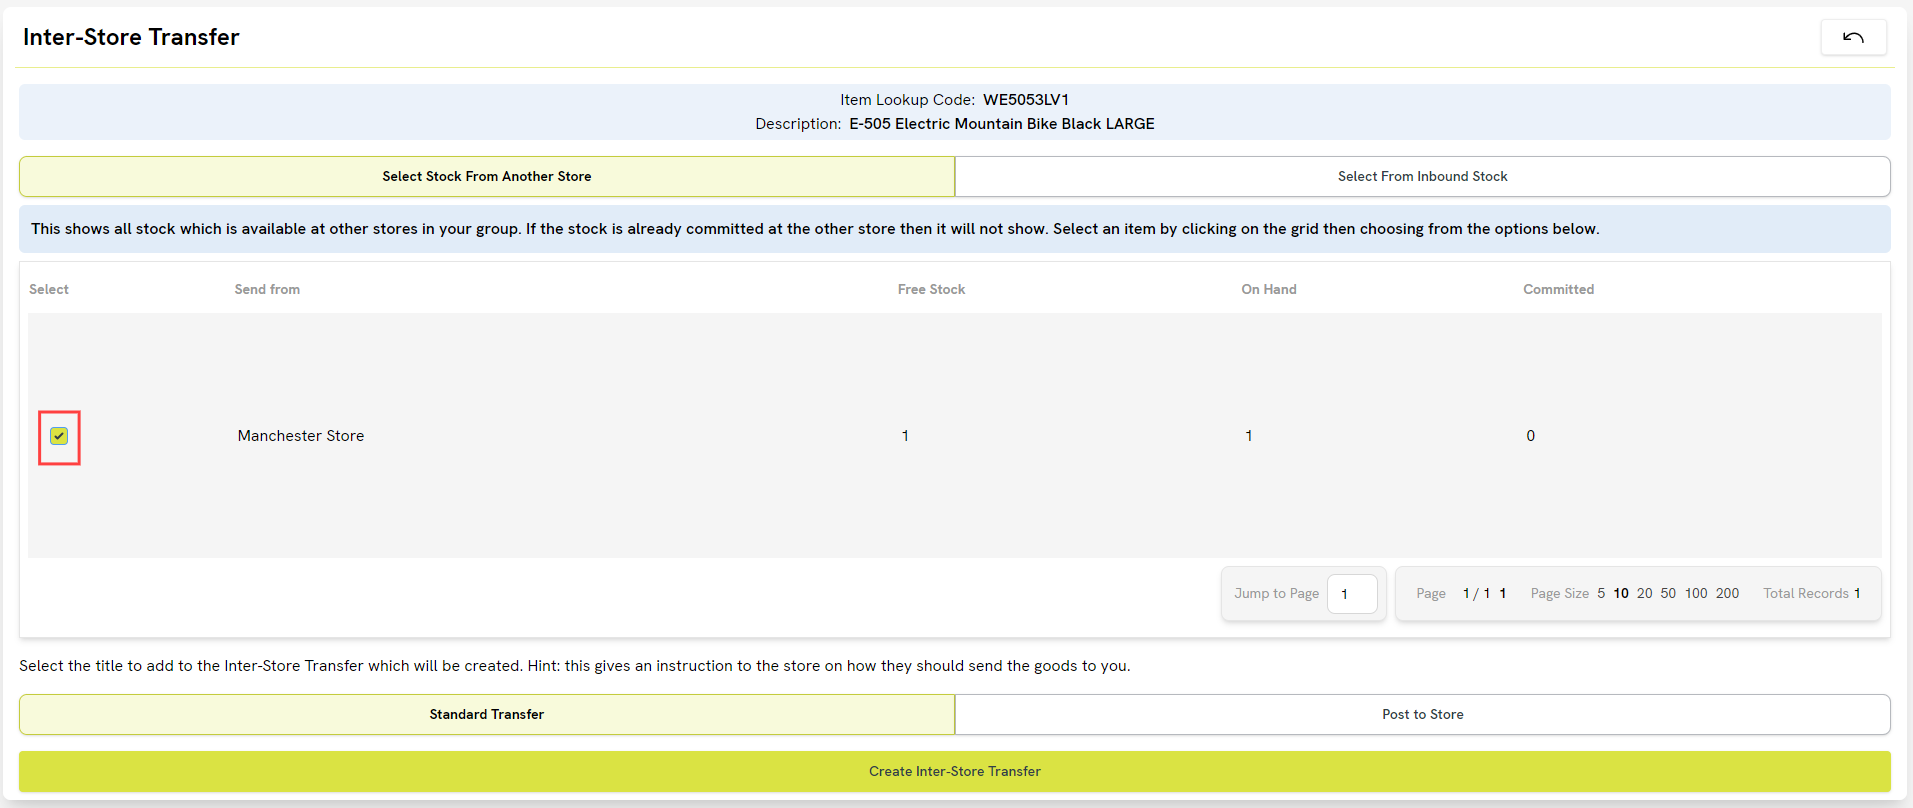
4) You can now choose between two buttons:
Request Stock Transfer From Store: this will create a transfer from the chosen store to your store, containing the requested item. The transfer will be automatically ‘Marked as Placed’, so that it is ready for the sending store to process in the Goods Out screen in the Cloud POS Back Office. The title of the transfer will be ‘Standard Transfer’.
Request Stock To Be Posted From Store: this will create a transfer from the chosen store to your store, containing the requested item. The transfer will be automatically ‘Marked as Placed’, so that it is ready for the sending store to process in the Goods Out screen in the Cloud POS Back Office. The title of the transfer will be ‘Post to Store'.
Which option should I choose?
This depends on how you would like the sending store to move the stock. If you click ‘Request Stock Transfer From Store’, this will create the title ‘Standard Transfer’, which suggests the stock is going to move between the stores in the usual way — for example, on a scheduled inter-store van run. If you click ‘Request Stock To Be Posted From Store’, this will create the title ‘Post to Store’, which suggests you would like the sending store to despatch to you via a courier.
5) Once you have clicked a button, you will see a confirmation that your transfer has been created in the Cloud POS Back Office. The transaction will also automatically convert into a Special Order, so that you can save it for your customer. You can choose to return to the Point of Sale, or edit the order details (e.g. comment, reference and due date):
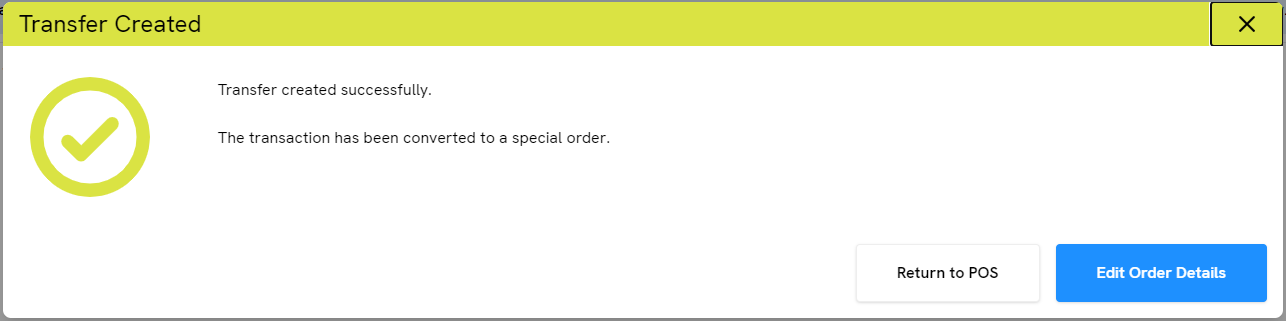
6) Save the order.
When the item arrives to your store and you receive the stock at Goods In, you will see a notification to remind you that the item is for this customer:
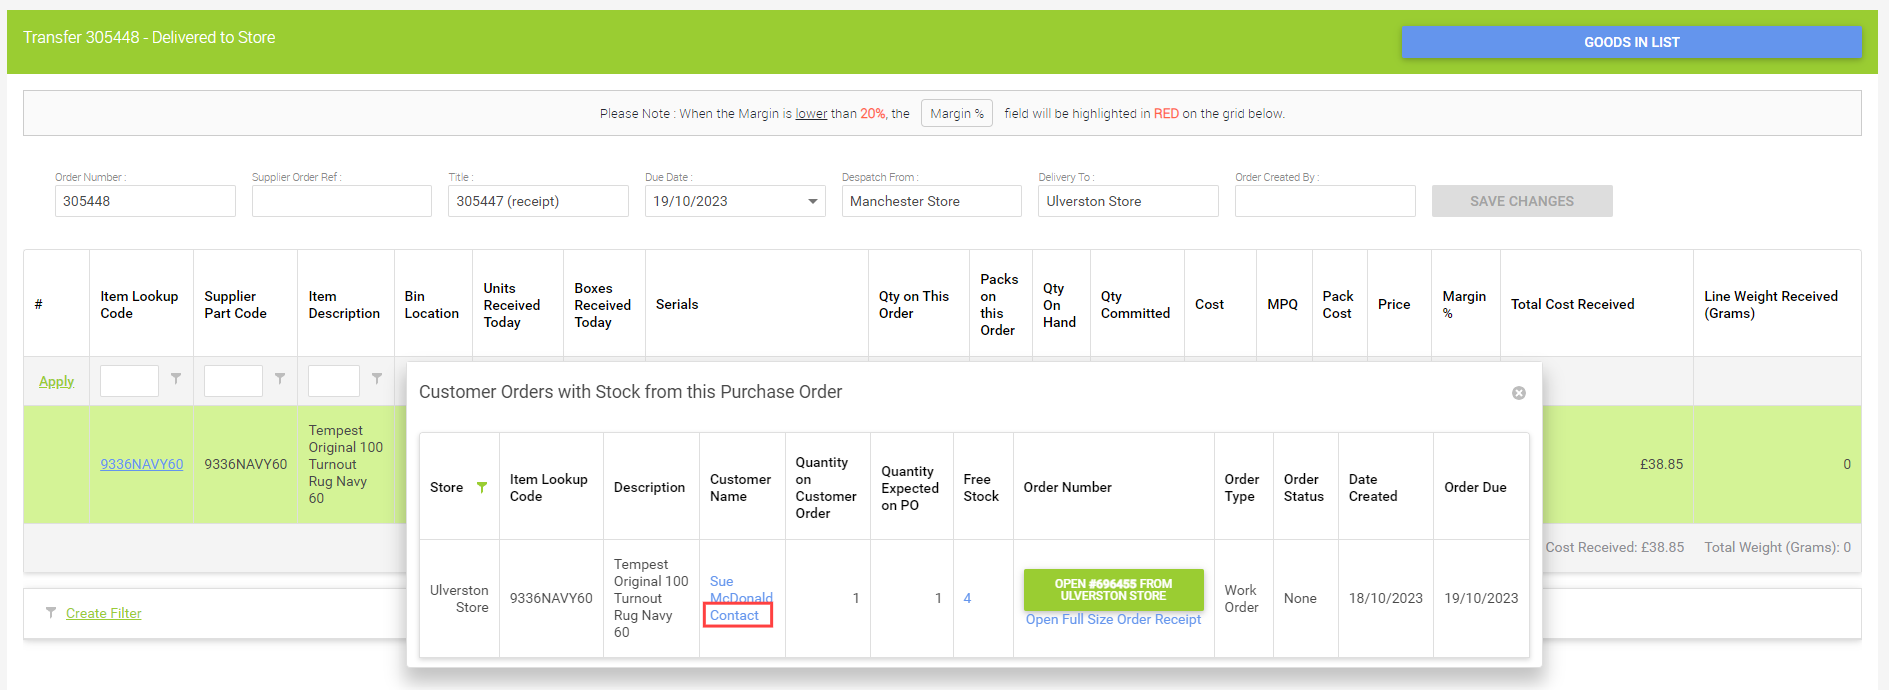
This makes it easy for you to quickly contact the customer to tell them that their item is ready for collection.
Creating Communication Templates
Remember you can create communication templates to speed up your customer communications even further. Navigate to ‘Setup’ > ‘Communication Templates’ in the Cloud POS Back Office to create or edit your templates for email and SMS communications. Please refer to this article for further guidance: How do I create Communication Templates?