We have now introduced a feature to Cloud Reports which will allow the user to save the filtering and layout of a report, so that this can be quickly loaded next time the report is run.
Historically, it has been necessary to set the filters and layout of a report, each time that report is run. The new functionality means that the user can now simply load the required filter from their list of previously-saved filters, reducing the time it takes to create the report and find the data required.
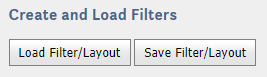
You'll now see the following option on applicable reports:
To use the Filter / Layout options, firstly you need to generate the report in the normal manner, selecting the store(s) and setting the date range you wish to report upon.
Next, you can use the column chooser to add or remove columns from the report. We've also added the ability to drag columns around, so you can put them in the order which works best for you.
Finally, use the filters to set the parameters and click Apply to drill down the data in the report.
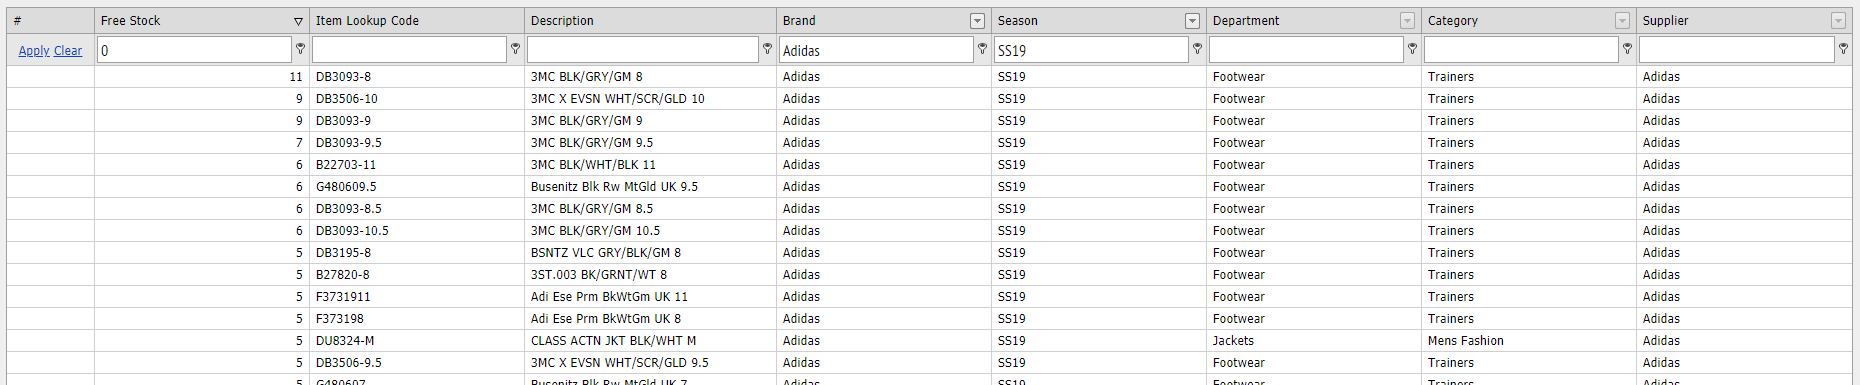
In the example below, we are using the Top Items report and reporting on:
- Quantity in free stock greater than zero, ordered so that stock quantity is shown in descending order
- Brand 'Adidas'
- Season 'SS19'
We've also reordered the layout and removed some columns that contain data we don't need to report upon.
If this is a report we'll need to use on a regular basis, we can now make use of the Save Filter / Layout feature to memorise the parameters we have set within the report.
Click on Save Filter / Layout and this will open a window into which we can give our filter a name:
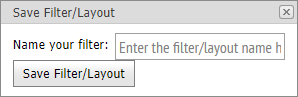
When we've added a name for the filter, click the Save Filter/Layout button.
Our filter and layout is now saved, ready to be loaded next time we need to produce the report.
To apply our filter again in future, run the report in the normal manner and then select the Load Filter/Layout button.
You will now see a window from which you can select the filters / layouts you have previously saved for this type of report:
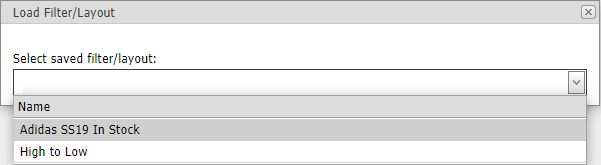
Click on the required option from the dropdown menu, and this will load the filter / layout back into your report. Note, you can only load filters which have been saved for a particular report type. You cannot load a Top Items report filter into the Margin Detail Report, for example.
Managing your saved Filter / Layouts
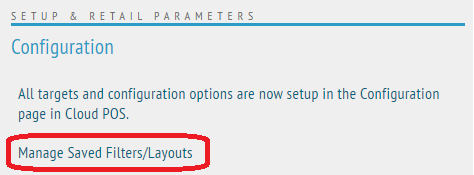
On the Cloud Reports dashboard, we have added the Manage Saved Filters/Layouts option to the Configuration section:
From here, you can search for and delete any filters which are no longer required:
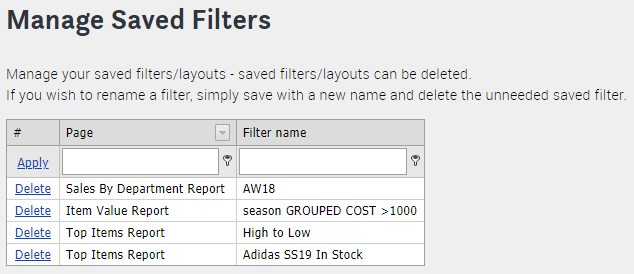
To rename a filter / layout, open the relevant report, load the required filter and then save this with the new name. Then return to Manage Saved Filters/Layouts and delete the unneeded filter.